- Pour 1 kg of full-fat milk into a heavy-bottomed kadai or pan. Bring to a boil over medium heat, stirring frequently to prevent overflow.
- Once boiling, reduce heat to low and add 45 grams of sugar, stirring until completely dissolved.
- Simmer the milk on low heat, scraping the sides and bottom of the pan every 3-4 minutes to incorporate any solids forming and prevent burning.
- Continue cooking for approximately 2-3 hours until the milk reduces and thickens into a lumpy consistency. Test by lifting a spoonful; it should hold its shape in lumps.
- Once thickened, remove from heat. Ensure the pan is free from residue, then let the khoya cool completely before transferring to an airtight container.
- Calories:4 kcal25%
- Energy:16 kJ22%
- Protein:0.2 g28%
- Carbohydrates:0.5 mg40%
- Sugar:0.5 mg8%
- Salt:2 g25%
- Fat:0.2 g20%
Last Updated on 2 months by Neha Deshmukh
Khoya Recipe – Traditional Indian Milk Solid Recipe
Hey everyone! Today, I’m sharing a recipe that’s incredibly close to my heart – Khoya. It’s a fundamental ingredient in so many Indian sweets, and honestly, once you learn to make it at home, you’ll wonder how you ever lived without it. I remember the first time my grandmother let me help her with this… the entire house smelled amazing for days. It’s a bit of a process, but trust me, the results are SO worth it.
Why You’ll Love This Recipe
Khoya, also known as mawa, is essentially milk solids. It’s the base for so many delicious treats like gulab jamun, barfi, and kheer. Making it at home gives you complete control over the quality and ensures a fresh, rich flavour you just can’t get from store-bought versions. Plus, there’s something incredibly satisfying about creating this essential ingredient from scratch!
Ingredients
Here’s what you’ll need:
- 1 kg full-fat milk (about 4.2 cups)
- 45 g sugar (about 3 tablespoons)
Ingredient Notes
Okay, let’s talk milk. This is not the time to use low-fat or skim milk! Seriously. Full-fat milk is absolutely crucial for getting that perfect, grainy texture and rich flavour. The fat content is what allows the milk to reduce and thicken properly. Using anything less will result in a dry, crumbly khoya. Trust me on this one – it makes all the difference.
Step-By-Step Instructions
Let’s get cooking!
- Pour 1 kg of full-fat milk into a heavy-bottomed kadai or a wide, heavy-bottomed pan. This is important to prevent scorching.
- Bring the milk to a boil over medium heat, stirring occasionally. You don’t want it to stick to the bottom or boil over, so keep an eye on it!
- Once boiling, reduce the heat to the lowest setting. Add the 45g of sugar and stir until it’s completely dissolved. Don’t worry, we’re not making sweet khoya here, the sugar just helps with the texture and colour.
- Now comes the patience part! Simmer the milk on low heat for approximately 2 hours. This is where the magic happens. You’ll need to scrape the sides and bottom of the pan every 3-4 minutes to incorporate any solids that form and prevent burning. It’s a bit of a workout, but it’s essential!
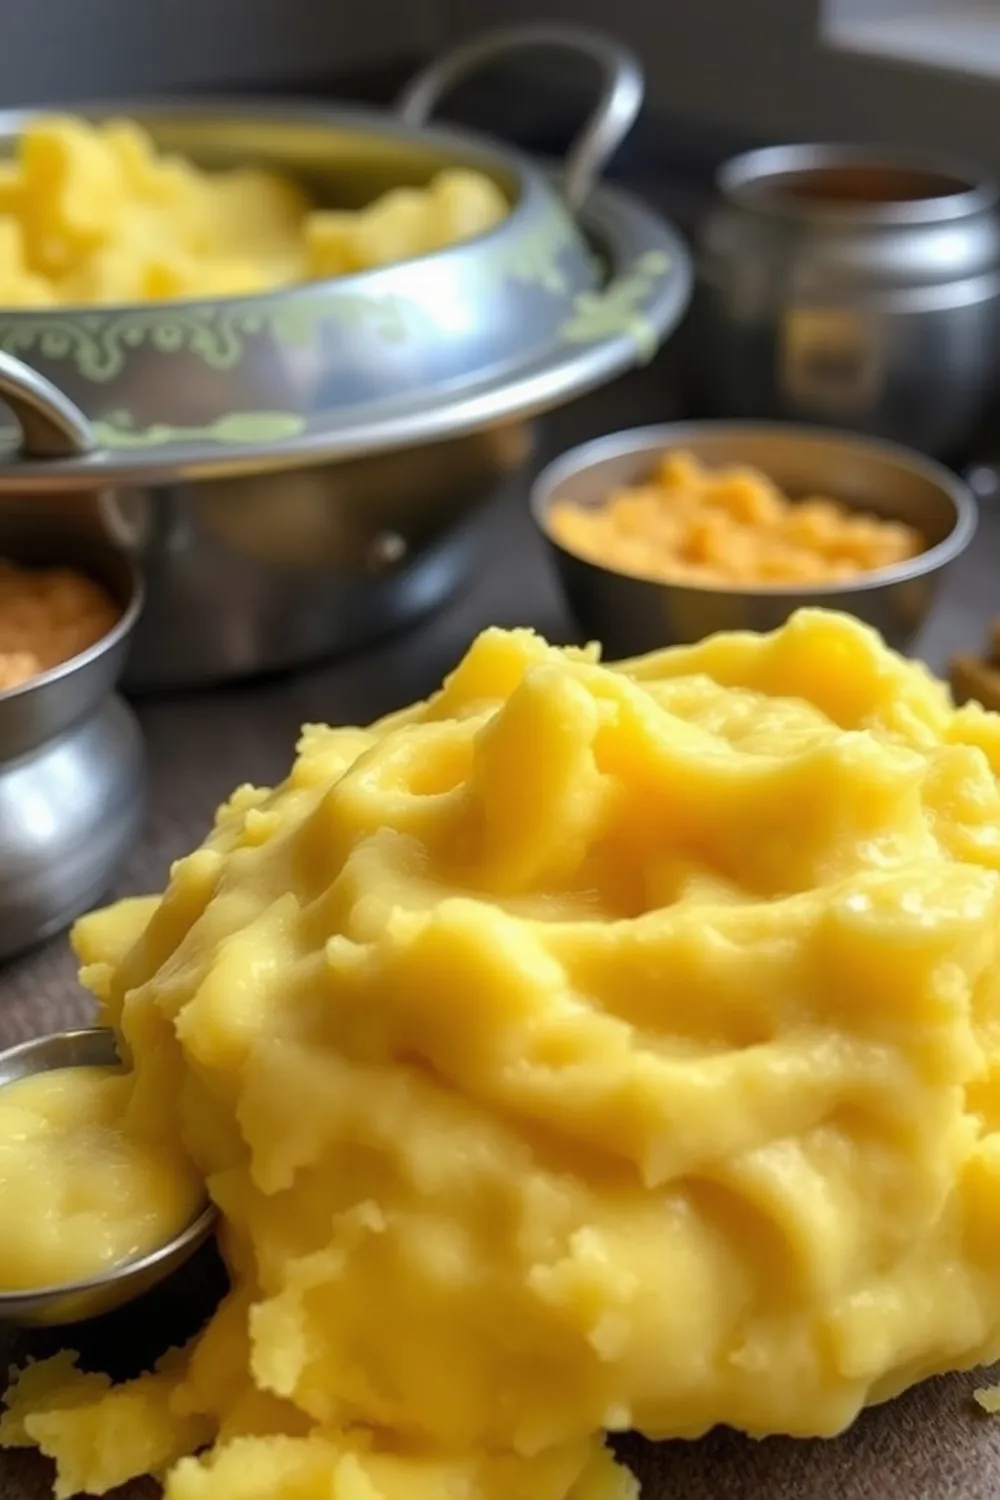
- Keep simmering until the milk reduces and thickens into a lumpy consistency. The best way to test is to lift a spoonful – it should hold together in soft, grainy lumps.
- Once thickened, remove the pan from the heat. Make sure the pan is clean from any residue. Let the khoya cool completely before transferring it to an airtight container.
Expert Tips
- Heavy Bottom is Key: Seriously, don’t skip the heavy-bottomed pan. It’s your best friend in preventing burning.
- Constant Stirring: I know it’s tedious, but consistent scraping is vital. Set a timer if it helps!
- Low and Slow: Keep the heat very low. You want a gentle simmer, not a rapid boil.
- Don’t Walk Away: This isn’t a set-it-and-forget-it recipe. You need to stay close and stir frequently.
Variations
- Cow vs. Buffalo Milk: Traditionally, khoya is made with buffalo milk, which gives it a richer, creamier flavour. Cow’s milk works perfectly well too, though! The texture will be slightly different – buffalo milk khoya tends to be a bit softer.
- Regional Differences: In some regions, khoya is cooked for a longer time to achieve a drier, more granular consistency. My family prefers a slightly softer khoya, which is why I’ve written the recipe this way.
- Sweetness Level: Feel free to adjust the amount of sugar to your liking. Some people prefer a slightly sweeter khoya.
Serving Suggestions
Khoya isn’t usually served on its own! It’s a building block for so many incredible desserts. Here are a few ideas:
- Gulab Jamun: The classic!
- Barfi: A delicious milk-based fudge.
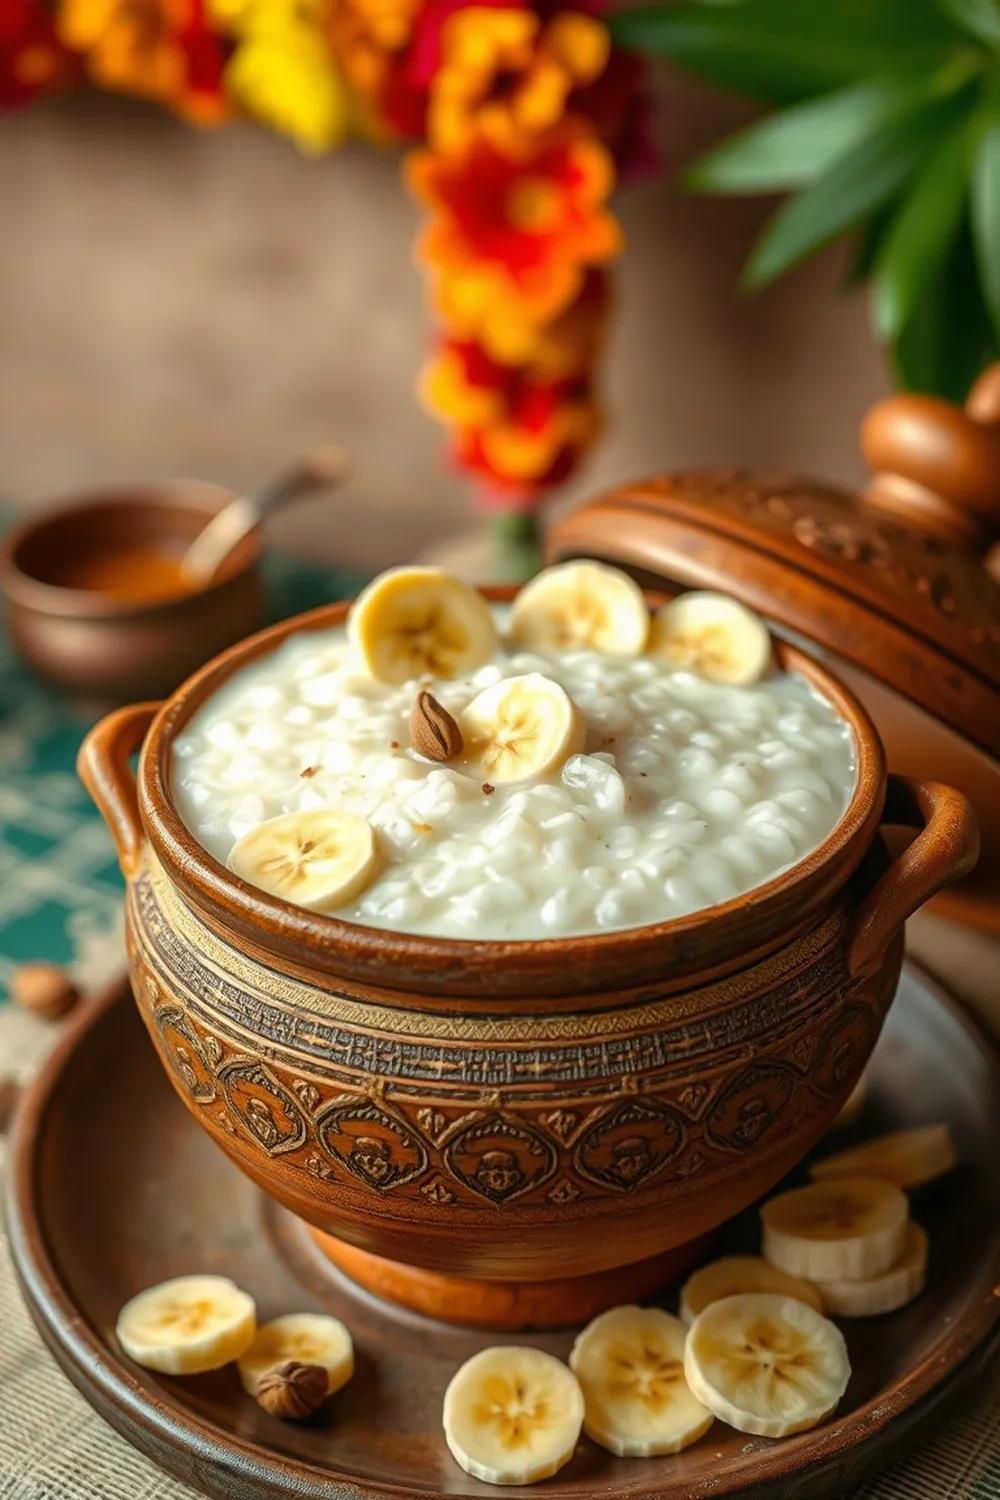
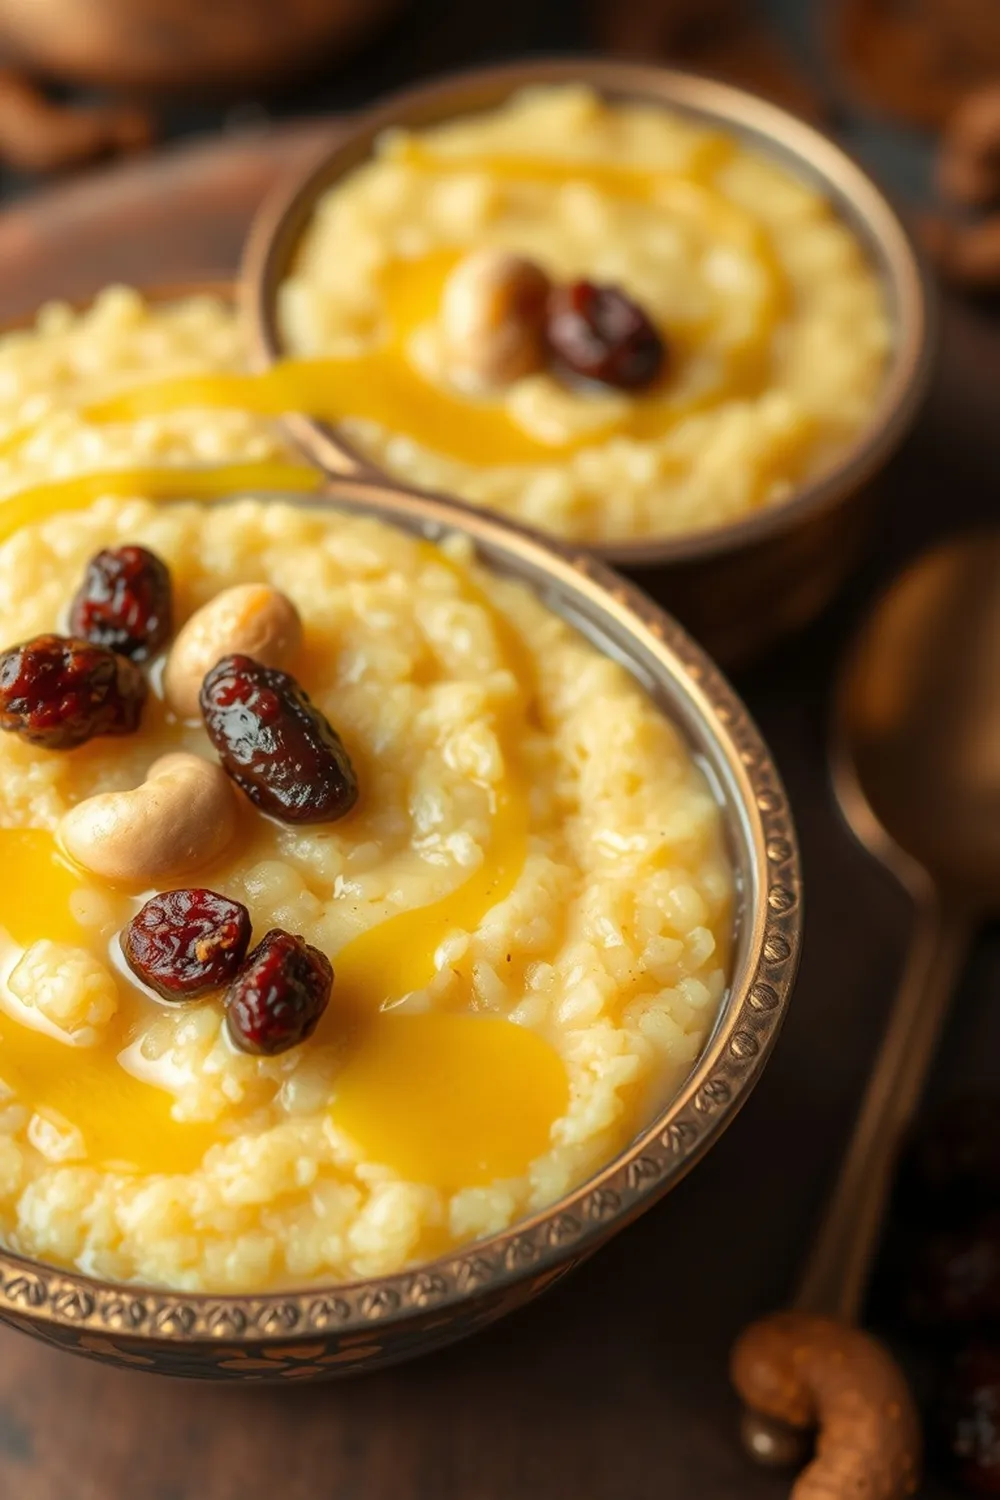
- Kheer: A creamy rice pudding.
- Peda: Soft, melt-in-your-mouth milk sweets.
Storage Instructions
Homemade khoya will keep in an airtight container in the refrigerator for up to 3-4 days.
FAQs
What is khoya and what is it used for?
Khoya is essentially reduced milk solids. It’s a key ingredient in many Indian sweets, providing richness, texture, and flavour.
Can I make khoya with reduced-fat milk?
While you can try, it’s really not recommended. The fat content in full-fat milk is essential for achieving the right texture and flavour. Reduced-fat milk will likely result in a dry, crumbly khoya.
How do I prevent the milk from burning during the long simmering process?
A heavy-bottomed pan and constant scraping are your best defenses against burning! Keep the heat low and stir frequently.
What is the shelf life of homemade khoya?
Homemade khoya will last for 3-4 days in the refrigerator in an airtight container.
Can I freeze khoya?
Yes, you can! Wrap it tightly in plastic wrap and then place it in a freezer-safe bag. It will keep in the freezer for up to 2 months. Just thaw it in the refrigerator overnight before using.


Neha Deshmukh
Neha holds a B.A. in History with a focus on Indian and world history, including ancient, medieval, and modern periods. At RecipesOfIndia.org — the world’s largest database of Indian recipes — she combines her love for food and history by exploring how India’s past has shaped its culinary traditions.