- Method 1: Boil water. Blend milk powder, icing sugar, butter, and hot water until smooth. Adjust consistency with water if needed.
- Method 2: Melt sugar in water. Blend sugar syrup with milk powder and butter. Add vanilla essence if desired.
- Method 3: Simmer fresh milk with sugar until reduced by 1/3. Add butter and baking soda. Cool before storing.
- Calories:150 kcal25%
- Energy:627 kJ22%
- Protein:4 g28%
- Carbohydrates:20 mg40%
- Sugar:15 mg8%
- Salt:50 g25%
- Fat:8 g20%
Last Updated on 6 months ago by Neha Deshmukh
3-Ingredient Milk Powder Burfi Recipe – Easy Indian Sweet
Okay, let’s be real. Sometimes you crave a little something sweet, a little bit of mithai, but the thought of making traditional burfi with khoya… well, it can be a bit daunting, right? I totally get it! That’s why I’m so excited to share this incredibly simple 3-ingredient milk powder burfi recipe with you. It’s a lifesaver when those sweet cravings hit, and it tastes amazing. Seriously, no one will guess how easy it is!
Why You’ll Love This Recipe
This recipe is a game-changer. It’s unbelievably quick – we’re talking ready in under 20 minutes! Plus, it uses ingredients you probably already have in your pantry. It’s perfect for beginners, busy weeknights, or when you just want a quick and satisfying Indian sweet. And honestly, it’s just as delicious as the traditional version.
Ingredients
Here’s what you’ll need to whip up a batch of this delightful burfi:
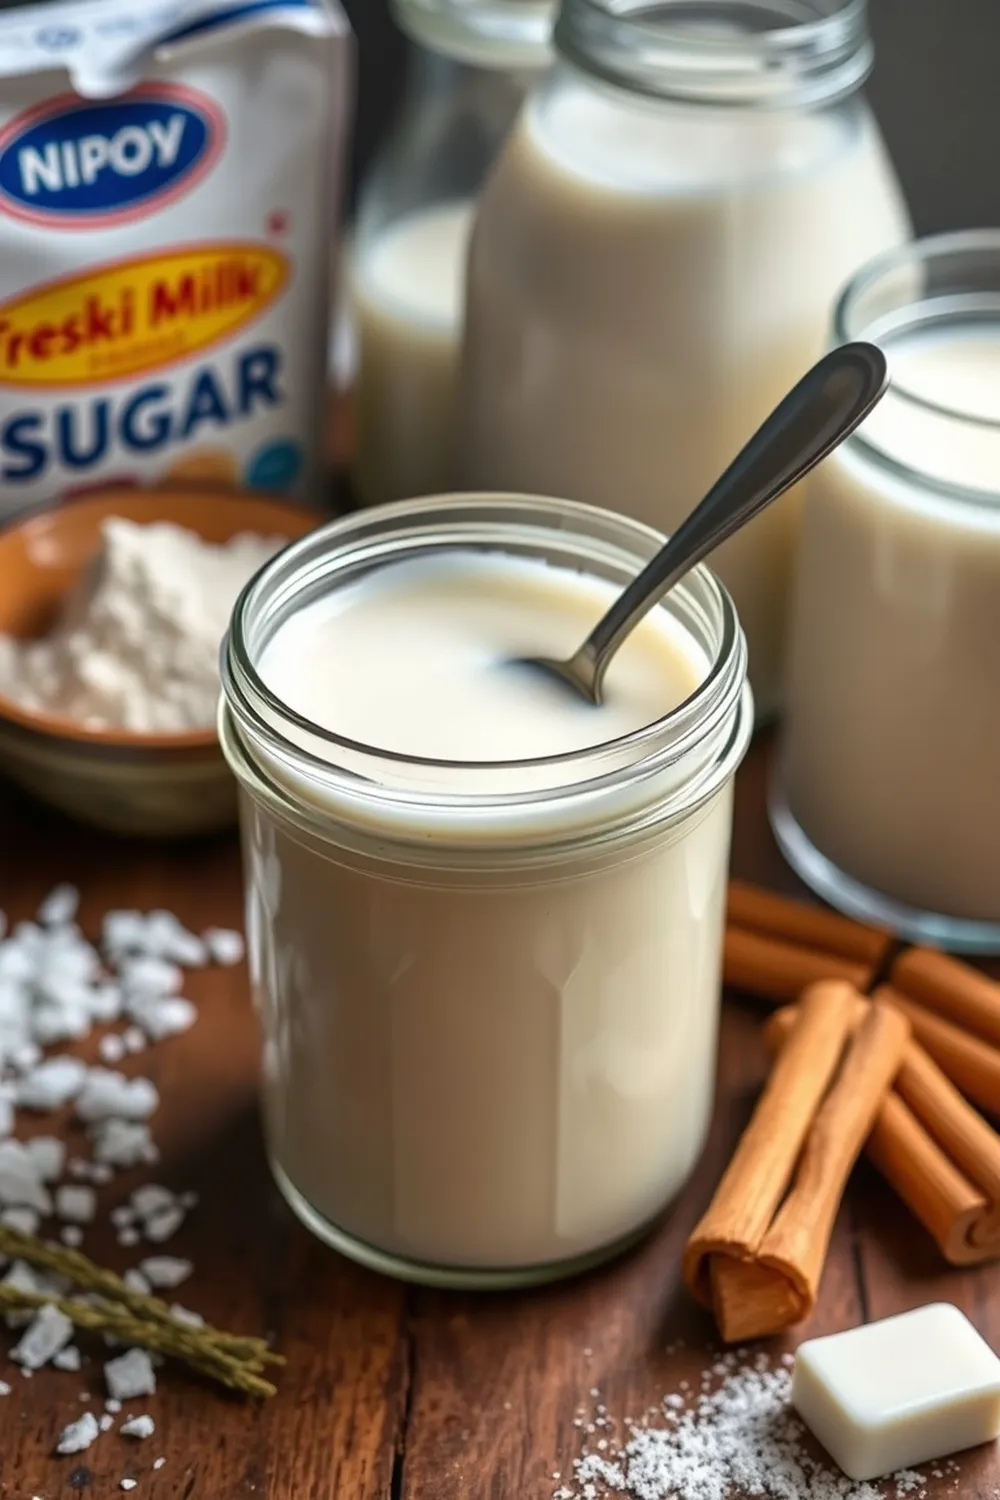
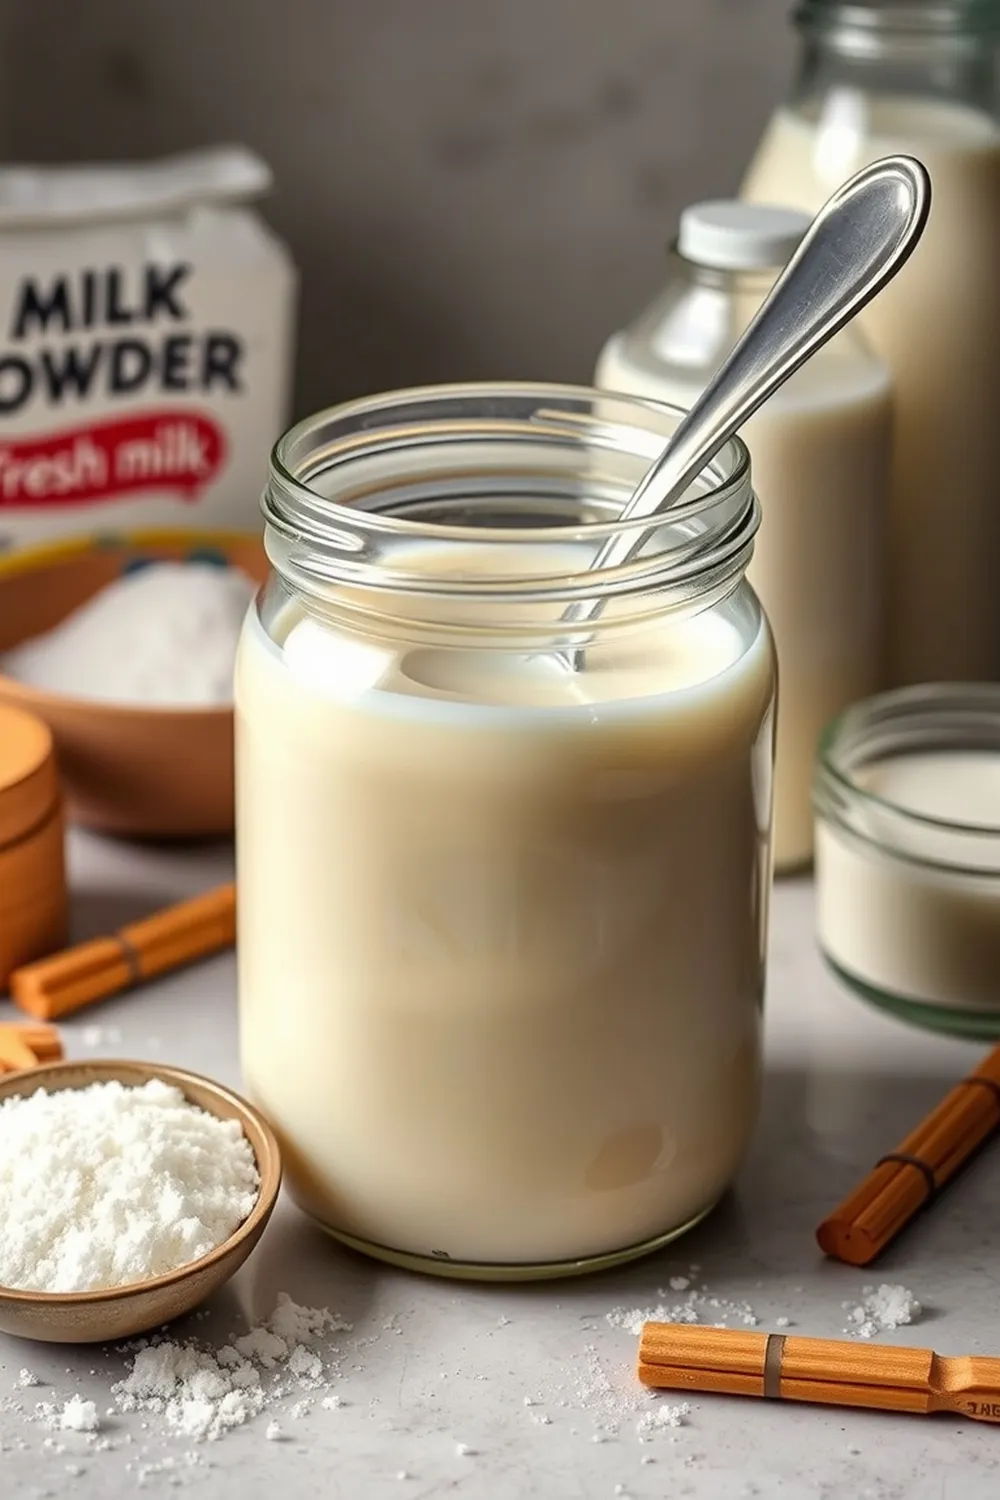
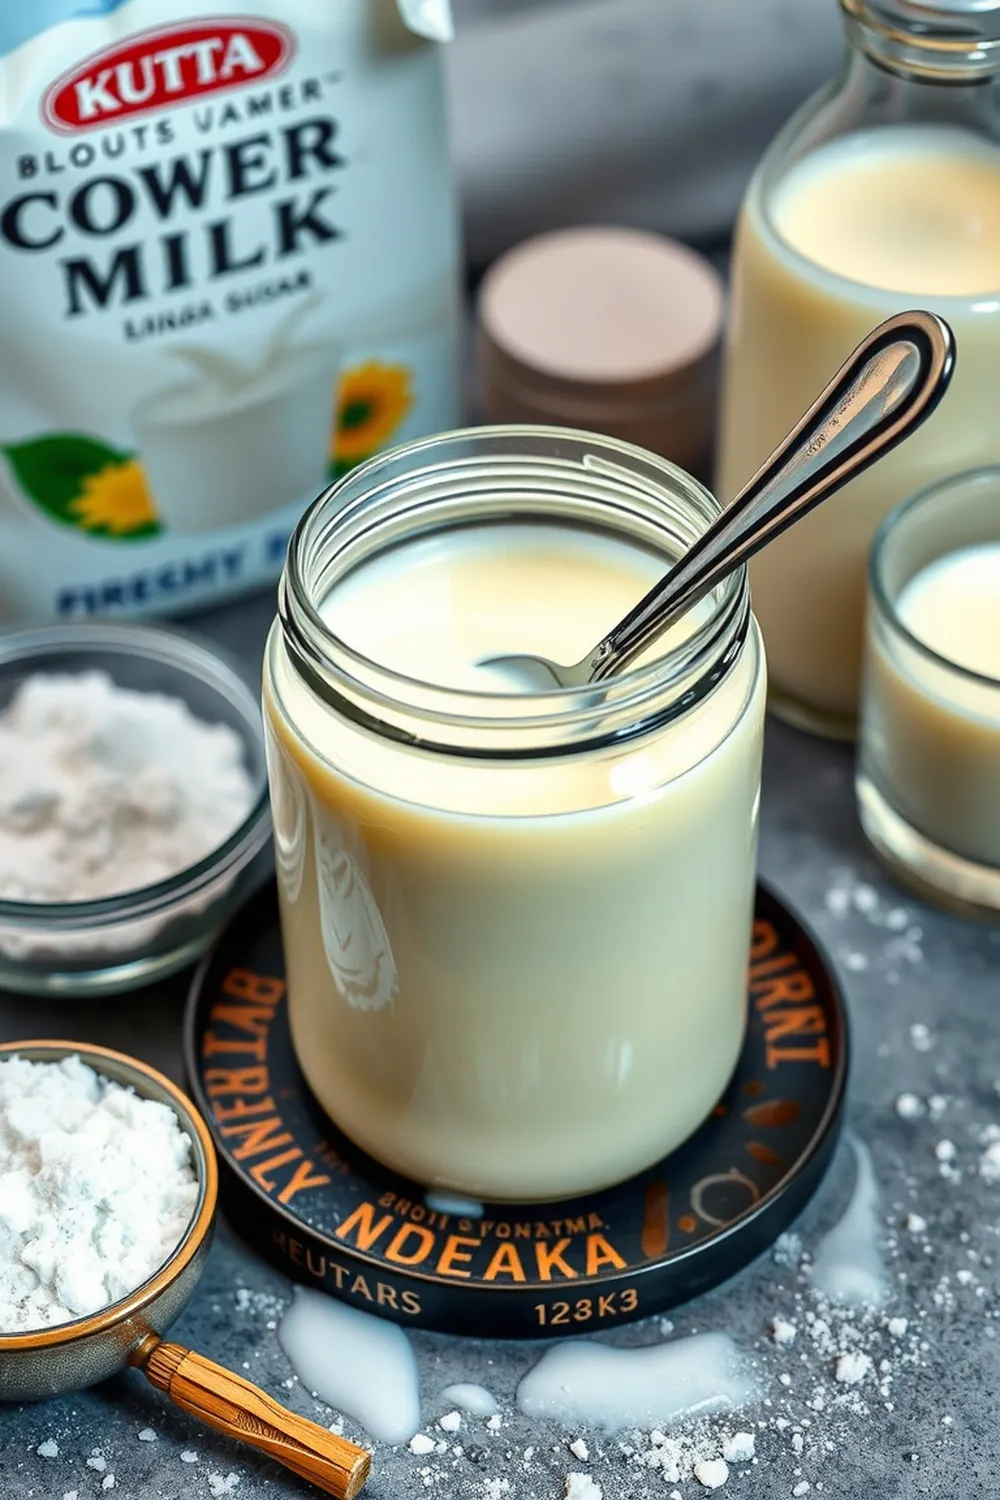
- ½ cup milk powder (about 60g)
- 3 tbsp icing sugar (about 30g)
- 1 tbsp unsalted butter (about 15g)
- ¼ cup water (about 60ml)
- 1 litre fresh milk
- ½ cup sugar (about 100g)
- Pinch of baking soda
Ingredient Notes
Let’s talk ingredients for a sec. Milk powder is the star here, and it’s a fantastic substitute for khoya (mawa), which can be tricky to find depending on where you are. I usually use a full-cream milk powder for a richer flavour, but you can experiment with different brands.
Icing sugar is preferred over granulated sugar because it dissolves more easily and gives the burfi a smoother texture. If you only have granulated sugar, you can pulse it in a food processor to make it finer. And don’t skimp on the butter! It adds a lovely richness and helps bind everything together. Using good quality butter really makes a difference.
Step-By-Step Instructions
Alright, let’s get cooking! Here are three methods to make this burfi, pick the one that suits you best:
Method 1: The Quick Blend
- First, bring the ¼ cup of water to a boil.
- In a bowl, combine the milk powder, icing sugar, and butter.
- Pour the hot water over the mixture and blend everything together until it forms a smooth, slightly thick paste. If it’s too thick, add a tiny bit more hot water, a teaspoon at a time, until you reach the right consistency.
- Transfer the mixture to a greased tray or container. Let it cool completely before cutting into squares.
Method 2: The Sugar Syrup Route
- In a pan, melt the ½ cup of sugar with the 1 litre of fresh milk over medium heat. Stir until the sugar is completely dissolved.
- Continue to cook, stirring occasionally, until the mixture thickens slightly.
- Remove from heat and add the milk powder and butter. Blend well until everything is combined. You can add a drop of vanilla essence here if you like!
- Pour into a greased tray and let it set.
Method 3: The Simmered Milk Method
- In a heavy-bottomed pan, simmer the fresh milk with the sugar over medium heat.
- Keep stirring and reduce the milk by about a third – this will take around 10-15 minutes.
- Add the butter and a pinch of baking soda. Stir well.
- Let the mixture cool completely before storing.
Expert Tips
Want to make sure your burfi turns out perfectly every time? Here are a few tips I’ve learned over the years:
- Texture is key: You want the mixture to be smooth and slightly thick, but still pourable. Don’t overcook it, or it will become too hard.
- Preventing sticking: Grease your tray or container really well with butter. This will make it much easier to cut the burfi later.
- Knowing when it’s set: The burfi is ready when it’s firm to the touch and pulls away slightly from the sides of the tray. You can also pop it in the fridge for 10-15 minutes to speed up the setting process.
Variations
This recipe is a great base for experimenting! Here are a few ideas to get you started:
- Vegan Adaptation: Swap the butter for a plant-based butter alternative and use plant-based milk powder.
- Sugar-Free Adaptation: Use a sugar substitute like erythritol or stevia instead of sugar. Adjust the amount according to the package instructions.
- Different Flavorings: Add a pinch of cardamom powder, a tablespoon of chopped pistachios, or a teaspoon of rose water for a fragrant twist. My grandmother always added a tiny bit of saffron!
- Spice Level: A tiny pinch of saffron adds a beautiful colour and subtle flavour.
Serving Suggestions
Burfi is delicious on its own, but it’s also lovely served with a cup of chai or alongside other Indian sweets. It’s a popular treat during festivals like Diwali and Holi, but honestly, it’s perfect any time you need a little pick-me-up.
Storage Instructions
Store the burfi in an airtight container at room temperature for up to 3-4 days, or in the refrigerator for up to a week.
FAQs
1. Can I use full-fat or skim milk powder for this recipe?
You can use either! Full-fat milk powder will give you a richer, creamier burfi, but skim milk powder will work just fine if you’re looking for a lighter option.
2. What if my burfi is too soft even after cooling?
If your burfi is too soft, it means it hasn’t set properly. You can try refrigerating it for a longer period, or gently warming it up and then cooling it again.
3. Can I make this burfi ahead of time for a festival? How long will it keep?
Absolutely! You can make this burfi 3-4 days in advance. Just store it in an airtight container at room temperature.
4. Is it possible to microwave this burfi instead of using the stovetop?
While I haven’t personally tried microwaving it, some people have had success with short bursts, stirring in between. Be very careful not to overheat it, as it can burn easily.
5. What is the best way to cut the burfi neatly?
Greasing the tray well is the first step! Run a sharp knife under hot water and wipe it clean before each cut. This will help you get clean, neat squares.
Neha Deshmukh
Neha holds a B.A. in History with a focus on Indian and world history, including ancient, medieval, and modern periods. At RecipesOfIndia.org — the world’s largest database of Indian recipes — she combines her love for food and history by exploring how India’s past has shaped its culinary traditions.


