- Melt butter in a non-stick pan over low heat.
- Add condensed milk, milk powder, and cocoa powder (or chocolate chips). Mix continuously until fully combined.
- Stir in vanilla extract and salt. Continue cooking on low heat, stirring constantly, until the mixture thickens (5-6 minutes).
- Cook, stirring continuously, until the mixture leaves the pan sides and forms a thick mass (2-3 minutes more).
- Transfer the mixture to a greased tray. Flatten with a spatula or wet fingers.
- Press cashew nuts onto the top. Cool completely and refrigerate for at least 1 hour.
- Cut into squares (burfi) or shape into discs (peda) before serving.
- Calories:90 kcal25%
- Energy:376 kJ22%
- Protein:2 g28%
- Carbohydrates:12 mg40%
- Sugar:10 mg8%
- Salt:25 g25%
- Fat:4 g20%
Last Updated on 6 months ago by Neha Deshmukh
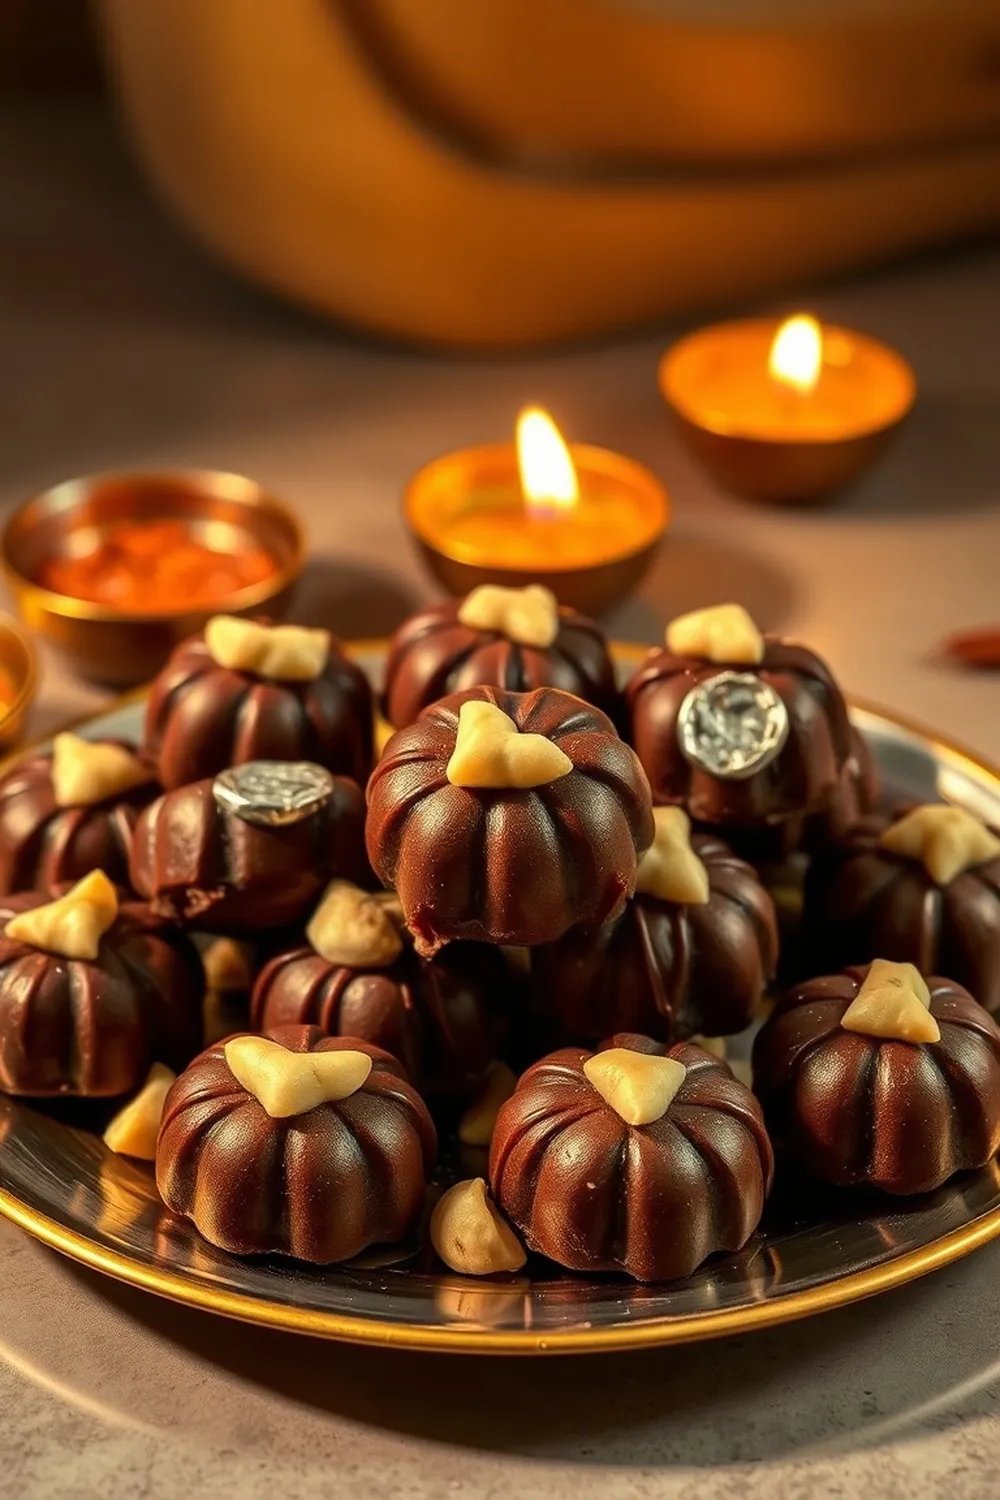
Easy Chocolate Burfi Recipe – Milk Powder & Condensed Milk
Hey everyone! If you’re craving something sweet and utterly delicious, but don’t want to spend hours in the kitchen, then you’ve come to the right place. This chocolate burfi recipe is a total game-changer. It’s quick, easy, and unbelievably satisfying. I first made this when my niece was visiting, and we had so much fun pressing the cashew nuts on top – it’s become a little tradition now! Let’s get started, shall we?
Why You’ll Love This Recipe
This chocolate burfi is perfect for so many reasons! It’s a fantastic treat when you’re short on time, needing a sweet fix, or just want to impress your family and friends with a homemade Indian sweet. It requires minimal ingredients and effort, and the result is a rich, fudgy, melt-in-your-mouth burfi that everyone will adore. Plus, it’s naturally gluten-free!
Ingredients
Here’s what you’ll need to whip up a batch of this delightful chocolate burfi:
- 1 can (approx. 400g) condensed milk
- 1 cup (approx. 100g) milk powder
- 1/3 cup (approx. 25g) cocoa powder / chocolate chips
- 2-3 drops vanilla extract
- 1 pinch salt
- 2 tbsp (approx. 28g) unsalted butter
Ingredient Notes
Let’s talk ingredients for a sec! A few little tips can make all the difference:
- Condensed Milk: This is the secret to a quick burfi! It cuts down on the cooking time significantly.
- Cocoa Powder vs. Chocolate Chips: You can use either! Cocoa powder gives a more intense chocolate flavour, while chocolate chips add little pockets of melty goodness. I sometimes use a mix of both for the best of both worlds.
- Unsalted Butter: Using unsalted butter is key so you can control the overall sweetness. It also helps create that lovely, smooth texture. Don’t substitute with salted butter, or your burfi might be too salty!
Step-By-Step Instructions
Alright, let’s get cooking! It’s easier than you think.
- First, melt the butter in a non-stick pan over low heat. This is important – low and slow is the way to go!
- Now, add the condensed milk, milk powder, and cocoa powder (or chocolate chips) to the melted butter. Mix continuously! You really want to make sure everything is fully combined and there are no lumps.
- Stir in the vanilla extract and a tiny pinch of salt. Keep cooking on low heat, stirring constantly, for about 5-6 minutes.
- This is where patience comes in. Continue cooking for another 2-3 minutes, until the mixture starts to thicken and leaves the sides of the pan, forming a thick mass. It should almost pull away from the pan as you stir.
- Quickly transfer the mixture to a greased tray (I use a small baking dish). Use a spatula or wet fingers to flatten it out evenly.
- Now for the fun part! Press cashew nuts on top. Feel free to get creative with the arrangement.
- Let it cool completely, then refrigerate for at least an hour. This helps it set properly.
- Finally, cut into squares (burfi) or shape into discs (peda) and enjoy!
Expert Tips
Here are a few things I’ve learned over the years:
- Non-Stick Pan is Your Friend: Seriously, don’t even try this in a regular pan. It will be a sticky mess!
- Constant Stirring: This prevents burning and ensures a smooth, even texture.
- Don’t Overcook: Overcooked burfi will be hard and crumbly. Keep a close eye on it!
Variations
Want to switch things up? Here are a few ideas:
- Vegan Adaptation: Use plant-based butter and a condensed milk alternative (coconut condensed milk works beautifully!).
- Gluten-Free: This recipe is naturally gluten-free, so no changes needed!
- Spice Level: Add a pinch of cardamom powder for a warm, aromatic twist. My grandmother always added a little cardamom to hers.
- Festival Adaptations: This burfi is perfect for gifting during Diwali or any special occasion. Package it up in pretty little boxes for a thoughtful homemade gift.
Serving Suggestions
This chocolate burfi is delicious on its own, but you can also serve it with a glass of cold milk or a cup of chai. It’s a lovely little treat to enjoy with family and friends.
Storage Instructions
Store the burfi in an airtight container in the refrigerator for up to 5 days. It actually tastes even better the next day!
FAQs
Got questions? I’ve got answers!
- How can I prevent the burfi from sticking to the tray? Grease the tray really well with butter or ghee. You can also line it with parchment paper.
- Can I use dark chocolate chips instead of cocoa powder? Absolutely! Dark chocolate chips will give a richer, more intense chocolate flavour.
- What is the best way to tell when the burfi mixture is ready? The mixture should thicken and start to leave the sides of the pan, forming a soft ball.
- Can this burfi be made ahead of time? Yes! You can make it a day or two in advance and store it in the refrigerator.
- How long does this burfi stay fresh? It stays fresh for up to 5 days when stored in an airtight container in the refrigerator.
Enjoy making (and eating!) this delicious chocolate burfi. Let me know how it turns out in the comments below!

Neha Deshmukh
Neha holds a B.A. in History with a focus on Indian and world history, including ancient, medieval, and modern periods. At RecipesOfIndia.org — the world’s largest database of Indian recipes — she combines her love for food and history by exploring how India’s past has shaped its culinary traditions.