- Soak rava in minimal water for 30 minutes. Drain any excess water.
- Combine soaked rava with maida, sugar, and baking soda in a bowl.
- Gradually add water to achieve an idli batter-like consistency (thick but pourable).
- Mix in cardamom powder thoroughly.
- Heat oil in a deep pan over medium heat.
- Drop spoonfuls of batter into the hot oil and fry until golden brown on both sides.
- Drain the fried paniyarams on a paper towel. Serve warm.
- Calories:150 kcal25%
- Energy:627 kJ22%
- Protein:2 g28%
- Carbohydrates:22 mg40%
- Sugar:8 mg8%
- Salt:50 g25%
- Fat:6 g20%
Last Updated on 4 months by Neha Deshmukh
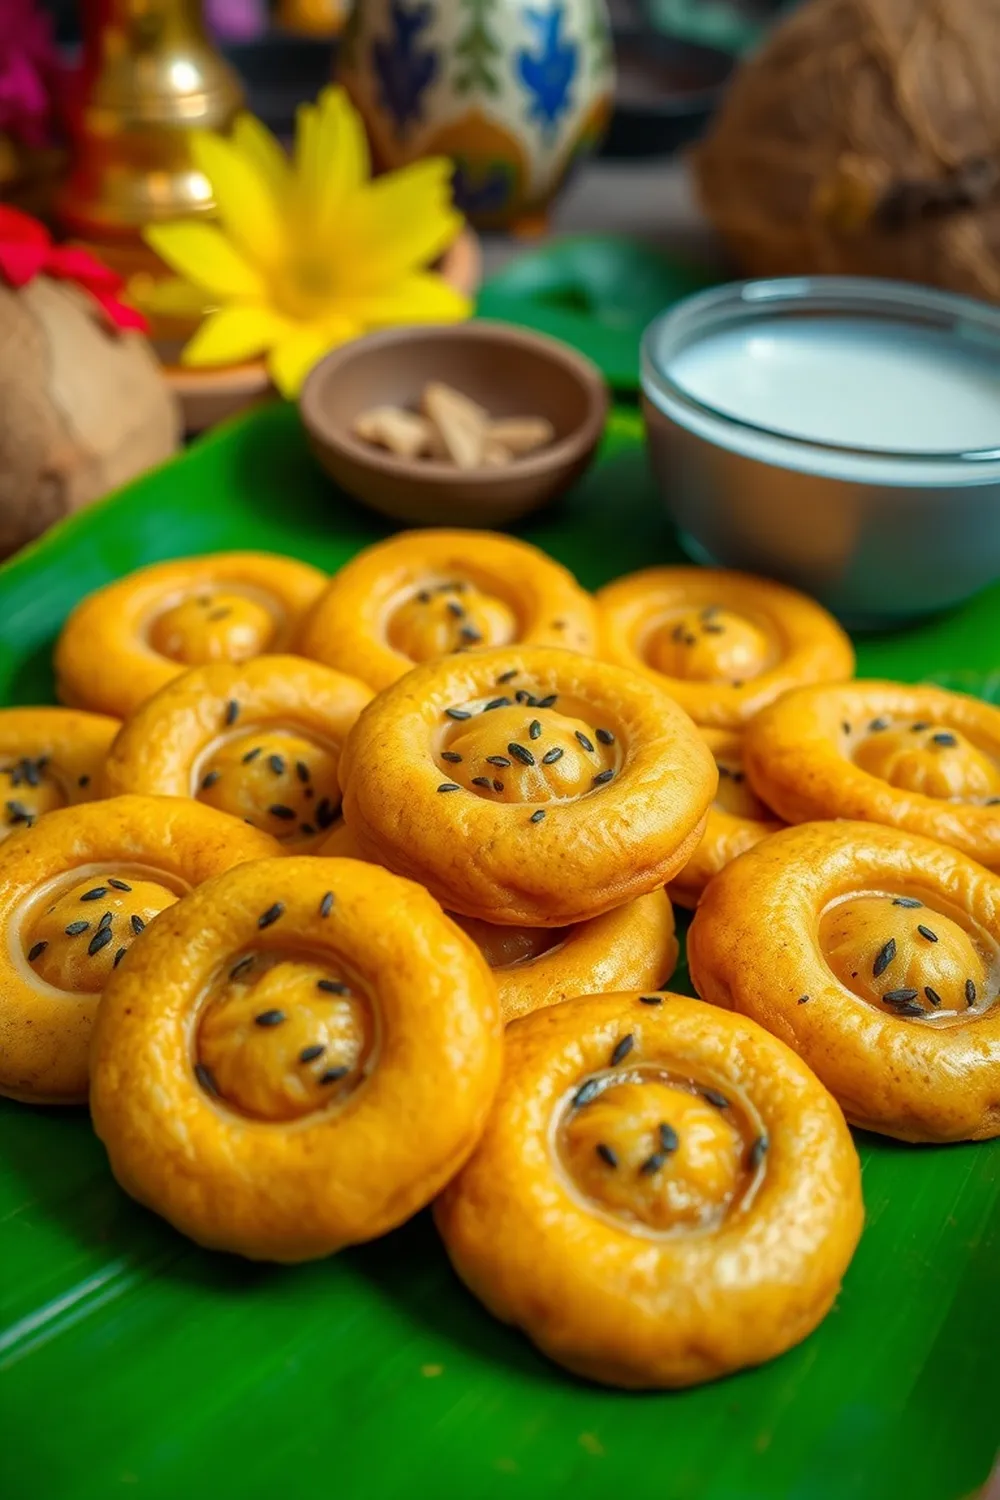
Rava Paniyaram Recipe – Easy South Indian Breakfast Snack
Hey everyone! If you’re looking for a delightful little bite of South Indian goodness, you have to try Rava Paniyaram. These fluffy, golden-brown dumplings are seriously addictive, and surprisingly easy to make. I remember the first time I made these – I was a little intimidated by the frying, but honestly, it’s a breeze! They’re perfect for a quick breakfast, a satisfying snack, or even as an offering during festivals. Let’s get cooking!
Why You’ll Love This Recipe
These aren’t just tasty; they’re wonderfully versatile. Rava Paniyaram are light, slightly sweet, and have a lovely texture. They’re a fantastic alternative to heavier breakfast options, and kids absolutely adore them. Plus, they come together pretty quickly – perfect for busy mornings!
Ingredients
Here’s what you’ll need to whip up a batch of these beauties:
- 0.25 cup Rava (Sooji) – about 30g
- 0.5 cup Maida (All Purpose Flour) – about 60g
- 4 tbsp Sugar – about 40g
- 1 pinch Baking Soda – about 1g
- 1 pinch Cardamom Powder – about 0.5g
- Oil – for deep frying
Ingredient Notes
Let’s talk ingredients for a sec. Getting these right makes all the difference!
Rava (Sooji) Varieties & Quality
Rava, also known as Sooji, comes in different grinds – fine, medium, and coarse. For Paniyaram, I prefer using medium-fine rava. It gives the perfect texture. Make sure your rava is fresh; stale rava can affect the fluffiness.
Maida (All Purpose Flour) – Substitutions & Considerations
Maida helps bind the batter and gives it a nice texture. If you’re looking for a healthier option, you can substitute up to ¼ cup of the maida with wheat flour, but it might slightly alter the texture.
The Role of Cardamom Powder in South Indian Cuisine
Cardamom isn’t just a flavouring; it’s a cornerstone of South Indian sweets and snacks! It adds a beautiful aroma and a subtle sweetness that complements the rava perfectly. Don’t skip it!
Regional Variations in Paniyaram – Sweet vs. Savory
Traditionally, Paniyaram can be both sweet and savory. This recipe focuses on the sweet version, which is popular in many households. Savory versions often include grated vegetables, onions, and spices like green chilies.
Oil for Deep Frying – Choosing the Right Oil
I usually use vegetable oil or sunflower oil for deep frying. They have a neutral flavour and a high smoke point, which is important. Just make sure you have enough oil for the paniyaram to float comfortably.
Step-By-Step Instructions
Alright, let’s get down to business!
- First, let’s soak the rava. Put the 0.25 cup of rava in a bowl and add just enough water to moisten it – we’re talking minimal here! Let it sit for about 30 minutes. This softens the rava and helps create a light and fluffy texture.
- Now, drain any excess water from the rava. You don’t want a soggy batter!
- In a large bowl, combine the soaked rava, maida, sugar, and baking soda. Give it a good mix.
- Gradually add water, a little at a time, while mixing. You’re aiming for a batter consistency similar to idli batter – thick, but pourable. It should coat the back of a spoon nicely.
- Mix in the cardamom powder until it’s evenly distributed.
- Heat oil in a deep pan or kadhai on medium flame. To check if the oil is hot enough, drop a tiny bit of batter into the oil – it should sizzle and rise to the surface.
- Carefully drop spoonfuls of batter into the hot oil. Don’t overcrowd the pan!
- Fry the paniyaram until they’re golden brown on all sides, flipping them occasionally. This usually takes about 3-4 minutes.
- Remove the fried paniyaram and drain them on a paper towel to remove excess oil.
- Serve warm and enjoy!
Expert Tips
Here are a few things I’ve learned over the years to make the perfect Rava Paniyaram:
Achieving the Perfect Batter Consistency
This is key! The batter shouldn’t be too runny or too thick. If it’s too thick, the paniyaram will be dense. If it’s too runny, they’ll absorb too much oil.
Ensuring Even Cooking & Golden Brown Color
Maintain a consistent medium flame. Flipping the paniyaram ensures even cooking and a beautiful golden-brown color.
Preventing Paniyaram from Absorbing Too Much Oil
Make sure the oil is hot enough before adding the batter. Also, don’t overcrowd the pan.
Troubleshooting: Paniyaram Not Puffing Up
This usually means your baking soda is old or your batter isn’t mixed well enough. Make sure your baking soda is fresh and mix the batter thoroughly.
Variations
Want to switch things up? Here are a few ideas:
Vegan Paniyaram Adaptation
Substitute the sugar with agave or maple syrup.
Gluten-Free Paniyaram Adaptation (Using Alternative Flours)
Replace the maida with a gluten-free flour blend. Rice flour works well!
Spice Level Adjustment – Adding Green Chilies
My friend loves adding finely chopped green chilies to the batter for a spicy kick.
Festival Adaptations – Ganesha Chaturthi Paniyaram
During Ganesha Chaturthi, we often make smaller, bite-sized paniyaram as offerings.
Sweetness Level – Adjusting Sugar Content
Feel free to adjust the sugar to your liking. I like mine slightly sweet, but you can reduce it if you prefer.
Serving Suggestions
Rava Paniyaram are delicious on their own, but they’re even better with:
- Coconut chutney
- Sambar
- A dollop of ghee
- A sprinkle of grated coconut
Storage Instructions
These are best enjoyed fresh, but you can store leftovers in an airtight container at room temperature for a day. They might lose a little of their crispness, but they’ll still be tasty!
FAQs
Let’s answer some common questions:
What is the best way to prevent the Paniyaram batter from becoming too sticky?
Don’t overmix the batter! Mix just until everything is combined. Overmixing develops the gluten in the maida, making the batter sticky.
Can I make the batter ahead of time? If so, how should I store it?
Yes, you can! Make the batter and store it in an airtight container in the refrigerator for up to 24 hours. You might need to add a splash of water to adjust the consistency before frying.
What is the difference between Rava Paniyaram and regular Paniyaram?
Regular Paniyaram is typically made with fermented rice and lentil batter, while Rava Paniyaram is made with rava, maida, and a leavening agent like baking soda.
Can I use a Paniyaram pan instead of deep frying?
Absolutely! A Paniyaram pan (a pan with small indentations) is a traditional way to make Paniyaram. You’ll need less oil that way.
What can I serve with Rava Paniyaram to make it a complete meal?
Serve them with sambar and chutney for a satisfying and balanced meal. A side of yogurt also complements them beautifully!


Neha Deshmukh
Neha holds a B.A. in History with a focus on Indian and world history, including ancient, medieval, and modern periods. At RecipesOfIndia.org — the world’s largest database of Indian recipes — she combines her love for food and history by exploring how India’s past has shaped its culinary traditions.