- Roast rice flour in a pan until warm and a line drawn through it holds its shape (do not brown). Cool completely.
- Separately roast urad dal flour and coconut until warm and the coconut's moisture evaporates. Let all ingredients cool completely.
- Sieve rice flour, urad dal flour, and red chilli powder twice for a smooth texture.
- Mix the sieved flours with butter, sesame seeds, coconut, and salt in a bowl.
- Gradually add water to form a slightly dry and firm dough (avoid over-hydrating).
- Pinch small portions of dough and gently roll them into crackled balls using your three fingers.
- Optional: Prick each seedai with a toothpick and let them rest for 10 minutes to help prevent bursting during frying.
- Heat oil in a kadai and fry the seedai in batches until golden brown and crispy.
- Drain on paper towels, cool completely, and store in an airtight container.
- Calories:210 kcal25%
- Energy:878 kJ22%
- Protein:3 g28%
- Carbohydrates:34 mg40%
- Sugar:0.1 mg8%
- Salt:54 g25%
- Fat:7 g20%
Last Updated on 2 months by Neha Deshmukh
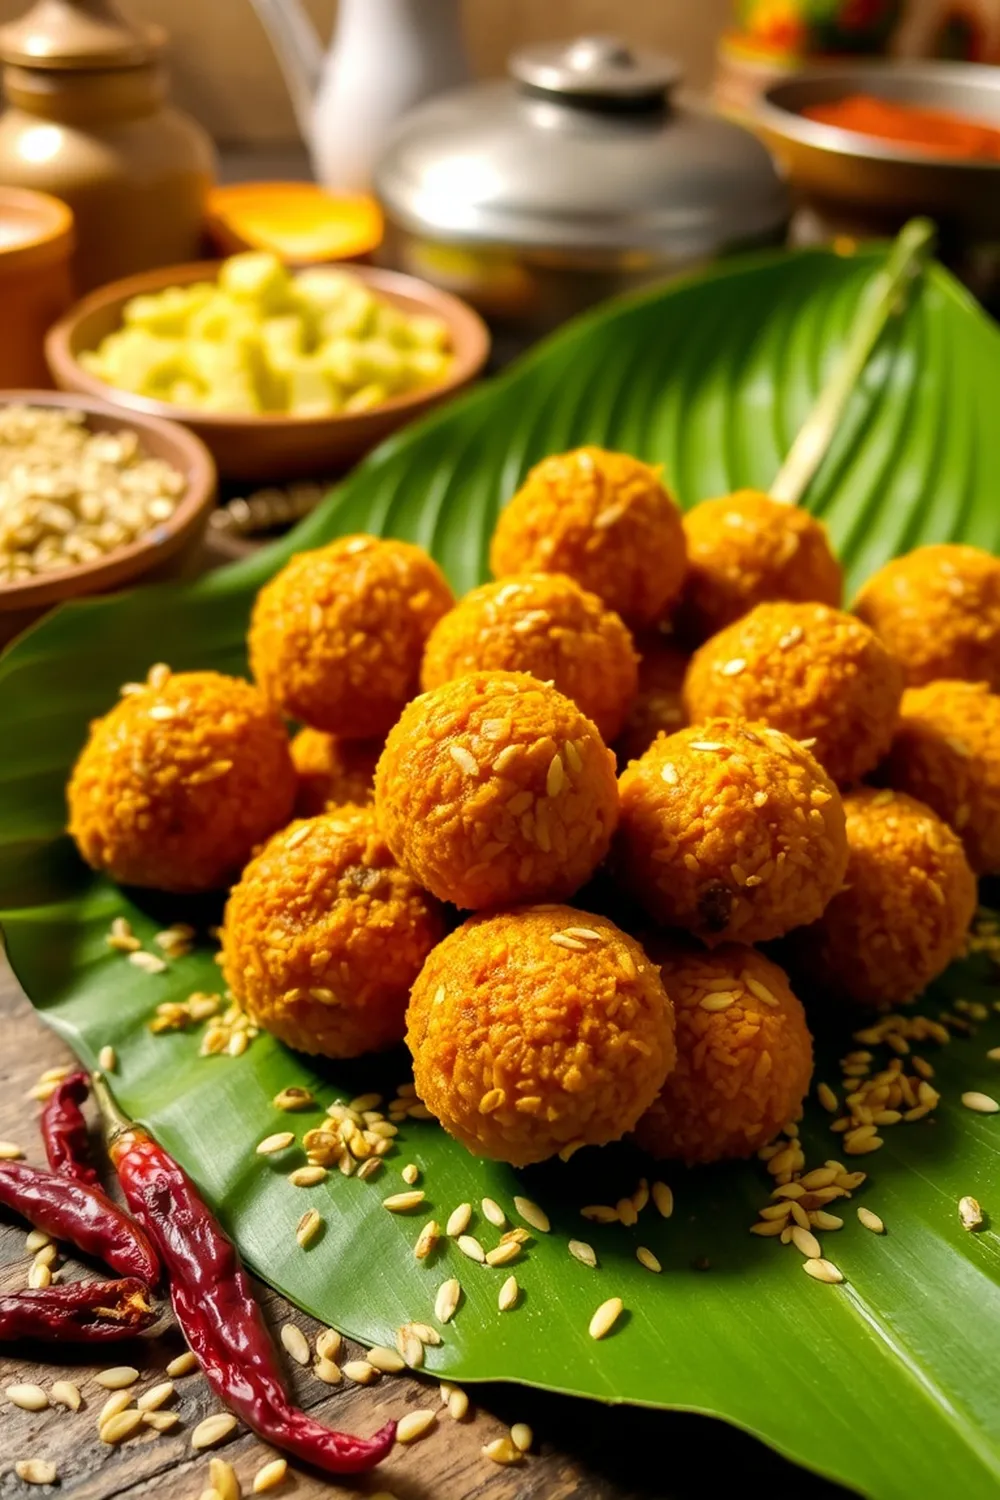
Authentic Seedai Recipe – Crispy Rice & Urad Dal Snacks
Okay, let’s be real. Seedai. Those tiny, crunchy, addictive little balls of goodness. They’re the snack of festivals and celebrations in South India, and honestly, I can’t resist them any time of year! I first made these with my grandmother, and it took a few tries to get them just right, but now it’s a recipe I absolutely love sharing. It’s a little bit of effort, but trust me – the reward is SO worth it.
Why You’ll Love This Recipe
This Seedai recipe is all about that perfect crunch and subtly spicy flavour. It’s a delightful mix of textures and tastes, and it’s surprisingly satisfying. Plus, it’s a fantastic way to impress your friends and family with a truly authentic Indian snack. It’s a little bit nostalgic for me, and I hope it becomes that for you too!
Ingredients
Here’s what you’ll need to make a cup of these crispy delights:
- ½ cup rice flour
- 1 teaspoon urad dal flour
- 1 tablespoon butter
- ½ teaspoon black sesame seeds
- 1 teaspoon coconut, grated
- ½ teaspoon red chilli powder
- Salt to taste
Ingredient Notes
Let’s talk ingredients for a sec, because getting these right makes all the difference!
- Rice Flour: This is the star! Use a good quality, fine rice flour. The texture of your seedai depends on it.
- Urad Dal Flour: Don’t skip this! It adds a lovely flavour and helps bind everything together.
- Coconut: Traditionally, dried copra (grated dried coconut) is used, giving a more intense coconut flavour. But you can absolutely use fresh grated coconut if you prefer – about 1 tablespoon packed. My aunt always uses fresh, and they’re amazing!
- Black Sesame Seeds: These aren’t just for looks! They add a wonderful nutty flavour and a beautiful visual contrast. Don’t substitute with white sesame seeds if you can help it – the black ones are traditional and taste best.
- Red Chilli Powder: Adjust this to your spice preference. Kashmiri chilli powder will give you a vibrant colour with mild heat.
Step-By-Step Instructions
Alright, let’s get cooking!
- First, we need to gently warm up the flours. Roast the rice flour in a pan over medium heat until it’s warm to the touch and you can easily draw a line through it (don’t let it brown!). Do the same with the urad dal flour and the coconut – just until the coconut is warm and any moisture has evaporated.
- Now, let everything cool completely. This is important! Warm ingredients can make the dough too sticky.
- Sift the rice flour, urad dal flour, and red chilli powder twice. This makes the seedai super smooth and crispy. Trust me, it’s worth the extra step.
- In a bowl, combine the sifted flours with the butter, sesame seeds, coconut, and salt. Mix well with your fingertips until everything is nicely combined.
- Time for the water! Add water gradually, a little at a time, and mix until you form a slightly dry dough. You want it to come together, but avoid over-hydrating – it should hold its shape.
- Pinch off small portions of the dough (about the size of a small marble). Gently roll them into crackled balls using three fingers. Don’t worry about making them perfectly round – the rustic look is part of the charm!
- Here’s a little trick I learned: optionally, prick each seedai with a toothpick. This helps prevent them from bursting while frying.
- Heat oil in a kadai (or deep frying pan) over medium heat. Fry the seedai in batches, making sure not to overcrowd the pan. Fry until they’re golden brown and crispy – this usually takes about 3-5 minutes per batch.
- Drain the fried seedai on paper towels to remove excess oil. Let them cool completely, and then store them in an airtight container.
Expert Tips
- Cooling is Key: Seriously, let everything cool down before mixing. It makes a huge difference in the dough consistency.
- Don’t Overcrowd: Frying in batches ensures the oil temperature stays consistent, resulting in perfectly crispy seedai.
- Oil Temperature: Medium heat is your friend. Too hot, and they’ll burn on the outside before cooking through. Too low, and they’ll absorb too much oil.
Variations
Want to switch things up? Here are a few ideas:
- Vegan Seedai: Simply substitute the butter with an equal amount of vegan butter or a neutral-flavoured oil like coconut oil.
- Gluten-Free Confirmation: This recipe is naturally gluten-free, as long as your rice flour and urad dal flour are certified gluten-free.
- Spice Level: My friend loves a real kick, so she adds a pinch of cayenne pepper to the dough. Feel free to adjust the red chilli powder to your liking.
- Festival Adaptations: These are especially popular during Krishna Jayanthi and Ganesh Chaturthi. Some families add a pinch of hing (asafoetida) to the dough for these occasions.
Serving Suggestions
Seedai is best enjoyed with a cup of hot chai or filter coffee. They’re also a great accompaniment to a South Indian meal. Honestly, though? I’m happy to just snack on them straight from the container!
Storage Instructions
Store cooled seedai in an airtight container at room temperature for up to a week. They might lose a little of their initial crunch over time, but they’ll still be delicious.
FAQs
Let’s answer some common questions:
- What type of rice flour is best for Seedai? A fine, good-quality rice flour is best. Avoid coarse varieties.
- Can I make Seedai without roasting the flours? You can, but roasting helps remove moisture and gives a better texture. It’s really worth the extra step!
- Why are my Seedai bursting while frying? This usually happens if there’s too much moisture in the dough or if the oil is too hot. Pricking them with a toothpick can also help.
- How do I get Seedai to be perfectly round? Don’t stress about it! They’re meant to be a little rustic. But rolling them gently between your palms can help.
- Can I add other seeds besides sesame seeds? Absolutely! Poppy seeds (khus khus) or even a mix of seeds would be lovely.


Neha Deshmukh
Neha holds a B.A. in History with a focus on Indian and world history, including ancient, medieval, and modern periods. At RecipesOfIndia.org — the world’s largest database of Indian recipes — she combines her love for food and history by exploring how India’s past has shaped its culinary traditions.


