- Grind fried gram dal into a fine powder using a mixer or food processor.
- Sift the thinai flour, rice flour, and powdered fried gram together into a mixing bowl. Discard any coarse residue.
- Add ajwain, red chilli powder, butter, and salt to the sifted flours. Mix thoroughly with your fingertips.
- Gradually add water to the flour mixture to form a soft, non-sticky dough.
- Grease a murukku press with oil and fill it with dough. Press spiral-shaped murukkus directly into hot oil or onto a ladle if preferred.
- Heat oil in a kadai over medium-low heat. Gently slide the murukkus into the hot oil and fry until golden brown and crispy, flipping occasionally.
- Drain the fried murukkus on paper towels to remove excess oil. Cool completely before storing in an airtight container.
- Calories:273 kcal25%
- Energy:1142 kJ22%
- Protein:7 g28%
- Carbohydrates:46 mg40%
- Sugar:2 mg8%
- Salt:44 g25%
- Fat:6 g20%
Last Updated on 2 months by Neha Deshmukh
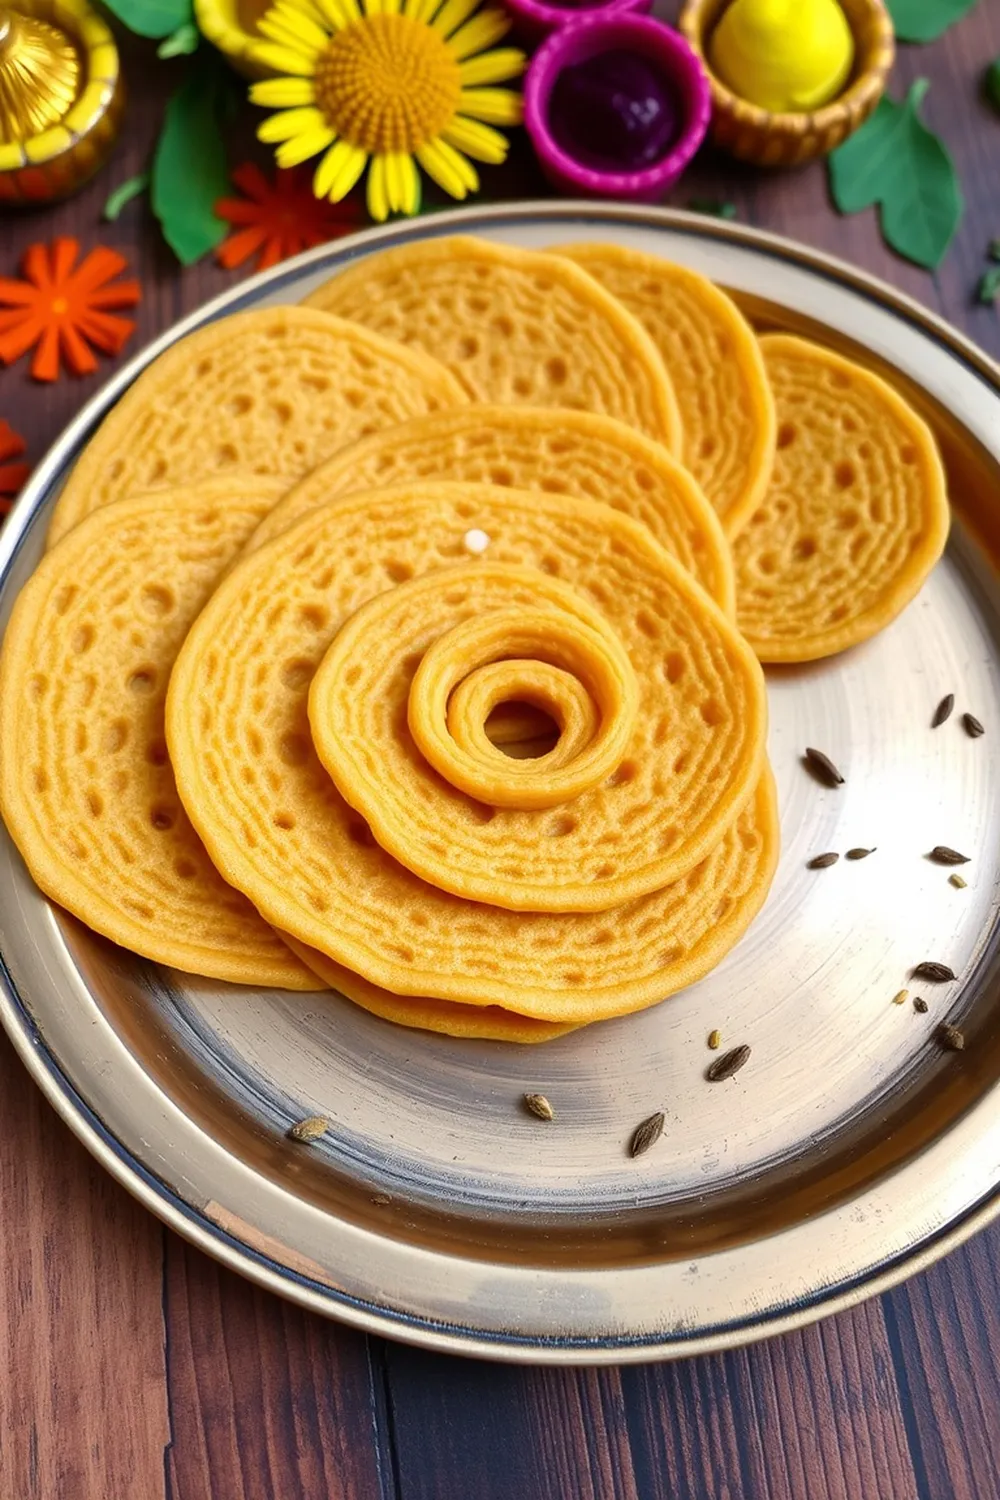
Thinai Murukku Recipe – Crispy Millet Snacks with Fried Gram
Introduction
Oh, murukku! Is there anything more satisfying than that perfect, crunchy bite? I remember my grandmother always making a huge batch of these during festivals, and the aroma would fill the entire house. Today, I’m sharing my take on this classic snack – a healthier, yet equally delicious version using thinai flour (foxtail millet). It’s a little different, a little wholesome, and so good. You’ll absolutely love this Thinai Murukku recipe!
Why You’ll Love This Recipe
This isn’t your average murukku. We’re swapping out some of the traditional flours for thinai, a nutritious millet. It adds a lovely subtle sweetness and a fantastic texture. Plus, it’s a great way to sneak in some extra goodness! It’s crispy, savory, and perfect for tea time, as a snack for the kids, or even to pack for travel.
Ingredients
Here’s what you’ll need to make these delightful Thinai Murukku:
- 1 cup thinai flour / foxtail millet flour (approx. 180g)
- 0.25 cup fried gram (approx. 40g)
- 0.25 cup rice flour (approx. 30g)
- 1 tablespoon butter (approx. 15g)
- 0.5 teaspoon red chilli powder (approx. 2.5g)
- 0.25 teaspoon ajwain (carom seeds) (approx. 1.25g)
- Water, as needed
Ingredient Notes
Let’s talk ingredients! A few little tips can make all the difference.
Thinai Flour (Foxtail Millet Flour) – Health Benefits & Where to Find It
Thinai is a powerhouse of nutrients! It’s gluten-free, rich in fiber, and a good source of protein. You can usually find it in Indian grocery stores, health food stores, or online. If you can’t find it, you could substitute with sorghum flour, but the flavour will be slightly different.
Fried Gram (Urad Dal) – Roasting & Powdering for Best Flavor
Using fried gram (also known as urad dal) adds a wonderful nutty flavour. I highly recommend roasting the dal lightly before grinding it into a powder. It really enhances the taste! Just dry roast for a few minutes until fragrant, then let it cool before grinding.
Ajwain – Its Digestive Properties & Aroma
Ajwain isn’t just about flavour; it’s also great for digestion! It adds a lovely aromatic touch to the murukkus. Don’t skip it!
Butter – Regional Variations (Ghee vs. Oil)
I prefer using butter for a richer flavour, but ghee (clarified butter) is a traditional choice and works beautifully too. Some people even use a neutral oil, like sunflower oil, if they prefer. It’s really up to you!
Step-By-Step Instructions
Alright, let’s get cooking!
- First, grind the fried gram into a fine powder using a mixer. Make sure it’s really smooth – no one wants grainy murukkus!
- Now, sift the thinai flour, rice flour, and powdered fried gram together into a mixing bowl. This gets rid of any lumps and ensures a light and crispy texture. Discard any coarse residue left in the sieve.
- Add the ajwain, red chilli powder, butter, and salt to the sifted flour. Now, the fun part – using your fingertips, rub the butter into the flour mixture until it resembles breadcrumbs. This is key for that melt-in-your-mouth texture.
- Gradually add water, a little at a time, and knead to form a soft, non-sticky dough. Don’t add too much water at once, or the dough will become too sticky.
- Grease a murukku press with oil. This prevents the dough from sticking. Fill the press with the dough.
- Heat oil in a kadai (deep frying pan) over medium-low heat. The oil shouldn’t be smoking hot – we want the murukkus to cook through without burning. Gently press spiral-shaped murukkus directly into the hot oil.
- Fry the murukkus until they are golden brown and crispy, flipping them once or twice for even cooking. This usually takes about 3-4 minutes per batch.
- Drain the fried murukkus on paper towels to remove excess oil. Let them cool completely before storing.
Expert Tips
- Dough Consistency is Key: The dough should be soft but not sticky. If it’s too dry, add a little more water. If it’s too sticky, add a little more flour.
- Oil Temperature: Maintaining the right oil temperature is crucial. Too hot, and the murukkus will burn. Too cold, and they’ll absorb too much oil.
- Pressing Technique: Apply even pressure when pressing the murukkus to ensure they are uniform in shape and size.
Variations
- Vegan Thinai Murukku: Simply substitute the butter with a vegan butter alternative or a neutral oil.
- Gluten-Free Confirmation: This recipe is naturally gluten-free, as long as you ensure your rice flour is certified gluten-free.
- Spice Level Adjustment (Mild, Medium, Spicy): Adjust the amount of red chilli powder to your liking. For a milder flavour, use ¼ teaspoon. For a spicier kick, use ¾ teaspoon or even 1 teaspoon.
- Festival Adaptations (Diwali, Krishna Jayanthi): These murukkus are perfect for any Indian festival! You can add a pinch of hing (asafoetida) for a more traditional flavour during Diwali.
Serving Suggestions
These Thinai Murukku are delicious on their own with a cup of chai. They also pair well with a dollop of coconut chutney or a sprinkle of chaat masala. My kids love them packed in their lunchboxes!
Storage Instructions
Once cooled completely, store the murukkus in an airtight container at room temperature. They should stay crispy for up to a week, but honestly, they rarely last that long in my house!
FAQs
What is Thinai and is it Gluten-Free?
Thinai, or foxtail millet, is a nutritious grain that’s naturally gluten-free. It’s a great alternative to rice and wheat, and it’s packed with fiber and protein.
Can I use store-bought fried gram powder?
Yes, you can! But I find that freshly ground fried gram powder has a much better flavour and aroma.
How do I prevent the murukkus from breaking while frying?
Make sure the oil isn’t too hot, and the dough isn’t too dry. Also, gently slide the murukkus into the oil instead of dropping them.
What is the best way to store Thinai Murukku to maintain its crispness?
Store them in an airtight container at room temperature. Adding a small packet of silica gel can also help absorb moisture and keep them crispy.
Can I make this recipe without a murukku press?
It’s definitely trickier, but you can try shaping the murukkus by hand. Roll the dough into small ropes and then coil them into spirals. It will take more time and effort, but it’s possible!


Neha Deshmukh
Neha holds a B.A. in History with a focus on Indian and world history, including ancient, medieval, and modern periods. At RecipesOfIndia.org — the world’s largest database of Indian recipes — she combines her love for food and history by exploring how India’s past has shaped its culinary traditions.