- In a large bowl, combine dry ingredients: instant yeast, salt, sugar, and flour.
- Add 2 tablespoons melted butter and 1 cup lukewarm water. Mix until combined, gradually adding remaining water as needed to form a soft, slightly sticky dough.
- Knead dough by hand for 10-15 minutes (or 8-10 minutes with a mixer) until smooth and elastic. Perform the windowpane test to check readiness.
- Grease a bowl with oil, place the dough in the bowl, turning to coat. Cover with plastic wrap and let rise in a warm place for 1-1.5 hours, or until doubled in size.
- Punch down dough to release air. Roll into a 35x20 cm rectangle, then tightly roll from the short end. Place in a greased loaf pan, cover, and let rise for 30-45 minutes. Preheat oven to 180°C.
- Bake for 35-40 minutes, or until golden brown. Brush top with the remaining tablespoon of melted butter.
- Cool for 5-10 minutes, then tap the bread’s bottom; a hollow sound indicates it’s fully baked. Slice and serve warm.
- Calories:2400 kcal25%
- Energy:10041 kJ22%
- Protein:50 g28%
- Carbohydrates:480 mg40%
- Sugar:12 mg8%
- Salt:600 g25%
- Fat:8 g20%
Last Updated on 6 months ago by Neha Deshmukh
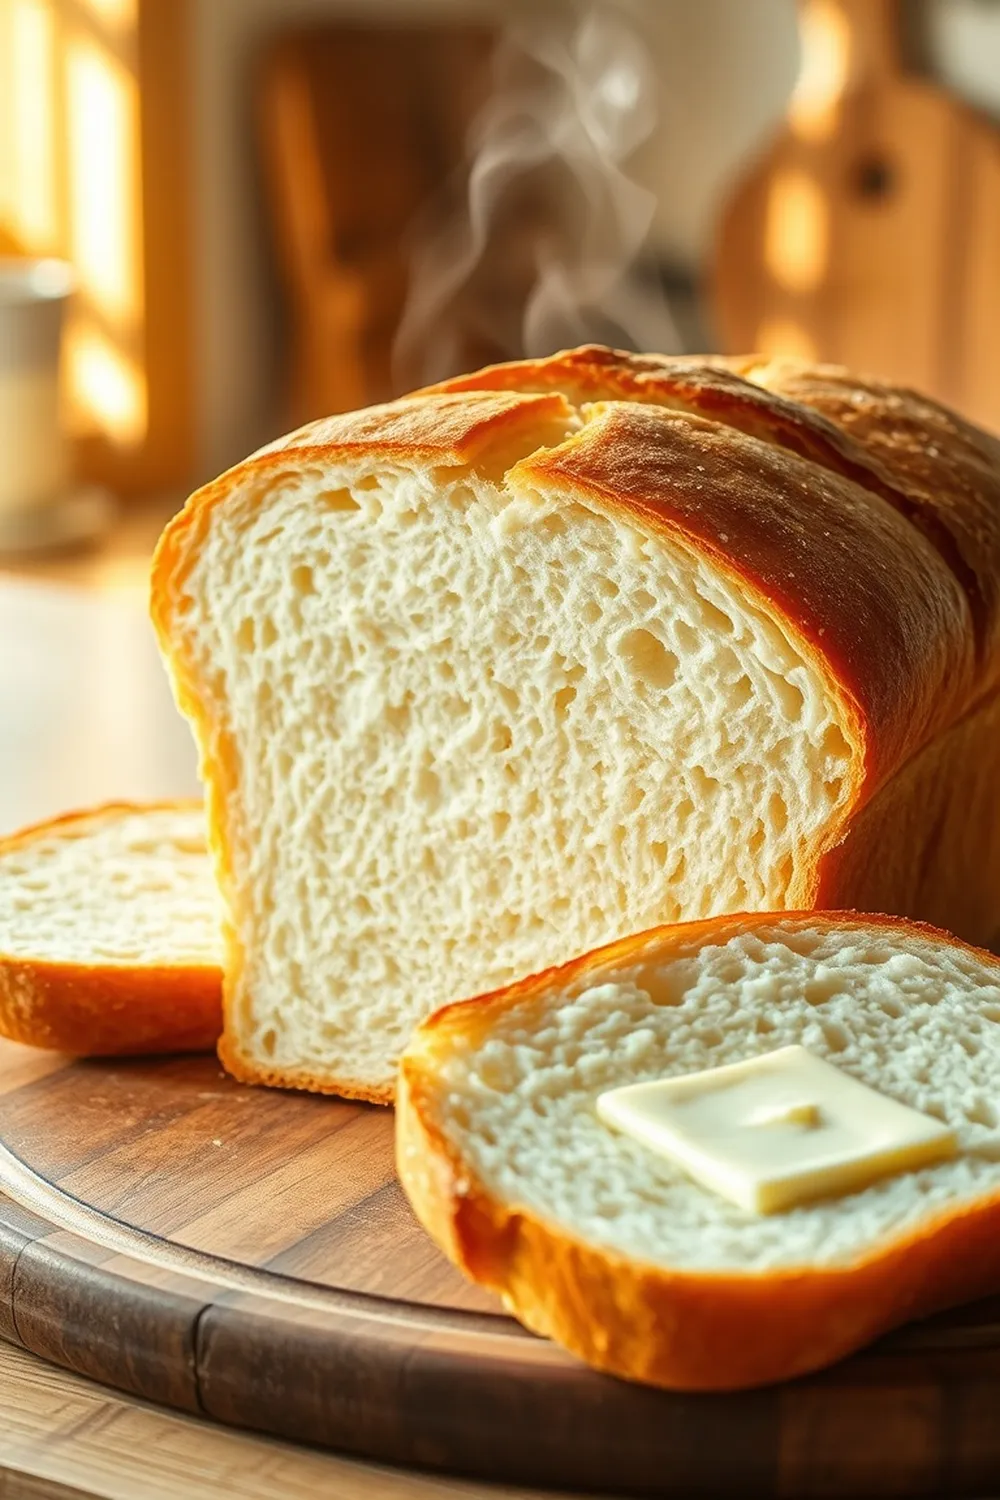
Soft Wheat Flour Bread Recipe – Easy Homemade Indian Style
Hey everyone! There’s just something so comforting about the smell of freshly baked bread, isn’t there? I remember the first time I tried making bread from scratch – it felt a little daunting, but the reward was so worth it. This soft wheat flour bread is a recipe I’ve perfected over the years, and it’s become a staple in my home. It’s perfect with a simple dollop of butter, alongside a hearty Indian meal, or even just toasted with your morning chai. Let’s get baking!
Why You’ll Love This Recipe
This isn’t your average bread recipe. It’s incredibly soft, thanks to the use of wheat flour, and surprisingly easy to make – even if you’re a beginner baker. It’s a fantastic way to enjoy a taste of homemade goodness without spending hours in the kitchen. Plus, it fills your home with the most amazing aroma! This recipe yields 1 lovely loaf, perfect for sharing (or not!).
Ingredients
Here’s what you’ll need to create this fluffy delight:
- 2 tsp instant yeast
- ¼ tsp salt
- 1 tbsp granulated sugar
- 3 cups cake wheat or all-purpose flour (about 360g)
- 2 tbsp melted butter, room temperature (30ml)
- 1 tbsp melted butter, room temperature (for brushing) (15ml)
- 1.5 cups lukewarm water (360ml)
Ingredient Notes
Let’s talk ingredients for a moment. A few little things can make a big difference!
- Flour Power: I love using cake wheat flour (maida) for this recipe because it gives the bread an incredibly soft and tender crumb. All-purpose flour works beautifully too, but the texture will be slightly different – a little more chewy.
- Yeast Talk: We’re using instant yeast here, which means you can add it directly to the flour without proofing. If you only have active dry yeast, you’ll need to proof it in a little warm water with sugar for about 5-10 minutes until it gets foamy before adding it to the other ingredients.
- Water Temperature is Key: Lukewarm water is crucial! Too hot, and you’ll kill the yeast. Too cold, and it won’t activate properly. Aim for around 105-115°F (40-46°C) – it should feel comfortably warm to the touch.
Step-By-Step Instructions
Alright, let’s get down to business!
- In a large bowl, combine the dry ingredients: instant yeast, salt, sugar, and flour. Give it a good whisk to make sure everything is evenly distributed.
- Add 2 tablespoons of melted butter and 1 cup of lukewarm water. Mix everything together until it starts to come together. Gradually add the remaining water, a little at a time, until you form a soft, slightly sticky dough. Don’t be afraid to get your hands in there!
- Now for the kneading! You can do this by hand for about 15 minutes, or with a stand mixer using the dough hook for about 8 minutes. The goal is to develop the gluten, which will give the bread its structure.
- To check if the dough is ready, perform the windowpane test (more on that in the tips section!).
- Grease a bowl with a little oil, then coat the dough with oil as well. This prevents it from drying out. Cover the bowl with cling wrap and let it rise in a warm place for about an hour, or until it has doubled in size.
- Once the dough has risen, gently punch it down to release the air. Roll it out into a 35×20 cm rectangle, then tightly roll it up from the short end. Place the rolled dough seam-side down in a greased loaf pan. Cover it again and let it rise for another 15 minutes. While it’s rising, preheat your oven to 180°C (350°F).
- Bake for 35 minutes, or until the bread is golden brown. Brush the top with the remaining tablespoon of melted butter for a beautiful shine.
- Let the bread cool in the pan for about 5 minutes before tapping the bottom. If it sounds hollow, it’s fully baked! Slice and serve warm.
Expert Tips
Want to take your bread-making skills to the next level? Here are a few tips I’ve learned along the way:
- Kneading is Key: Don’t skimp on the kneading! It’s what develops the gluten and gives the bread its structure. If kneading by hand, use the heel of your hand to push the dough away from you, then fold it back over and repeat.
- The Windowpane Test: This is how you know if your dough is kneaded enough. Take a small piece of dough and gently stretch it between your fingers. If you can stretch it thin enough to see light through it without it tearing, it’s ready!
- Dough Consistency: The dough should be soft and slightly sticky, but not so sticky that it’s impossible to handle. If it’s too sticky, add a little flour, one tablespoon at a time. If it’s too dry, add a little water, one teaspoon at a time.
Variations
Feeling creative? Here are a few ways to customize this recipe:
- Vegan Adaptation: Swap the butter for a plant-based butter alternative and ensure your sugar is vegan-friendly. It’s that simple!
- Whole Wheat Variation: Replace up to half of the wheat flour with whole wheat flour for a nuttier flavor and added fiber.
- Spice Level: My friend loves adding a teaspoon of her favorite garam masala to the dough for a warm, aromatic bread. You could also try adding chopped herbs like rosemary or thyme.
- Festival Adaptations: During Diwali, my family loves serving this bread with chole (chickpea curry) and aloo sabzi (potato curry). It’s also wonderful with a rich butter chicken during celebrations.
Serving Suggestions
This bread is incredibly versatile! Here are a few ideas:
- Enjoy it warm with a simple spread of butter or jam.
- Serve it alongside your favorite Indian curries.
- Make toast with avocado and a sprinkle of chili flakes.
- Use it to make sandwiches or French toast.
Storage Instructions
- Room Temperature: Store leftover bread in an airtight container at room temperature for up to 2 days.
- Freezing: This bread freezes beautifully! Wrap it tightly in plastic wrap and then in foil, or place it in a freezer-safe bag. It will keep in the freezer for up to 3 months. Thaw overnight in the refrigerator.
FAQs
Let’s address some common questions:
1. Can I use active dry yeast instead of instant yeast? What adjustments should I make?
Yes, you can! You’ll need to proof the active dry yeast in a little warm water with sugar for about 5-10 minutes until it gets foamy before adding it to the other ingredients.
2. What does the windowpane test tell me, and why is it important?
The windowpane test tells you if the gluten in the dough has been developed enough. If you can stretch the dough thin enough to see light through it without it tearing, it means the gluten is strong and the bread will have a good structure.
3. My dough is too sticky/dry. What should I do?
If the dough is too sticky, add a little flour, one tablespoon at a time. If it’s too dry, add a little water, one teaspoon at a time.
4. Can I make this bread without a mixer?
Absolutely! Kneading by hand takes a little more effort, but it’s definitely doable. Just be prepared to spend about 15 minutes kneading.
5. How can I tell if the bread is fully baked without tapping it?
The bread should be golden brown and sound hollow when tapped. You can also use a thermometer to check the internal temperature – it should be around 93-99°C (200-210°F).
6. Can this bread be frozen? If so, how?
Yes! Wrap it tightly in plastic wrap and then in foil, or place it in a freezer-safe bag. It will keep in the freezer for up to 3 months.
Happy baking, everyone! I hope you enjoy this recipe as much as my family does. Let me know how it turns out in the comments below!


Neha Deshmukh
Neha holds a B.A. in History with a focus on Indian and world history, including ancient, medieval, and modern periods. At RecipesOfIndia.org — the world’s largest database of Indian recipes — she combines her love for food and history by exploring how India’s past has shaped its culinary traditions.


