- Soak basmati rice in water for 30 minutes. Drain and spread on a clean cloth to dry completely. Grind into a fine powder.
- Bring milk to a boil in a non-stick saucepan. Reduce heat and simmer for 10-15 minutes, stirring frequently to prevent sticking and reduce slightly.
- Add rice flour gradually while stirring constantly to prevent lumps. Cook on low heat for 15-20 minutes, stirring continuously, until thickened.
- Stir in sugar and cook for 5 more minutes. Crumble khoya and mix with a little warm milk to form a smooth paste, then blend into the mixture.
- Add cardamom powder and cook for another 2-3 minutes. Remove from heat and let it cool completely.
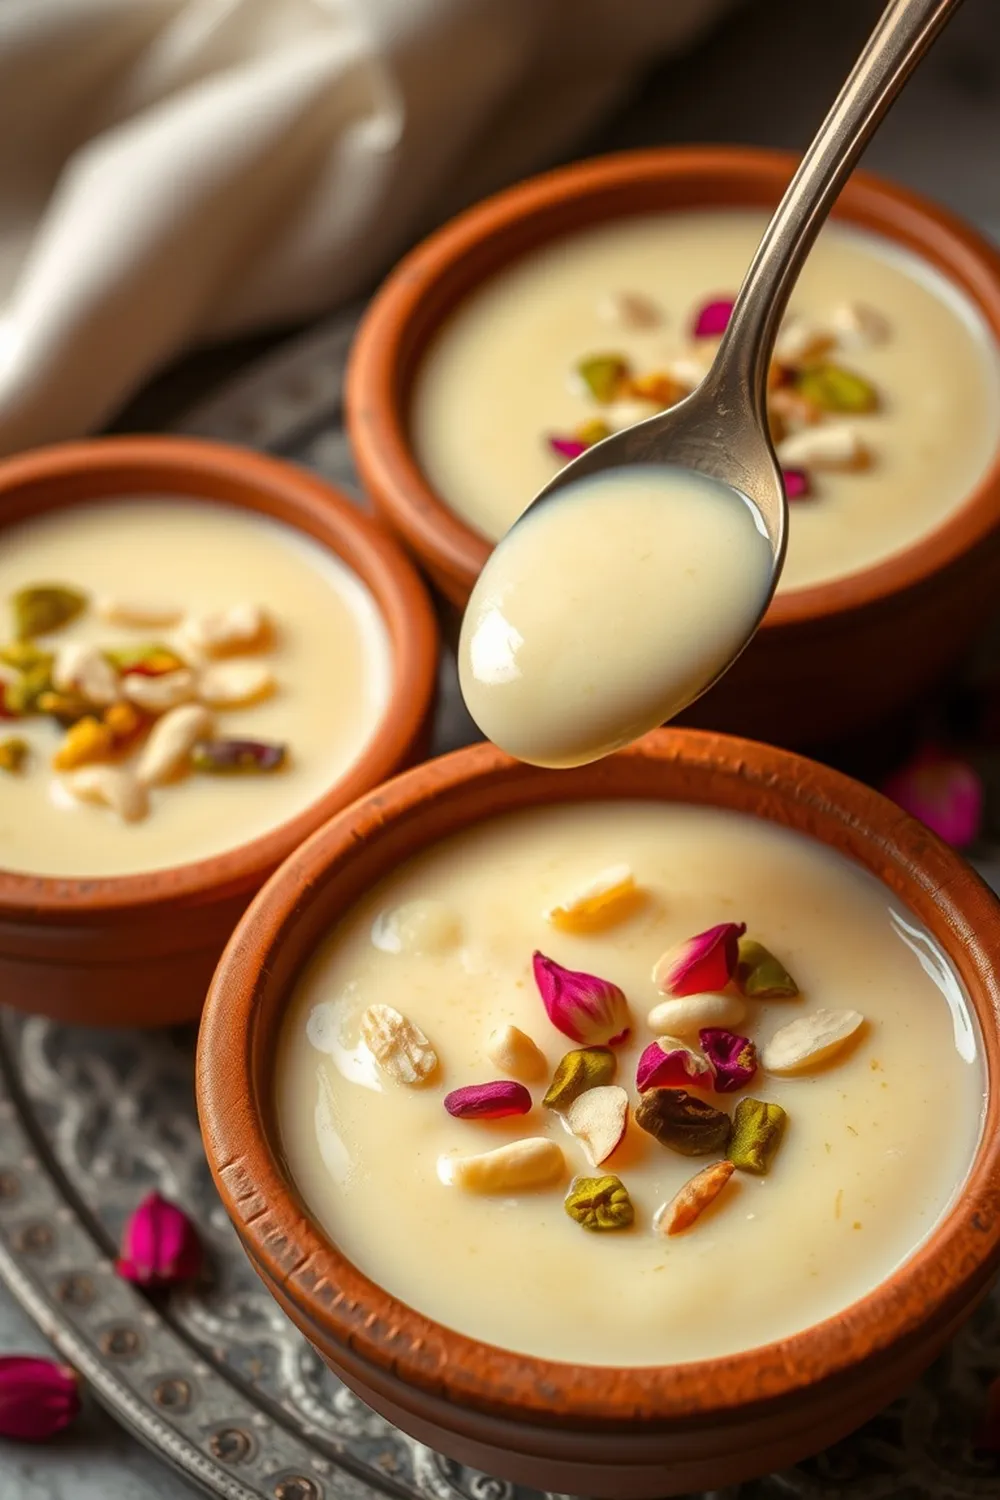
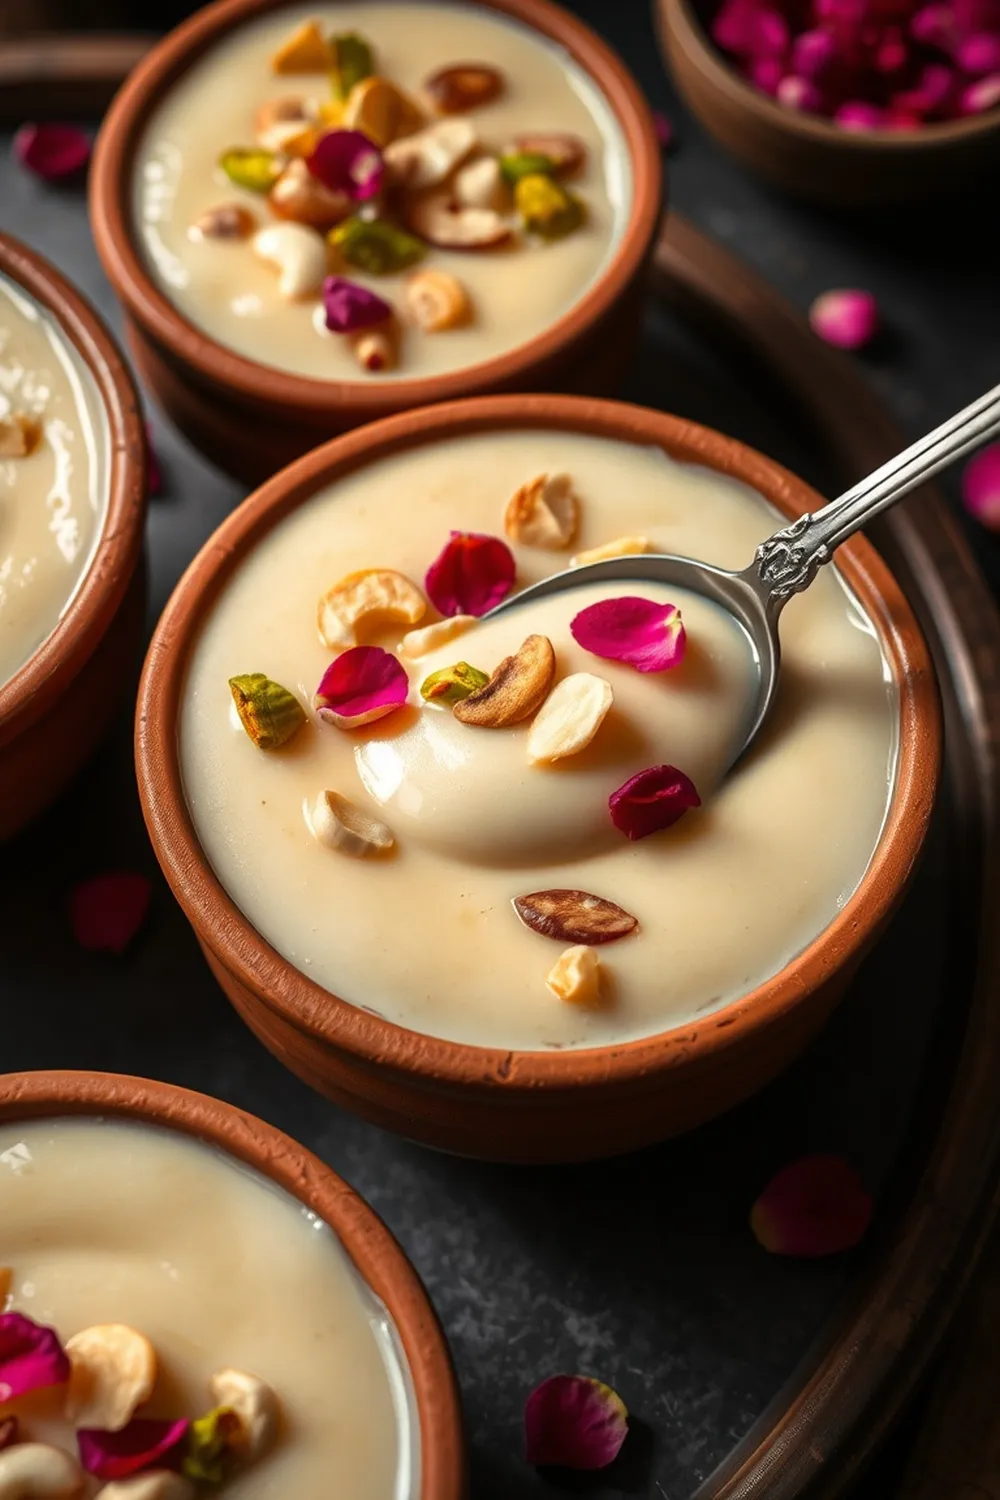
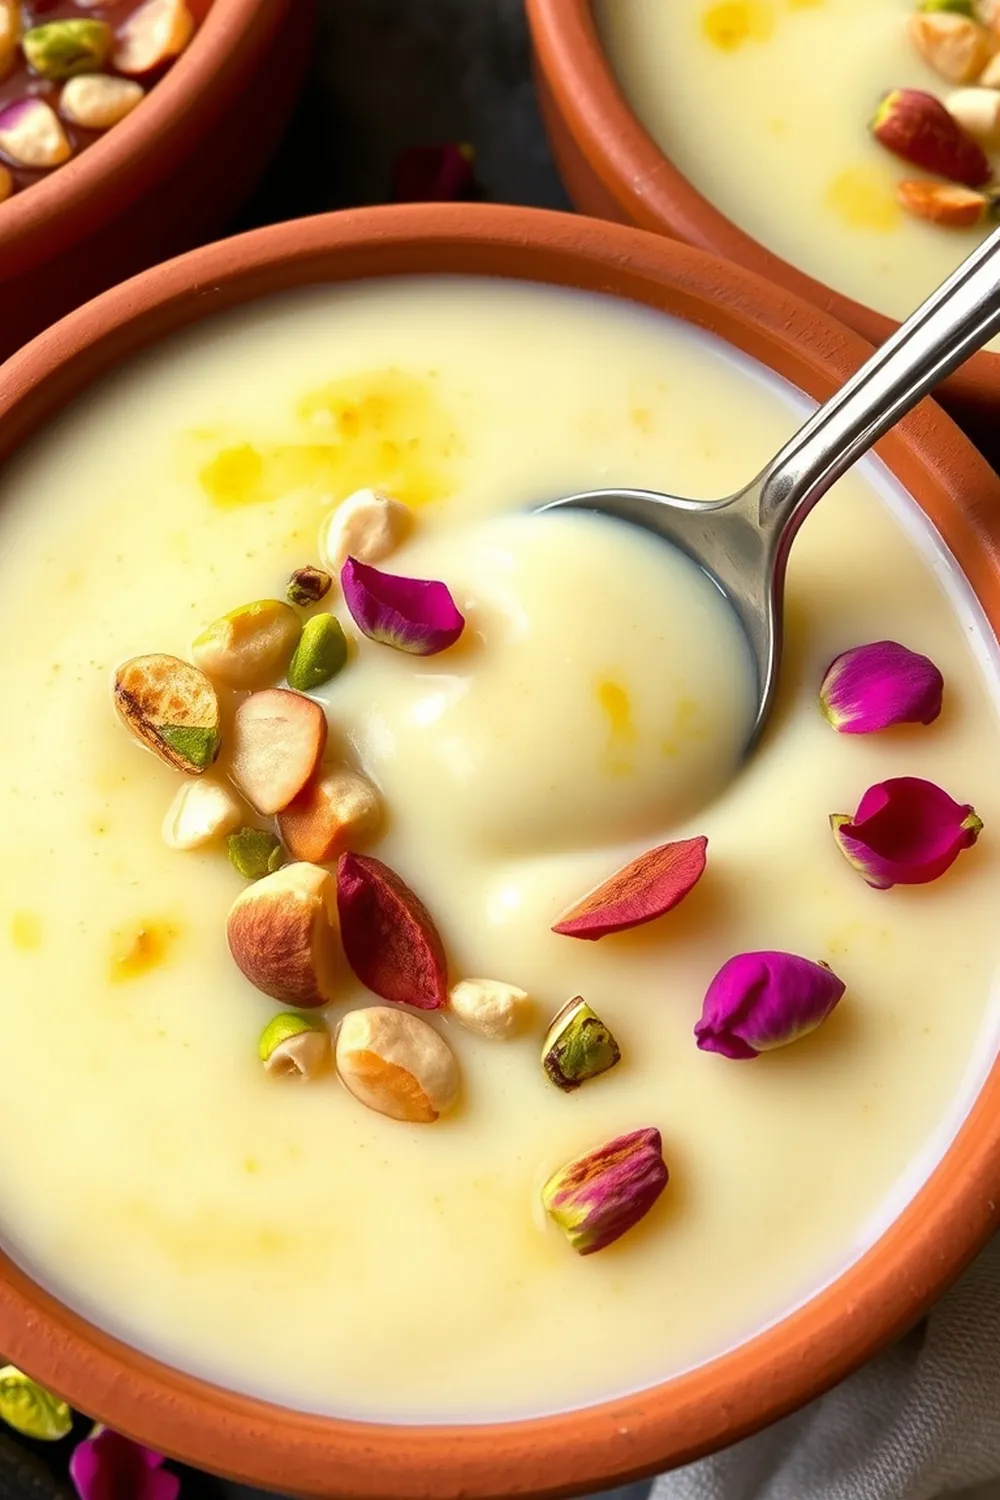
- Garnish with sliced almonds, cashews, and pistachios. Chill for at least 2-3 hours before serving.
- Calories:300 kcal25%
- Energy:1255 kJ22%
- Protein:8 g28%
- Carbohydrates:60 mg40%
- Sugar:35 mg8%
- Salt:80 g25%
- Fat:12 g20%
Last Updated on 6 months ago by Neha Deshmukh
Basmati Rice Kheer Recipe – Authentic Indian Milk Pudding
Introduction
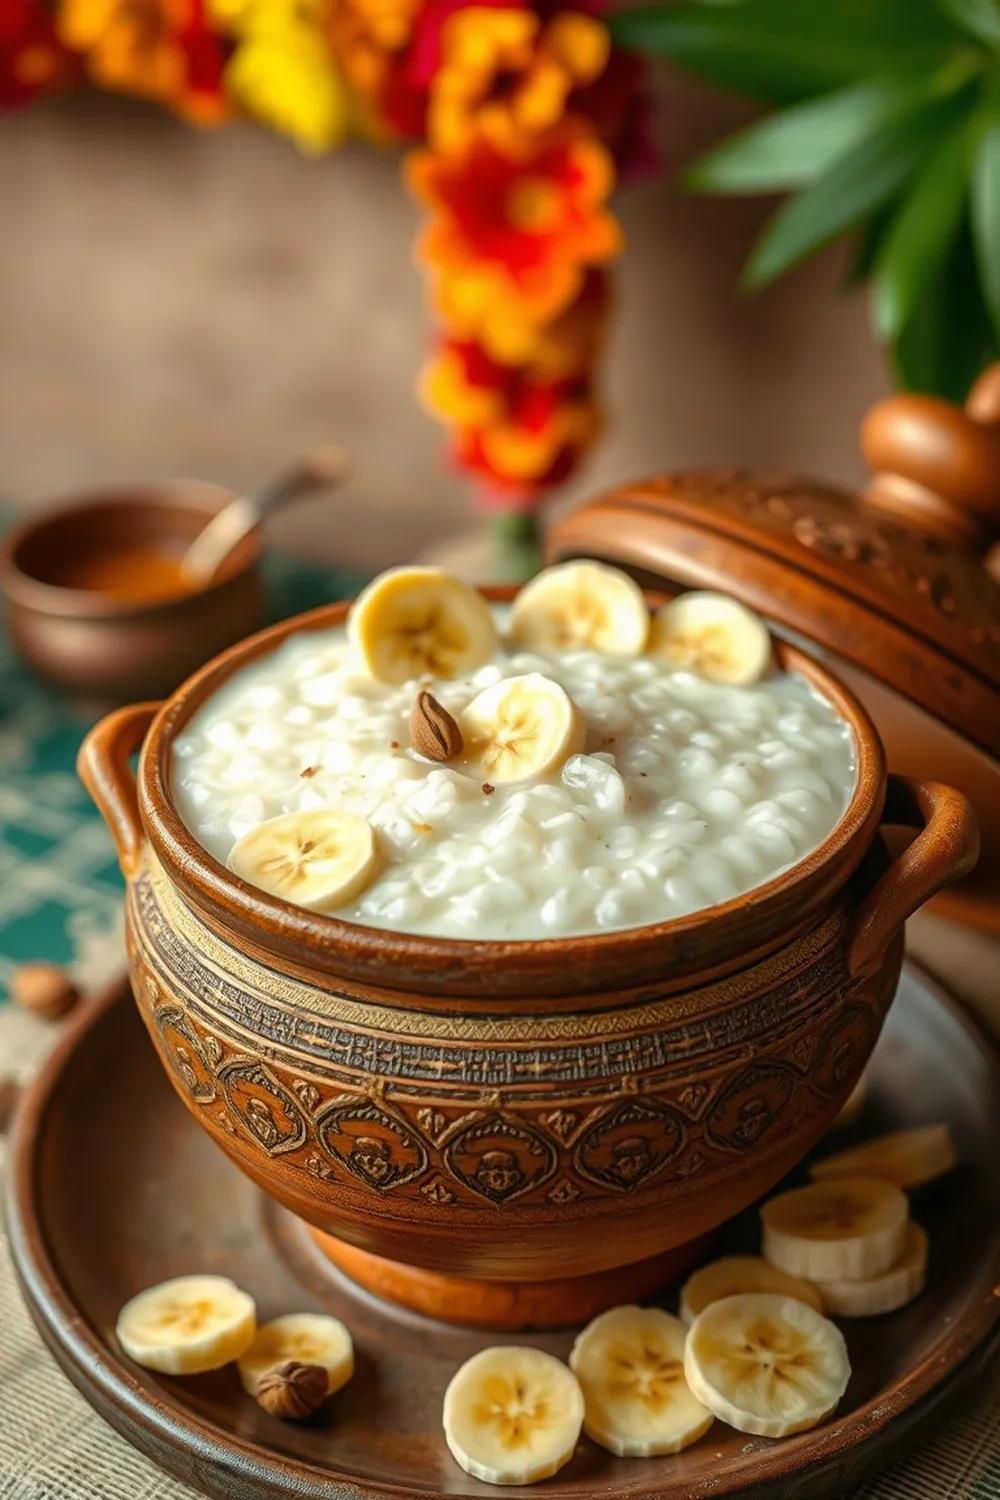
Oh, Kheer! Is there anything more comforting? This creamy, dreamy rice pudding is a staple in Indian households, and honestly, it’s the dessert I always request my mom to make. It’s a dish that just feels like home. Today, I’m sharing my family’s treasured recipe for Basmati Rice Kheer – a slightly more refined version thanks to the fragrant basmati rice. It’s a little bit of effort, but trust me, every spoonful is worth it.
Why You’ll Love This Recipe
This isn’t just any kheer. Using basmati rice gives it a delicate, almost floral aroma that elevates the whole experience. It’s rich, creamy, and perfectly sweet – a classic Indian dessert that’s guaranteed to impress. Plus, it’s perfect for celebrations or just a cozy night in.
Ingredients
Here’s what you’ll need to make this delicious Basmati Rice Kheer:
- 750 ml milk (full fat or toned)
- 4 tablespoons basmati rice (approximately 30g)
- 1.5 cup sugar (approximately 300g)
- 2 tablespoons khoya (approximately 30g)
- 1 teaspoon elaichi powder (cardamom powder)
- 2-3 tablespoons sliced almonds, cashews, and pistachios (for garnish)
Ingredient Notes
Let’s talk ingredients! A few little tips can make all the difference.
Basmati Rice – Choosing the Right Grain
Basmati rice is key here. Look for long-grain basmati – it cooks up fluffy and doesn’t get mushy. I prefer aged basmati for the best flavour and texture.
Khoya – Understanding This Dairy Essential
Khoya, also known as mawa, is a concentrated milk product. It adds a wonderful richness and depth of flavour. You can find it at Indian grocery stores, or even make your own (though that’s a project for another day!). If you can’t find it, I’ll share a substitution in the FAQs.
Elaichi (Cardamom) – The Queen of Indian Spices
Freshly ground cardamom is always best. The aroma is incredible! If you’re using store-bought powder, make sure it’s relatively fresh.
Milk – Full Fat vs. Toned Milk for Kheer
Full-fat milk will give you the richest, creamiest kheer. However, toned milk works just fine if you prefer a lighter version. It will affect the final texture slightly, making it a little less decadent.
Sugar – Adjusting Sweetness to Your Preference
I like my kheer on the sweeter side, but feel free to adjust the sugar to your liking. Start with 1.25 cups and taste as you go.
Step-By-Step Instructions
Alright, let’s get cooking!
- First, soak the basmati rice in water for about 30 minutes. This helps it cook evenly.
- Drain the rice and spread it out on a clean muslin cloth to dry completely. This is important!
- Once dry, grind the rice into a fine powder. It should be almost like flour.
- In a non-stick saucepan, bring the milk to a boil. Then, reduce the heat and simmer for about 10 minutes, stirring often to prevent it from sticking.
- Now, the tricky part! Gradually add the rice flour to the simmering milk, whisking constantly to avoid lumps. Keep the heat low and cook for about 20 minutes, stirring frequently, until the mixture thickens.
- Stir in the sugar and cook for another 5 minutes until dissolved.
- Take the khoya and mix it with a little milk to form a smooth paste. Add this paste to the kheer and blend well.
- Add the cardamom powder and cook for another 5 minutes, stirring continuously.
- Remove from heat and let the kheer cool completely.
- Garnish with sliced almonds, cashews, and pistachios.
- Chill in the refrigerator for at least 2-3 hours before serving. This allows the flavours to meld and the kheer to thicken further.
Expert Tips
Here are a few things I’ve learned over the years to make the perfect kheer:
Achieving the Perfect Kheer Consistency
The key is patience! Cook the rice flour slowly and stir constantly. You want a creamy, pudding-like consistency – not too thick, not too thin.
Preventing Rice from Sticking During Cooking
A non-stick pan is your best friend here. And don’t forget to stir, stir, stir!
Infusing Maximum Cardamom Flavor
Lightly crushing the cardamom pods before grinding releases more flavour.
Using Khoya Effectively
Making a paste with a little milk before adding it to the kheer ensures it blends in smoothly.
Tips for Garnishing
Don’t be shy with the nuts! A generous sprinkle of almonds, cashews, and pistachios adds a lovely crunch and visual appeal. You can even lightly toast the nuts for extra flavour.
Variations
Want to switch things up? Here are a few ideas:
Vegan Kheer Adaptation
Substitute the milk with almond or coconut milk and replace the khoya with cashew cream. It won’t be exactly the same, but it’s a delicious vegan alternative!
Gluten-Free Confirmation
This recipe is naturally gluten-free, as basmati rice and the other ingredients don’t contain gluten.
Adjusting Spice Level – More or Less Cardamom
If you’re not a huge cardamom fan, start with ½ teaspoon and taste. You can always add more! My grandmother always added a pinch of nutmeg too – feel free to experiment.
Festival Adaptations – Kheer for Diwali, Holi, or Eid
Kheer is a must-have for festivals! For Diwali, I like to add a few strands of saffron for a golden hue.
Quick Kheer – Using Rice Flour Directly (No Soaking)
In a pinch, you can skip the soaking and grinding and use store-bought rice flour. You might need to adjust the amount of milk slightly.
Serving Suggestions
Kheer is wonderful on its own, but it’s also lovely served with a side of fruit or a sprinkle of rose petals. It’s a perfect ending to any Indian meal.
Storage Instructions
Kheer will keep in the refrigerator for up to 3 days. The consistency may thicken slightly as it sits, so you might need to add a splash of milk when reheating.
FAQs
Let’s answer some common questions:
What is the best type of rice to use for Kheer?
Basmati rice is the best! Its aroma and texture are perfect for kheer.
Can I make Kheer ahead of time?
Yes, absolutely! In fact, kheer often tastes even better the next day after the flavours have had a chance to meld.
How do I prevent a skin from forming on top of the Kheer?
Place a piece of cling film directly on the surface of the kheer while it’s cooling. This will prevent a skin from forming.
What can I substitute for Khoya in this recipe?
If you can’t find khoya, you can use ricotta cheese (drained well) or even cream cheese as a substitute.
Is it possible to make sugar-free Kheer?
Yes! You can use a sugar substitute like stevia or erythritol. Just adjust the amount according to the package instructions.
Neha Deshmukh
Neha holds a B.A. in History with a focus on Indian and world history, including ancient, medieval, and modern periods. At RecipesOfIndia.org — the world’s largest database of Indian recipes — she combines her love for food and history by exploring how India’s past has shaped its culinary traditions.