- In a bowl, combine chickpea flour, chili powder, asafoetida, salt, and 1 tablespoon of oil. Gradually add water while whisking to form a thick, lump-free batter.
- Heat oil in a deep pan over medium-high heat. Once hot, hold a slotted ladle (boondi jhara) over the pan and pour batter through it, letting droplets fall into the oil.
- Fry the boondi until golden brown and crispy, tapping the ladle gently if needed to help release the boondi. Avoid overcrowding the pan. Repeat with the remaining batter.
- In the same oil, briefly fry curry leaves and peanuts until the curry leaves are crisp and the peanuts are lightly golden. Drain and mix with the fried boondi.
- Adjust seasoning as needed. Cool completely before storing in an airtight container.
- Calories:143.81 kcal25%
- Energy:601 kJ22%
- Protein:8 g28%
- Carbohydrates:40 mg40%
- Sugar:2 mg8%
- Salt:400 g25%
- Fat:35 g20%
Last Updated on 6 months ago by Neha Deshmukh
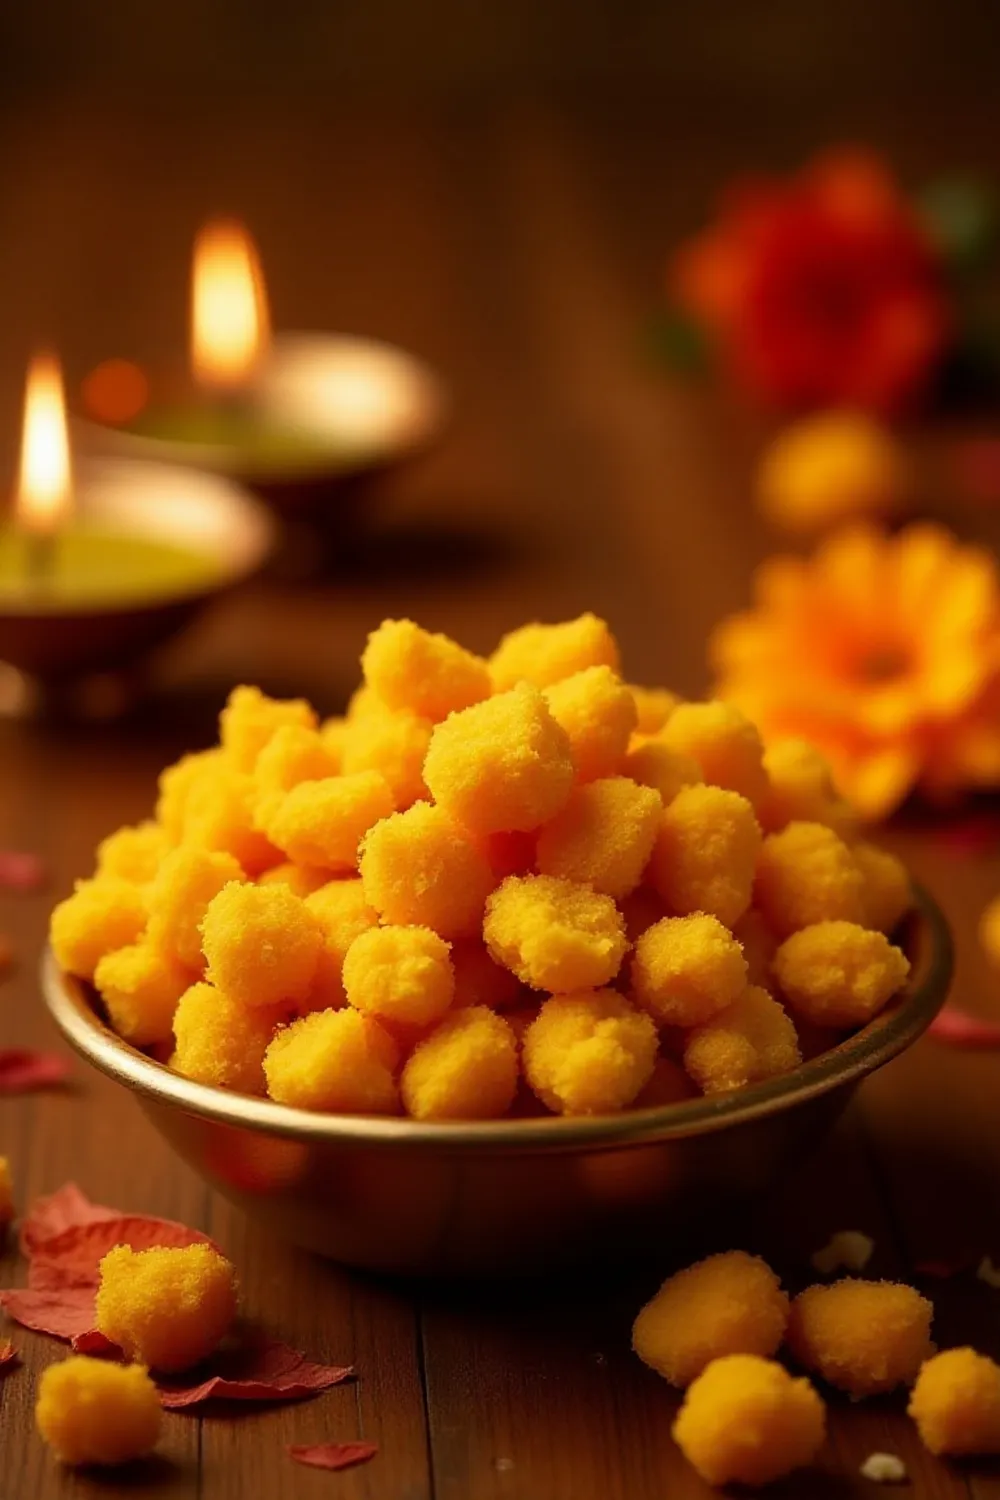
Crispy Boondi Recipe – Chickpea Flour Snacks with Curry Leaves & Peanuts
Hey everyone! If you’re anything like me, you love a good crunchy snack. And honestly, few things beat a batch of homemade boondi – those tiny, golden-fried chickpea flour balls. I remember making this with my grandmother for the first time, and the smell instantly transports me back to her kitchen. It’s a little bit of effort, but totally worth it for that satisfying crunch! This recipe adds a lovely touch with curry leaves and peanuts, taking it to another level. Let’s get started!
Why You’ll Love This Recipe
This boondi recipe is seriously addictive. It’s crispy, savory, and packed with flavor. It’s perfect for an afternoon tea, a quick snack, or even as a festive treat. Plus, it’s surprisingly simple to make once you get the hang of the batter consistency. Trust me, you’ll be reaching for more!
Ingredients
Here’s what you’ll need to make a batch of these delightful little bites:
- 1 cup chickpea flour (besan) – about 120g
- 1 teaspoon chili powder or paprika
- 1 teaspoon asafoetida (hing)
- 1 tablespoon cooking oil
- Salt to taste
- Water as required (approximately ½ – ¾ cup)
- Vegetable oil for frying
- 10-12 curry leaves
- ½ cup peanuts (about 75g)
Ingredient Notes
Let’s talk ingredients! A few things can really make or break this recipe.
Chickpea Flour – Besan
Good quality besan is key. You want a finely ground flour for the best texture. It’s the star of the show, so don’t skimp!
Asafoetida – Hing
Asafoetida (hing) has a really unique, pungent smell in its raw form, but it mellows out beautifully when cooked. It adds a lovely savory depth to the boondi. If you’re not familiar with it, don’t be scared – it’s a staple in Indian cooking!
Regional Variations in Spice Levels
Spice levels are totally up to you! I’ve used 1 teaspoon of chili powder, but feel free to adjust it based on your preference. Some families in Rajasthan love to add a pinch of turmeric for color, while others prefer a dash of cumin.
Step-By-Step Instructions
Alright, let’s get cooking!
- First, in a bowl, combine the chickpea flour, chili powder, asafoetida, salt, and 1 tablespoon of oil.
- Now, gradually add water while whisking constantly. You want a thick, lump-free batter – think the consistency of a slightly thick pancake batter. Don’t add all the water at once; add it a little at a time until you get the right consistency.
- Heat vegetable oil in a deep pan over medium-high heat. You’ll know it’s ready when a tiny drop of batter sizzles immediately.
- This is where the fun begins! Hold a slotted ladle (boondi jhara) over the hot oil. Pour a small amount of batter onto the ladle, letting tiny droplets fall into the oil.
- Fry the boondi until it’s golden brown and crispy. Gently tap the ladle to help the droplets fall. Don’t overcrowd the pan – work in batches.
- Once fried, remove the boondi with a slotted spoon and drain on paper towels.
- In the same oil, quickly fry the curry leaves and peanuts until the curry leaves are crisp and the peanuts are lightly browned. Drain these on paper towels too.
- Finally, mix the fried boondi with the fried curry leaves and peanuts. Adjust the seasoning if needed.
- Let it cool completely before storing. Seriously, don’t skip this step – warm boondi gets soggy!
Expert Tips
- Batter Consistency is Key: If your batter is too thin, the boondi will spread out and become flat. Too thick, and it won’t drop easily.
- Oil Temperature: Maintaining the right oil temperature is crucial. If it’s not hot enough, the boondi will absorb too much oil.
- Don’t Overcrowd: Frying in batches ensures even cooking and crispiness.
Variations
Want to switch things up? Here are a few ideas:
- Vegan Adaptation: This recipe is naturally vegan! Just ensure the oil you use is plant-based.
- Gluten-Free Confirmation: Chickpea flour is naturally gluten-free, so this recipe is perfect for those avoiding gluten.
- Spice Level Adjustments: My friend, Priya, loves to add a pinch of garam masala for extra warmth. Feel free to experiment!
- Diwali/Festival Snack Adaptation: During Diwali, my family loves to add a sprinkle of powdered sugar to the boondi for a sweet and savory treat.
Serving Suggestions
Boondi is fantastic on its own as a snack. But it’s also delicious sprinkled over chaat, added to trail mix, or even enjoyed with a cup of chai.
Storage Instructions
Store the cooled boondi in an airtight container at room temperature. It should stay crispy for up to a week, but honestly, it rarely lasts that long in my house!
FAQs
Let’s answer some common questions:
What is the best type of oil for frying boondi?
Vegetable oil, sunflower oil, or peanut oil all work well. You want a neutral-flavored oil with a high smoke point.
How do I get the boondi perfectly crispy?
Make sure your oil is hot enough and don’t overcrowd the pan. Also, draining the boondi on paper towels helps remove excess oil.
Can I make boondi batter ahead of time?
You can, but it’s best to use it immediately. If you do make it ahead, store it in the refrigerator and whisk well before using. You might need to add a little water to adjust the consistency.
What is asafoetida and can I substitute it?
Asafoetida (hing) is a resin with a pungent smell used for its digestive properties and unique flavor. If you can’t find it, you can try substituting with a pinch of garlic powder, but it won’t be quite the same.
How do I store boondi to maintain its crispness?
An airtight container is essential! Make sure the boondi is completely cool before storing. Adding a small packet of silica gel (those little packets you find in new shoes) can also help absorb moisture.
Enjoy making this recipe! I hope it brings a little bit of Indian sunshine into your kitchen. Let me know how it turns out in the comments below!


Neha Deshmukh
Neha holds a B.A. in History with a focus on Indian and world history, including ancient, medieval, and modern periods. At RecipesOfIndia.org — the world’s largest database of Indian recipes — she combines her love for food and history by exploring how India’s past has shaped its culinary traditions.


