- In a blender, combine thawed frozen shredded coconut and hot water. Let soak for 30 minutes.
- Blend the mixture on high speed for 2-3 minutes until smooth and creamy.
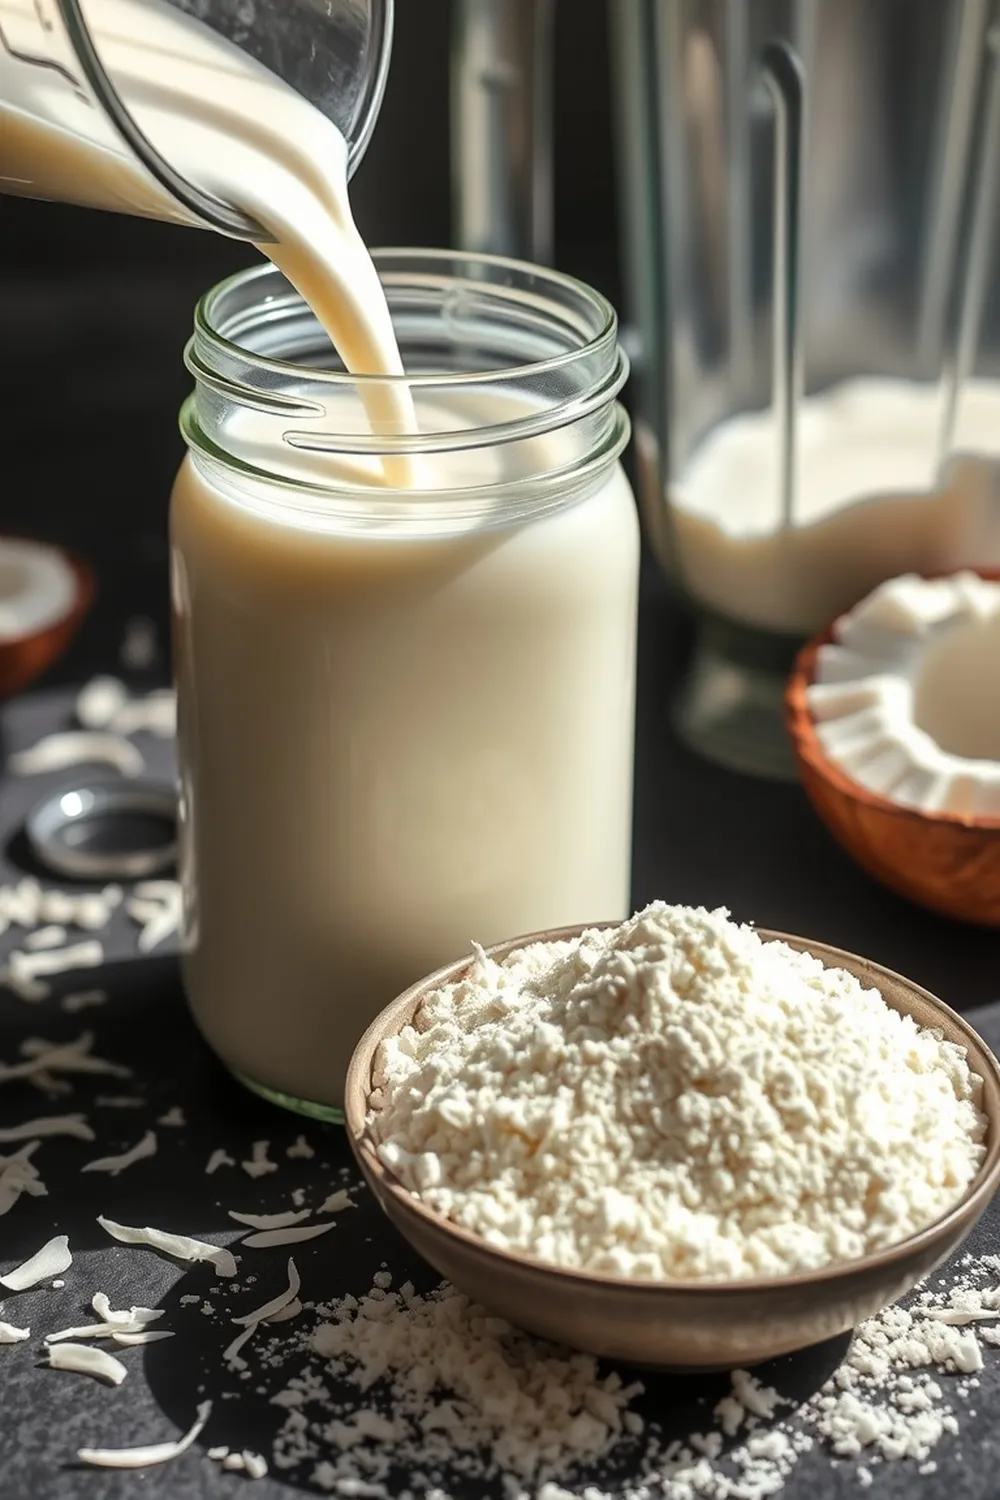
- Strain the liquid through a nut milk bag or several layers of cheesecloth to separate the coconut milk from the pulp.
- Transfer coconut milk to a glass jar and refrigerate for up to 3 days.
- Spread the leftover coconut pulp evenly on a dehydrator tray and dry at 170°F (77°C) for 6-8 hours, or until completely dry.
- Blend the dehydrated pulp in a high-speed blender or food processor until it becomes a fine powder.
- Store coconut flour in an airtight container for future use.
- Calories:180 kcal25%
- Energy:753 kJ22%
- Protein:2 g28%
- Carbohydrates:6 mg40%
- Sugar:1 mg8%
- Salt:10 g25%
- Fat:18 g20%
Last Updated on 2 months by Neha Deshmukh
Homemade Coconut Milk & Flour Recipe – Easy Indian Kitchen Guide
Hey everyone! If you’ve ever wondered what goes into that creamy, dreamy coconut milk used in so many Indian dishes, or wished you could avoid the preservatives in store-bought coconut flour, you’re in the right place. I remember the first time I tried making coconut milk at home – I was amazed at how easy it was, and the flavour was so much richer than anything I’d bought before. Today, I’m sharing my go-to method for making both homemade coconut milk and turning the leftover pulp into wonderfully fine coconut flour. Let’s get started!
Why You’ll Love This Recipe
Honestly, making your own coconut milk and flour is a game-changer. It’s surprisingly simple, uses just two ingredients, and gives you control over the quality and flavour. Plus, you’re reducing waste by using every part of the coconut! You’ll be amazed at how much more flavourful your curries and baked goods become.
Ingredients
Here’s what you’ll need:
- 3 cups frozen shredded coconut, thawed (about 300g)
- 6 cups water (1.4 liters)
Ingredient Notes
Using frozen shredded coconut is my secret weapon! It’s often more affordable than fresh, and it yields a beautifully creamy coconut milk. Thawing it beforehand makes blending so much easier. Don’t worry if it looks a little clumpy when thawed – that’s perfectly normal.
The quality of your shredded coconut really impacts the final flavour, so try to find unsweetened, good-quality coconut. It makes a world of difference!
Step-By-Step Instructions
Okay, let’s make some magic!
- First, combine the thawed shredded coconut and water in a blender.
- Let this mixture soak for about 30 minutes. This helps soften the coconut and makes it easier to blend into a smooth consistency.
- Now, blend everything on high speed for 1-2 minutes. You want it to be really smooth and creamy.
- Next, strain the mixture through a nut milk bag or a fine-mesh strainer. This separates the coconut milk from the pulp. Squeeze the bag really well to get every last drop of that precious coconut milk!
- Pour the coconut milk into a clean glass jar and refrigerate. It will keep for up to 3 days.
But we’re not stopping there! Let’s turn that leftover pulp into flour.
- Spread the coconut pulp evenly on a dehydrator tray. Dry it at 160°F (71°C) for 3-4 hours, or until it’s completely dry and brittle. If you don’t have a dehydrator, you can use your oven on the lowest setting with the door slightly ajar.
- Once the pulp is dry, blend it in a high-speed blender or food processor until it becomes a fine powder. This might take a few minutes, and you might need to scrape down the sides a couple of times.
- Finally, store your homemade coconut flour in an airtight container. It’ll stay fresh for weeks!
Expert Tips
- Don’t skip the soaking step! It really helps with the blending process.
- If you don’t have a nut milk bag, a few layers of cheesecloth will work in a pinch.
- Make sure the coconut pulp is completely dry before blending it into flour. Otherwise, it will be clumpy.
Variations
- Adjusting Water Ratio for Creaminess: For extra-thick coconut milk, use less water – around 4 cups instead of 6.
- Using Fresh Coconut: If you have access to fresh coconut, you can absolutely use that! Just grate the coconut and follow the same steps. You’ll need about 3 cups of grated fresh coconut.
- Sweetened vs. Unsweetened Coconut: I always recommend unsweetened, but if you only have sweetened shredded coconut, you can use it. Just be aware that your coconut milk will be slightly sweet.
- Using Coconut Milk in Indian Curries: This homemade coconut milk is amazing in South Indian curries like Kerala Fish Curry or Vegetable Korma. It adds such a lovely richness.
- Coconut Flour in Gluten-Free Baking: My friend, Priya, swears by using this coconut flour in her gluten-free cakes and cookies. It adds a subtle coconut flavour and a lovely texture.
Serving Suggestions
Now that you have both coconut milk and flour, the possibilities are endless!
- Use the coconut milk in your favourite Indian curries, smoothies, or even as a dairy-free alternative in coffee.
- The coconut flour is perfect for gluten-free baking, thickening sauces, or adding a nutty flavour to pancakes.
- Try making a simple coconut rice pudding with the coconut milk – it’s so comforting!
Storage Instructions
- Coconut Milk: Store in an airtight container in the refrigerator for up to 3 days. It will naturally separate, so just give it a good shake before using.
- Coconut Flour: Store in an airtight container at room temperature for several weeks.
FAQs
- How long does homemade coconut milk last in the fridge?
Up to 3 days. It will separate, which is normal – just shake it well before using. - Can I use sweetened shredded coconut?
Yes, but your coconut milk will be slightly sweet. - What can I do with the leftover coconut pulp besides making flour?
You can add it to smoothies, granola, or even use it as a topping for yogurt. - Is it more cost-effective to make coconut milk and flour at home?
Generally, yes! Especially if you use frozen shredded coconut. - Can I freeze the homemade coconut milk?
Yes, you can! Freeze it in ice cube trays for easy portioning.


Neha Deshmukh
Neha holds a B.A. in History with a focus on Indian and world history, including ancient, medieval, and modern periods. At RecipesOfIndia.org — the world’s largest database of Indian recipes — she combines her love for food and history by exploring how India’s past has shaped its culinary traditions.


