- Hull the strawberries by removing the leafy green tops with a paring knife or strawberry huller.
- Roughly chop strawberries, then blend into a puree, leaving some chunks for texture.
- Heat puree in a non-stick saucepan. Add sugar, lemon juice, and salt. Stir well to combine.
- Simmer over medium heat, stirring frequently to prevent burning, for 8-10 minutes.
- Once thickened and glossy, cool completely (the jam will thicken further as it cools).
- Transfer to a sterilized jar and refrigerate for up to 2 weeks.
- Calories:50 kcal25%
- Energy:209 kJ22%
- Protein:g28%
- Carbohydrates:13 mg40%
- Sugar:12 mg8%
- Salt:5 g25%
- Fat:g20%
Last Updated on 4 months by Neha Deshmukh
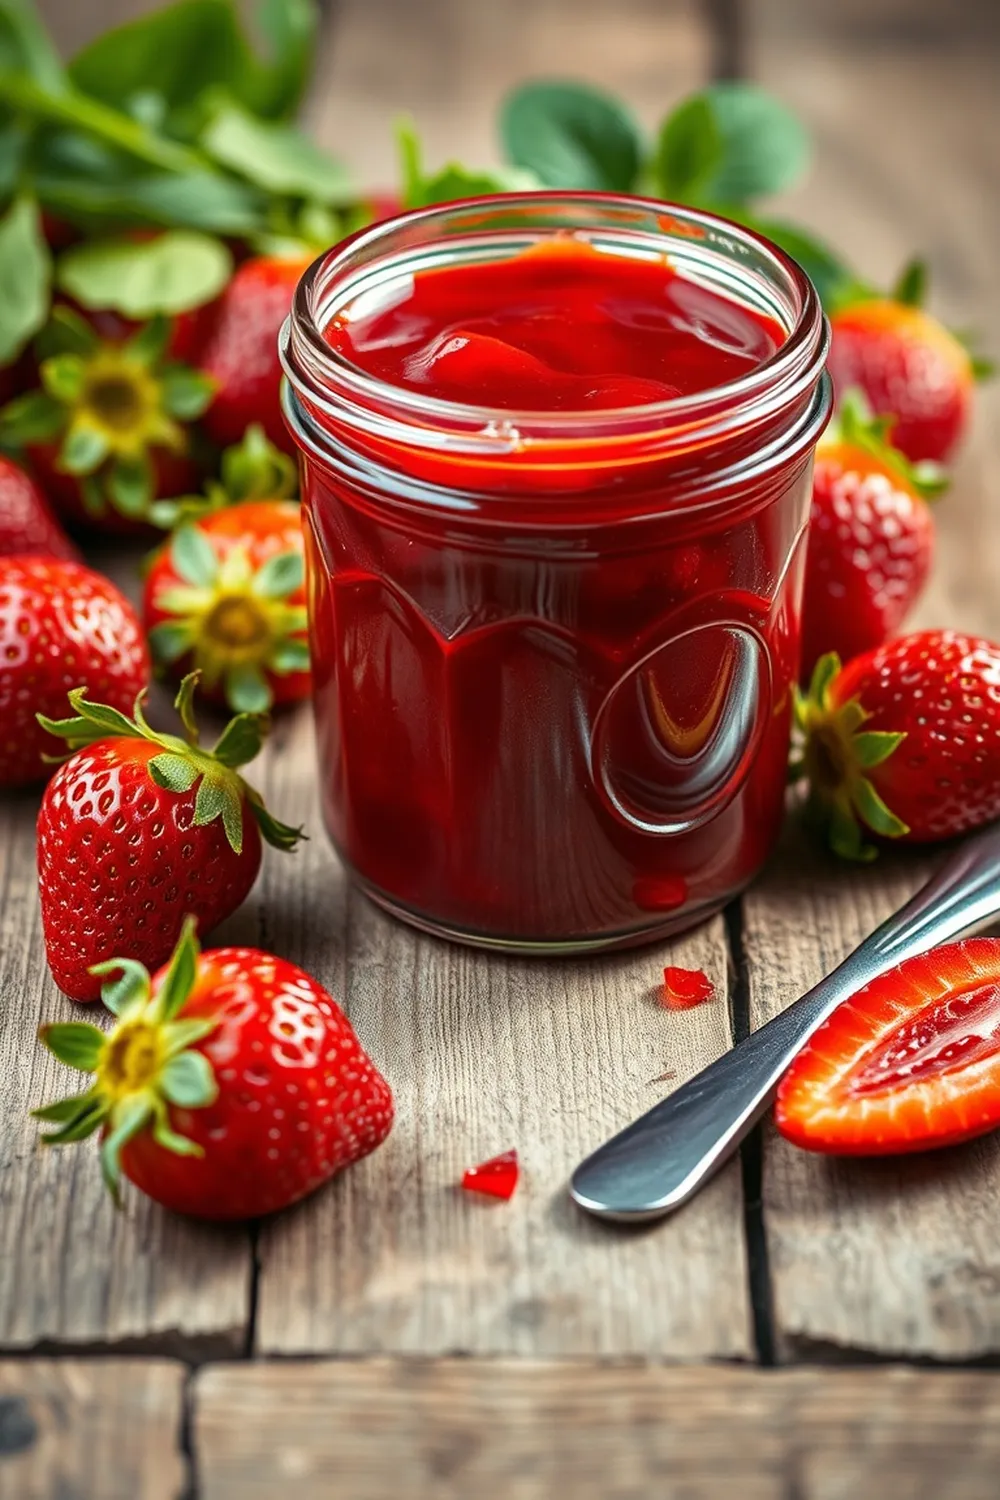
Strawberry Jam Recipe – Easy Homemade Indian Preserves
Hey everyone! There’s just something so special about a jar of homemade jam, isn’t there? It instantly feels like a hug in a jar. I remember making my first batch of jam with my grandmother – the kitchen smelled incredible, and the feeling of accomplishment was huge! Today, I’m sharing my go-to Strawberry Jam recipe. It’s super easy, doesn’t require any fancy equipment, and tastes a million times better than anything you can buy in the store. Let’s get started!
Why You’ll Love This Recipe
This Strawberry Jam recipe is a winner for so many reasons. It’s quick – ready in under 30 minutes! It uses just a handful of ingredients, most of which you probably already have. Plus, it’s incredibly versatile. Spread it on toast, swirl it into yogurt, or even use it as a glaze for cakes and pastries. Honestly, once you make your own, you’ll never go back to store-bought.
Ingredients
Here’s what you’ll need to make this delicious strawberry jam:
- 25-30 strawberries
- ¾ cup sugar (adjust to taste – see notes below!)
- 1 lemon
- A pinch of salt
Ingredient Notes
Let’s talk ingredients! Getting these right will make all the difference.
- Strawberries: Any variety works, but I love using a mix! Alphonso strawberries are amazing when in season, offering a really intense flavour. Otherwise, regular Indian strawberries are perfectly fine. Look for bright red, firm berries.
- Sugar: I usually use caster sugar (superfine sugar) because it dissolves more easily. But granulated sugar works just fine too – just stir a little longer to make sure it’s fully dissolved. You can adjust the amount of sugar depending on how sweet your strawberries are and your personal preference.
- Lemon: Fresh lemon juice is essential. It adds brightness and helps the jam set. Indian lemons (kagzi nimbu) are fantastic – they’re super juicy! If you’re using imported lemons, you might need to use the juice of 1.5 lemons to get enough juice.
Step-By-Step Instructions
Alright, let’s make some jam!
- First, remove the leafy green tops from your strawberries. A sturdy straw inserted from the bottom works wonders for this!
- Roughly chop the strawberries, then pop them into a blender. Pulse until you have a puree, but don’t overdo it – leaving some chunks gives the jam a lovely texture.
- Pour the strawberry puree into a non-stick pan. Add the sugar, lemon juice, and a tiny pinch of salt. Give everything a good mix.
- Now, turn the heat to medium and let it simmer. This is the important part – stir frequently to prevent the jam from sticking and burning. It will take about 8-10 minutes.
- Keep stirring! You’ll notice the jam starts to thicken and become glossy. This is what you want to see.
- Once it’s thickened to your liking, take it off the heat and let it cool completely. Remember, the jam will thicken even more as it cools.
- Finally, carefully transfer the jam to a sterilized jar (more on that in the FAQs!) and refrigerate. It will keep for up to 2 weeks.
Expert Tips
Here are a few things I’ve learned over the years:
- Don’t rush the simmering process. Low and slow is the key to preventing burning and getting the right consistency.
- A little salt balances the sweetness. Don’t skip it!
- Test for set. Place a small spoonful of jam on a chilled plate. If it wrinkles when you push it with your finger, it’s ready.
- Use a heavy-bottomed pan. This helps distribute the heat evenly and prevents scorching.
Variations
Want to get creative? Here are a few ideas:
- Low Sugar: Reduce the sugar to ½ cup, but be aware the jam might be a little softer.
- No Pectin: This recipe doesn’t need pectin, but if you want a firmer set, you can add 1-2 teaspoons of pectin powder.
- Spice Infusions: My friend Priya loves adding a pinch of cardamom powder to her strawberry jam. A tiny grind of black pepper is surprisingly delicious too!
- Festival Gifting: This jam makes a wonderful gift! Decorate the jars with ribbons and labels for Christmas or Diwali. My family always looks forward to receiving a jar of my homemade jam during the holidays.
Serving Suggestions
Okay, so you’ve made the jam… now what?
- Spread it on warm toast or scones.
- Swirl it into yogurt or oatmeal.
- Use it as a filling for cakes, pastries, or thumbprint cookies.
- Serve it with cheese and crackers.
- Honestly, just eat it straight from the jar with a spoon – no judgement here!
Storage Instructions
To keep your jam fresh:
- Store in an airtight, sterilized jar in the refrigerator for up to 2 weeks.
- For longer storage, you can process the jars in a boiling water bath (look up instructions online – it’s a bit more involved).
FAQs
Let’s answer some common questions:
- How do I sterilize jars for jam making? Wash the jars and lids in hot, soapy water. Then, place the jars in a boiling water bath for 10 minutes. The lids should be simmered in hot water for 5 minutes.
- Can I use frozen strawberries for this recipe? Yes, you can! Just thaw them completely and drain off any excess liquid before using.
- What does the consistency of the jam tell me? A thicker, glossy jam is ready. If it’s too runny, simmer for a few more minutes.
- How can I adjust the sweetness of the jam? Add more or less sugar to suit your taste. Remember to taste as you go!
- Why is lemon juice important in jam making? Lemon juice provides pectin, which helps the jam set, and adds a lovely brightness to the flavour.
Enjoy your homemade Strawberry Jam! I hope this recipe brings a little bit of sunshine to your kitchen. Let me know how it turns out in the comments below!
Neha Deshmukh
Neha holds a B.A. in History with a focus on Indian and world history, including ancient, medieval, and modern periods. At RecipesOfIndia.org — the world’s largest database of Indian recipes — she combines her love for food and history by exploring how India’s past has shaped its culinary traditions.