- Combine chicken with all marinade ingredients in a bowl. Add extra yogurt if mixture appears dry.
- Refrigerate marinated chicken for 30-60 minutes.
- Preheat air fryer to 200°C (400°F). Arrange chicken in a single layer on the tray.
- Air fry for 6-7 minutes, flip the pieces, then cook for 6-7 more minutes until crispy.
- Let chicken rest for 5 minutes to set the coating.
- Heat coconut oil in a pan. Sauté slit green chilies and curry leaves until crisp. Toss with chicken.
- Serve immediately while hot.
- Calories:280 kcal25%
- Energy:1171 kJ22%
- Protein:32 g28%
- Carbohydrates:8 mg40%
- Sugar:2 mg8%
- Salt:600 g25%
- Fat:12 g20%
Last Updated on 6 months ago by Neha Deshmukh
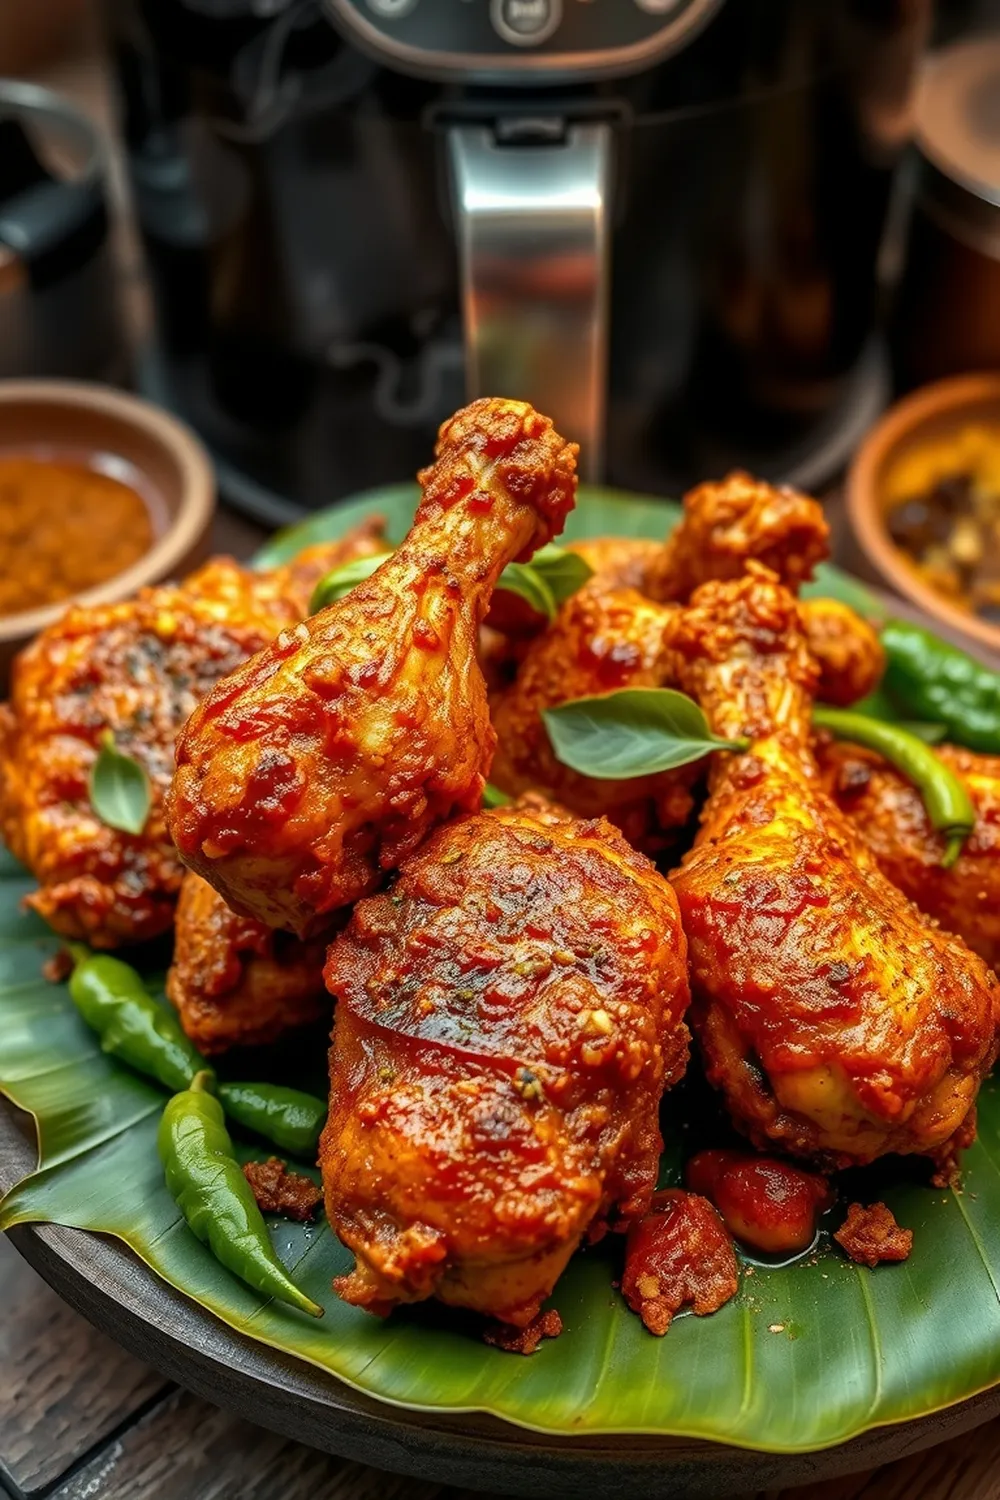
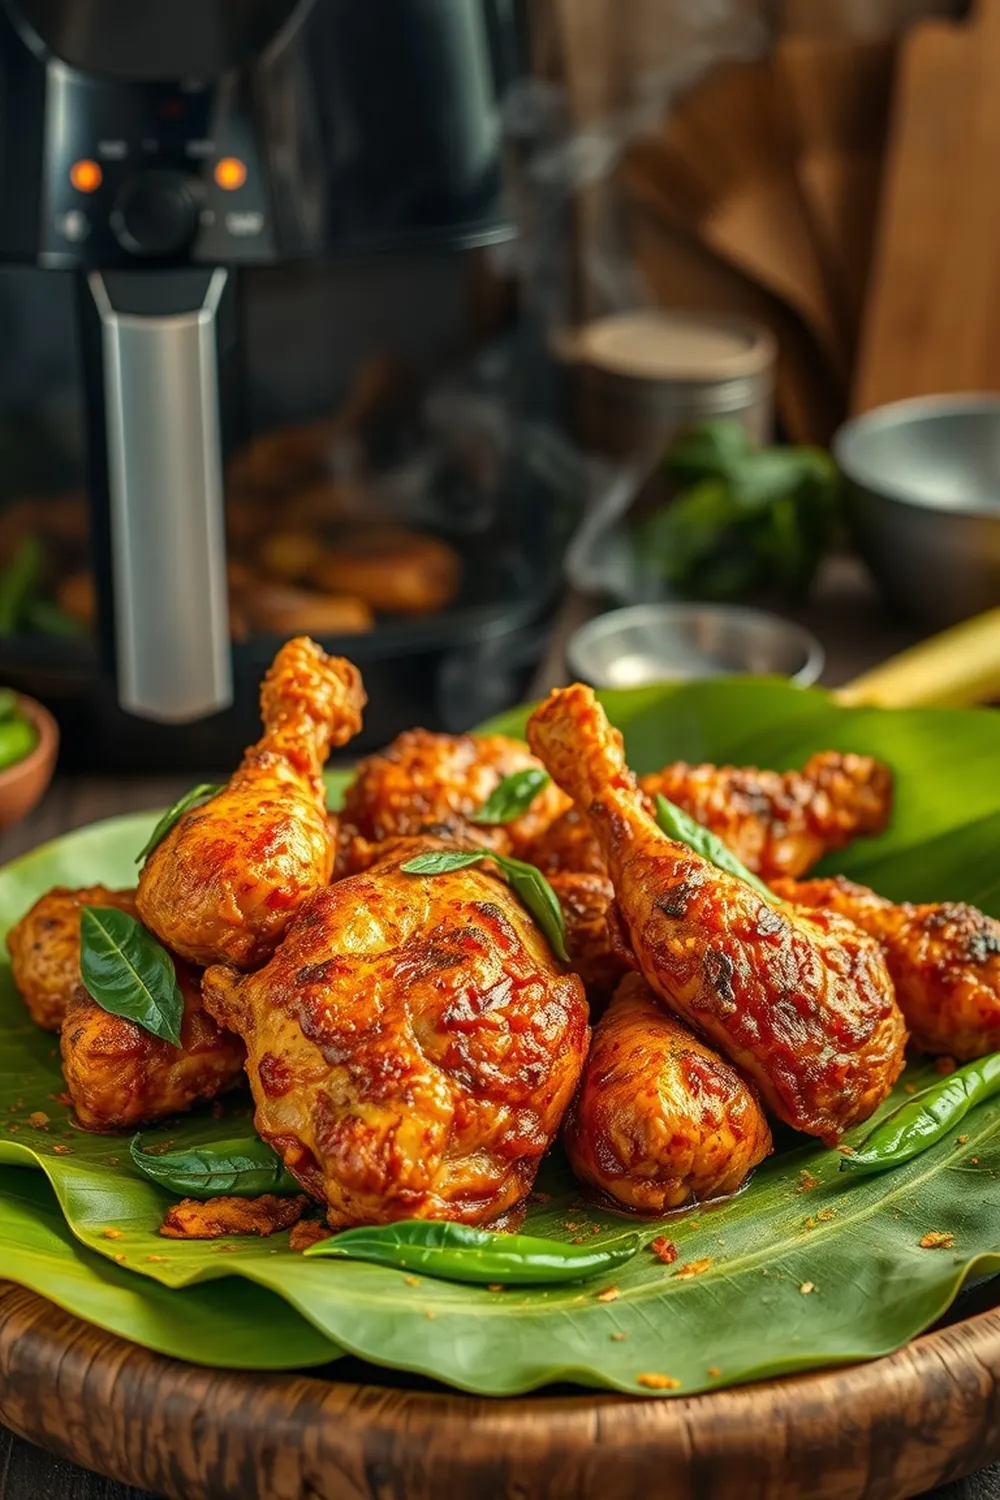
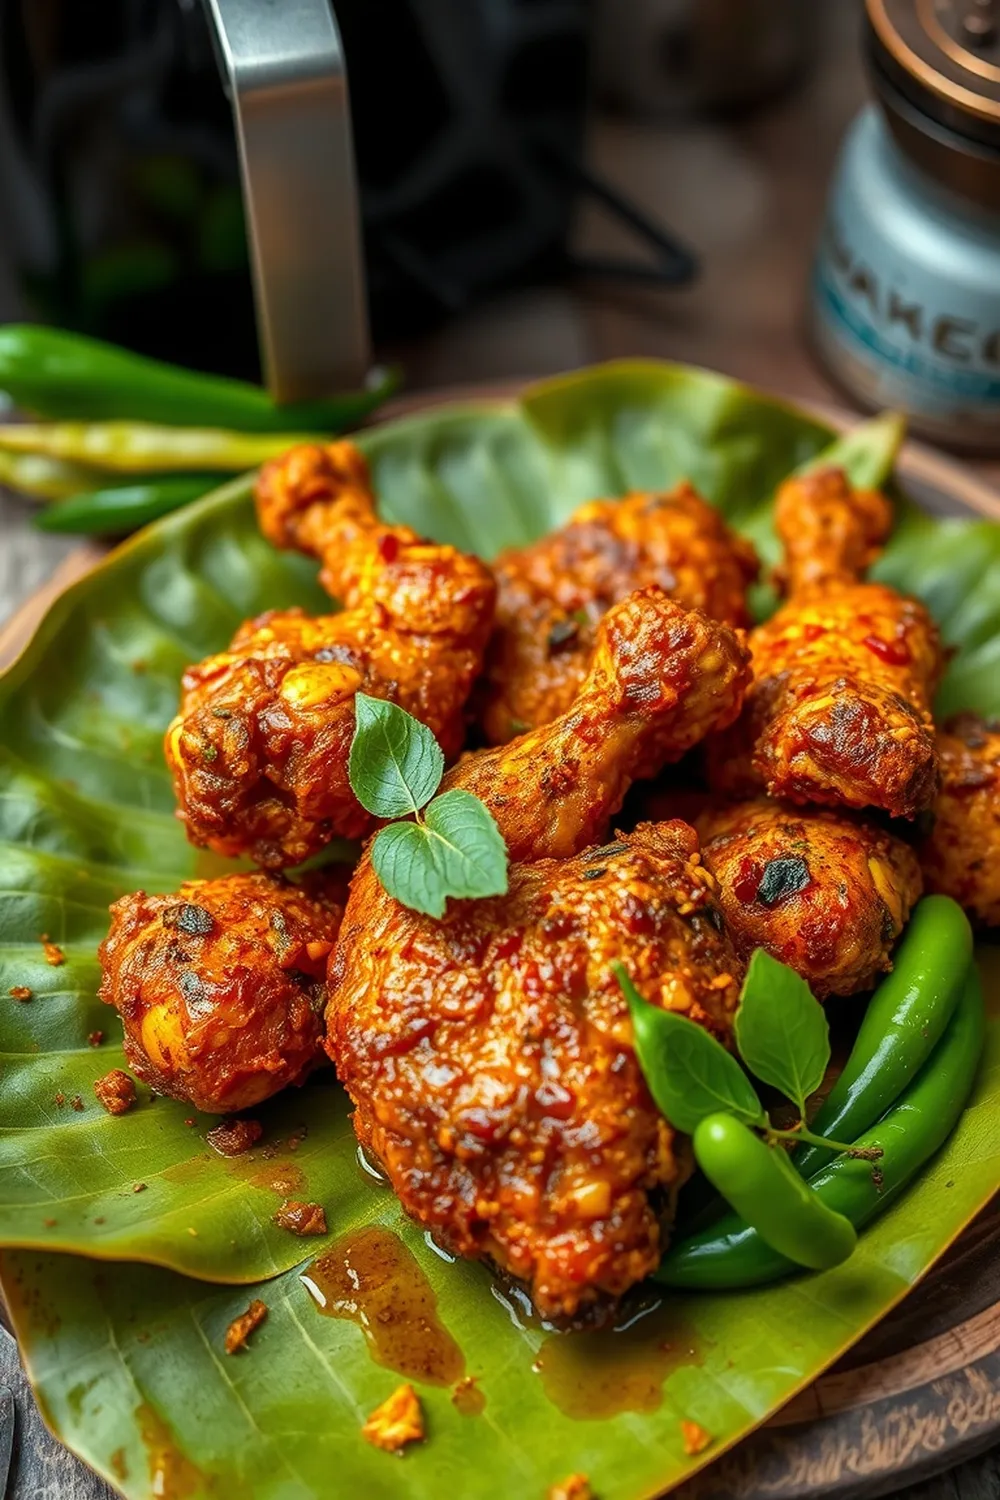
Air Fryer Chicken Recipe – Spicy Kashmiri Chilli & Curry Leaves
Hey everyone! I’m so excited to share this recipe with you – it’s become a total weeknight favourite in my house. Seriously, this Air Fryer Chicken is so good. It’s crispy, flavourful, and comes together in under 30 minutes. I first made this when I was craving something spicy and satisfying, but didn’t want to spend hours in the kitchen. This recipe was the answer! Let’s get cooking, shall we?
Why You’ll Love This Recipe
This isn’t just another chicken recipe. It’s a flavour explosion! The combination of Kashmiri chilli powder, fragrant curry leaves, and a perfectly crispy air-fried coating is seriously addictive. Plus, using the air fryer means less oil and a quicker cleanup – always a win in my book. It’s perfect for a quick dinner, a tasty snack, or even as a starter for a special occasion.
Ingredients
Here’s what you’ll need to make this amazing Air Fryer Chicken:
- 500 grams boneless chicken thighs
- 1 teaspoon ginger garlic paste
- 1 tablespoon plain yogurt
- 2 green chillies, slit
- 2 sprigs curry leaves
- 2 teaspoons Kashmiri chilli powder
- 0.25 teaspoon red chilli flakes (adjust to your spice preference!)
- 0.5 teaspoon turmeric powder
- 0.25 teaspoon black pepper powder
- 0.5 teaspoon garam masala powder
- 0.75 teaspoon salt
- 0.5 lime (juice)
- 1.5 tablespoons coconut oil
- 1 tablespoon rice flour
- 1 tablespoon maida / all-purpose flour
- 1 tablespoon corn starch
- 0.5 tablespoon coconut oil (for tempering)
- 2 green chillies (for tempering)
- 2 sprigs curry leaves (for tempering)
Ingredient Notes
Let’s talk ingredients! A few little tips to make sure this recipe turns out perfectly:
- Kashmiri Chilli Powder: This is the star of the show! It gives the chicken that beautiful vibrant red colour and a lovely, mild fruity flavour. It’s different from regular chilli powder, which can be too harsh. You can find it at most Indian grocery stores, or online.
- Yogurt: I prefer using plain, full-fat yogurt for the marinade. It helps tenderize the chicken and adds a lovely tang. You can use Greek yogurt too, but you might need to add a splash of water to thin it out a bit.
- Curry Leaves: These little guys are packed with flavour! They have a unique, slightly citrusy aroma. If you can find fresh curry leaves, definitely use them – they make all the difference. In some regions of India, curry leaves are used more generously, so feel free to add more if you love that flavour.
- The Flour Trio (Rice Flour, Maida & Cornstarch): This is my secret weapon for extra crispy chicken! Rice flour adds a fantastic crunch, maida helps bind everything together, and cornstarch creates a light and airy coating. Trust me, it’s worth using all three!
Step-By-Step Instructions
Alright, let’s get cooking!
- First, let’s get that marinade going. In a bowl, combine the chicken thighs with the ginger garlic paste, yogurt, salt, turmeric powder, Kashmiri chilli powder, black pepper powder, and garam masala. Give it a good mix, making sure the chicken is well coated. If the mixture looks a little dry, add an extra tablespoon of yogurt.
- Now, cover the bowl and pop it in the fridge to marinate for at least 30 minutes, or up to an hour. This allows the flavours to really penetrate the chicken.
- While the chicken is marinating, let’s prepare the coating. In a separate bowl, whisk together the rice flour, maida, and cornstarch.
- Preheat your air fryer to 200°C (400°F).
- Take each piece of marinated chicken and dredge it in the flour mixture, ensuring it’s fully coated.
- Arrange the coated chicken in a single layer on the air fryer tray. Don’t overcrowd the tray – you might need to cook in batches.
- Air fry for 6-7 minutes, then flip the chicken pieces and cook for another 6-7 minutes, or until they’re golden brown and crispy.
- While the chicken finishes cooking, let’s make the tempering. Heat coconut oil in a small pan over medium heat. Add the slit green chillies and curry leaves and sauté until the curry leaves are crisp and fragrant – this usually takes about 30 seconds to a minute. Be careful not to burn them!
- Once the chicken is cooked, let it rest for 5 minutes to allow the coating to set.
- Toss the crispy chicken with the tempered coconut oil, green chillies, and curry leaves.
- Serve immediately and enjoy!
Expert Tips
- Don’t skip the marinating time! It really makes a difference in the flavour and tenderness of the chicken.
- For extra crispy chicken, make sure the air fryer tray isn’t overcrowded.
- If you want a more intense flavour, you can add a pinch of red food colour to the marinade (optional).
Variations
- Vegan Adaptation: Swap the chicken thighs for plant-based chicken pieces. There are some great options available now!
- Gluten-Free Adaptation: Use a gluten-free flour blend instead of maida.
- Spice Level Adjustment: If you’re not a fan of spice, reduce the amount of red chilli flakes. Or, if you like it really hot, add a pinch of cayenne pepper!
- Festival Adaptation: This chicken makes a fantastic starter for Diwali or Eid. My family loves it served with a mint chutney.
Serving Suggestions
This Air Fryer Chicken is delicious on its own, or served with:
- Steamed rice
- Roti or naan bread
- A side of raita (yogurt dip)
- A fresh salad
Storage Instructions
Leftovers can be stored in an airtight container in the refrigerator for up to 3 days. Reheat in the air fryer or oven to maintain crispiness.
FAQs
1. Can I marinate the chicken for longer than 60 minutes?
Yes, you can! You can marinate the chicken for up to 24 hours for even more flavour.
2. What if I don’t have an air fryer? Can I bake or pan-fry the chicken instead?
Absolutely! You can bake the chicken at 200°C (400°F) for about 20-25 minutes, or pan-fry it in a little oil until cooked through and crispy.
3. What is the purpose of using three different types of flour in the coating?
As mentioned earlier, each flour plays a different role in creating the perfect crispy coating! Rice flour for crunch, maida for binding, and cornstarch for lightness.
4. Can I use chicken breast instead of thighs? Will the cooking time change?
You can, but chicken breast tends to dry out more easily. If using chicken breast, reduce the cooking time by a few minutes and keep a close eye on it.
5. Where can I source authentic Kashmiri chilli powder?
You can find it at most Indian grocery stores, or online retailers specializing in Indian spices.
6. How can I adjust the salt level in this recipe?
Start with the recommended amount of salt and taste the marinade before adding more. Remember, you can always add more, but you can’t take it away!
Enjoy making this recipe! I hope it becomes a favourite in your home too. Let me know in the comments how it turns out for you!
Neha Deshmukh
Neha holds a B.A. in History with a focus on Indian and world history, including ancient, medieval, and modern periods. At RecipesOfIndia.org — the world’s largest database of Indian recipes — she combines her love for food and history by exploring how India’s past has shaped its culinary traditions.


