- Soak urad dal in water for at least 4 hours, then pressure cook for 4-5 whistles. Allow natural pressure release and mash into a smooth paste.
- Combine rice flour, ajwain seeds, sesame seeds, salt, oil, and mashed dal. Gradually add water to form a smooth, crack-free dough. The dough should be soft but not sticky.
- Shape dough into logs and load into a murukku press fitted with a three-hole mold.
- Press murukku spirals directly into preheated oil (medium heat) for deep frying until golden and crisp, about 3-5 minutes. Alternatively, press onto a parchment-lined baking sheet and bake at 350°F (175°C) for 15-20 minutes, flipping halfway through.
- Cool completely before storing in an airtight container. Consume within 3-5 days for optimal texture.
- Calories:200 kcal25%
- Energy:836 kJ22%
- Protein:4 g28%
- Carbohydrates:25 mg40%
- Sugar:1 mg8%
- Salt:150 g25%
- Fat:8 g20%
Last Updated on 6 months ago by Neha Deshmukh
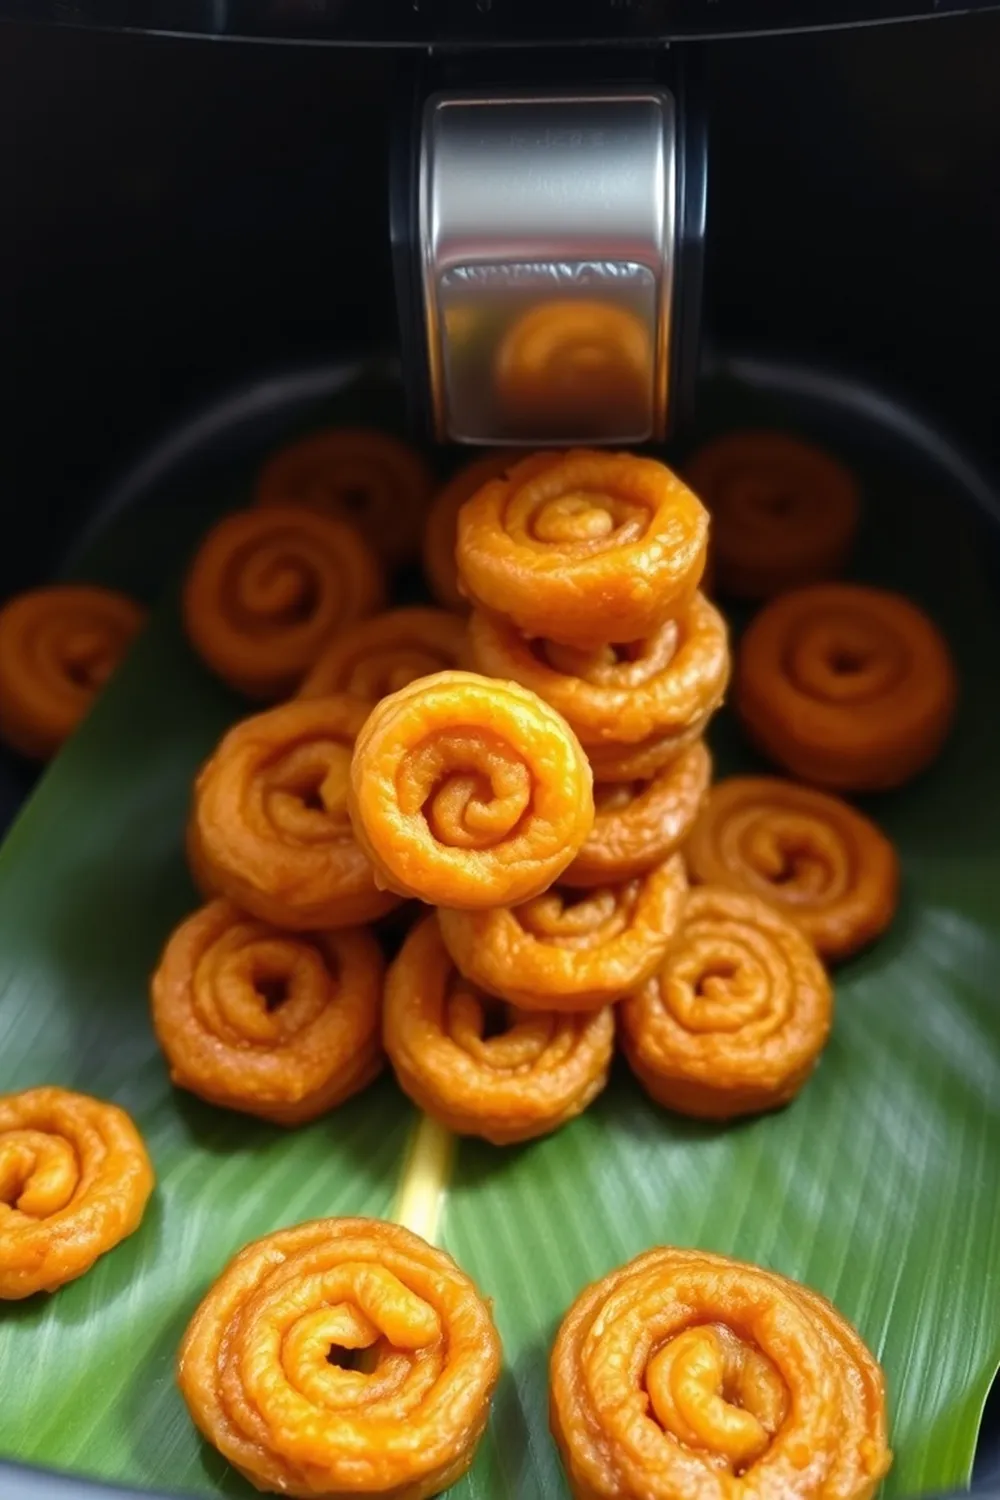
Air Fryer Murukku Recipe – Crispy Urad Dal & Sesame Snack
Hey everyone! If you’ve ever craved that perfect, crunchy, melt-in-your-mouth Murukku, you’re in the right place. I remember the first time I tried making Murukku – it was a bit of a disaster, honestly! But after a lot of practice (and a few batches that crumbled!), I’ve found a method that works beautifully, and it’s SO much easier than traditional deep-frying. This air fryer version gives you all the flavour with a fraction of the oil. Let’s get started!
Why You’ll Love This Recipe
This Air Fryer Murukku recipe is a game-changer. It delivers incredibly crispy Murukku with a delightful texture, all thanks to the magic of air frying. It’s quicker, healthier, and less messy than deep-frying. Plus, the aroma of toasted sesame seeds and ajwain filling your kitchen is just heavenly! You’ll be making these for every festival and celebration.
Ingredients
Here’s what you’ll need to whip up a batch of these addictive snacks:
- ?? cup Urad dal (Split Black Gram)
- 2.5 cups Rice Flour
- ?? teaspoon Ajwain seeds (Omam Seeds)
- ?? teaspoon Black Sesame Seeds (Ellu)
- 1 teaspoon Salt
- 4 tablespoons Vegetable Oil
- 2-3 cups Water
Ingredient Notes
Let’s talk ingredients – a few little tips can make all the difference!
Urad Dal: Importance of Soaking & Quality
Urad dal is the star here, giving Murukku its unique flavour and texture. Soaking it for about 20 minutes helps it cook faster and blend into a smoother paste. I always use good quality, fresh urad dal for the best results.
Rice Flour: Type & Alternatives
I recommend using a fine rice flour specifically labelled for making Murukku or snacks. It makes a big difference in the final texture. If you can’t find it, you can make your own by grinding raw rice – just make sure it’s very finely ground.
Ajwain Seeds (Omam Seeds): Regional Variations & Health Benefits
Ajwain seeds, or Omam seeds as they’re known in some parts of India, add a lovely digestive quality and a unique flavour. My grandmother always said a pinch of ajwain is good for everything! The amount used can vary slightly depending on your preference – some families love a stronger ajwain flavour.
Black Sesame Seeds (Ellu): Flavor Profile & Nutritional Value
Black sesame seeds add a beautiful nutty flavour and a lovely visual appeal. They’re also packed with nutrients! You can toast them lightly before adding them to the dough for an even more intense flavour.
Vegetable Oil: Best Oils for Frying/Air Frying
For air frying, any neutral-flavored vegetable oil works well – sunflower, canola, or even avocado oil. You don’t need a lot, which is one of the reasons I love this recipe!
Step-By-Step Instructions
Alright, let’s get cooking!
- First, soak the urad dal in water for about 20 minutes. This softens it up for easier cooking.
- Drain the soaked urad dal and pressure cook it for 6 whistles. Let the pressure release naturally, then mash it into a smooth paste.
- In a large bowl, combine the rice flour, ajwain seeds, black sesame seeds, salt, and oil.
- Add the mashed urad dal to the flour mixture. Now, gradually add water, a little at a time, and start kneading. You want to form a smooth, crack-free dough. This might take a little elbow grease!
- Once the dough is ready, load it into a murukku press fitted with a three-hole mold.
- Press the Murukku spirals directly into the air fryer basket. Don’t overcrowd the basket – work in batches if needed.
- Air fry at 350°F (175°C) for 12 minutes, or until golden brown and crispy.
- Let the Murukku cool completely before storing. Trust me, they’re tempting, but they’ll crisp up even more as they cool!
Expert Tips
- Dough Consistency is Key: The dough should be smooth and not sticky. If it’s too dry, add a teaspoon of water at a time. If it’s too wet, add a tablespoon of rice flour.
- Air Fryer Basket: Lightly grease the air fryer basket to prevent sticking.
- Batch Cooking: Don’t overcrowd the air fryer basket. Cook in batches for even crisping.
Variations
- Vegan Adaptation: This recipe is naturally vegan! Just double-check your oil source.
- Gluten-Free Confirmation: This recipe is naturally gluten-free, as long as your rice flour is certified gluten-free.
- Spice Level Adjustment (Adding Chilies): If you like a little heat, add ½ – 1 teaspoon of chili powder to the dough. My friend Priya loves adding a pinch of cayenne pepper for an extra kick!
- Festival Adaptations (Diwali, Ganesh Chaturthi): These are perfect for festive occasions! You can even shape them into different designs using different molds.
Serving Suggestions
Murukku is fantastic on its own with a cup of chai. It also pairs beautifully with sambar or chutney. They’re a great snack to pack for picnics or road trips too!
Storage Instructions
Store cooled Murukku in an airtight container at room temperature. They’re best enjoyed within 2 days for optimal crispness. After that, they might lose a little of their crunch, but they’ll still be delicious!
FAQs
What type of rice flour works best for Murukku?
A fine rice flour specifically for snacks is ideal. It gives the best texture.
Can I make Murukku dough in advance?
Yes, you can! Store the dough in an airtight container in the refrigerator for up to 2 days. Bring it to room temperature before using.
How do I adjust the dough consistency if it’s too dry or too wet?
If it’s too dry, add water, one teaspoon at a time. If it’s too wet, add rice flour, one tablespoon at a time.
What is the shelf life of homemade Murukku?
They’re best within 2 days, but will still be tasty for up to a week if stored properly.
Can I bake Murukku instead of air frying?
You can try baking, but they won’t get as crispy as air-fried or deep-fried Murukku. Bake at 350°F (175°C) for 15-20 minutes, flipping halfway through.
Neha Deshmukh
Neha holds a B.A. in History with a focus on Indian and world history, including ancient, medieval, and modern periods. At RecipesOfIndia.org — the world’s largest database of Indian recipes — she combines her love for food and history by exploring how India’s past has shaped its culinary traditions.


