- Wash and soak aval (flattened rice) in hot water for 20-30 minutes, or until softened and water is fully absorbed.
- Grind soaked aval with a little melted butter into a coarse paste using a mixer or food processor. Do not over-grind; some texture is desired.
- Combine ground aval paste with rice flour, ajwain (carom seeds), cumin seeds, asafoetida (hing), and salt. Add water gradually to form a soft, pliable dough. The dough should not be sticky.
- Load the dough into a murukku press fitted with the desired nozzle/plate (usually a small-hole plate).
- Heat oil in a kadai (deep frying pan) over medium heat. Lightly grease a ladle or the back of a slotted spoon.
- Press murukku shapes directly into the hot oil, or onto the greased ladle and then gently slide them into the oil. Fry until golden brown and crispy, flipping once during frying.
- Drain the fried murukku on paper towels to remove excess oil. Cool completely before storing in an airtight container.
- Calories:350 kcal25%
- Energy:1464 kJ22%
- Protein:4 g28%
- Carbohydrates:45 mg40%
- Sugar:1 mg8%
- Salt:150 g25%
- Fat:15 g20%
Last Updated on 2 months by Neha Deshmukh
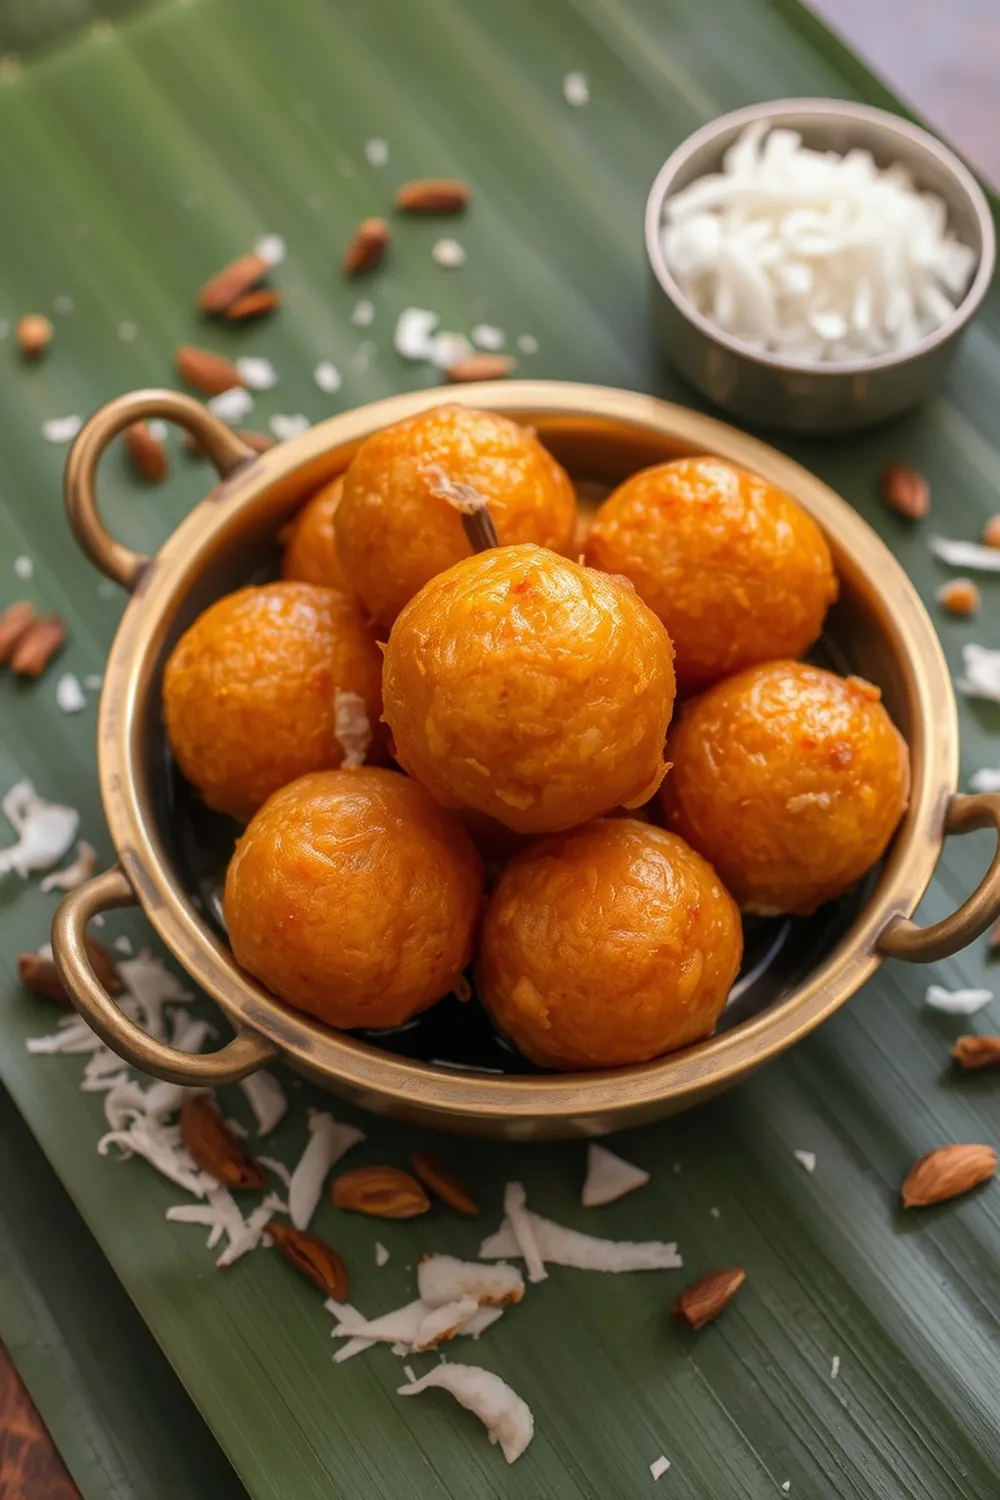
Authentic Aval Murukku Recipe – Crispy Poha Snacks
Hey everyone! If you’ve ever wandered the snack aisles in India, or even just visited a friend’s home during festival season, you’ve probably encountered the delightful crunch of Murukku. Today, I’m sharing my family’s treasured recipe for Aval Murukku – a version made with aval (flattened rice) that’s extra crispy and incredibly moreish. I first made this for Diwali a few years ago, and it was a huge hit! It’s a little bit of effort, but trust me, the reward is so worth it.
Why You’ll Love This Recipe
This Aval Murukku recipe isn’t just about a delicious snack; it’s about tradition, flavour, and that satisfying crunch. It’s perfect for tea time, festive gatherings, or just when you need a little something to nibble on. Plus, using aval gives it a unique texture that’s lighter than some other murukku variations. You’ll love how easily it comes together, and the aroma while frying is simply divine!
Ingredients
Here’s what you’ll need to make these crispy delights:
- 1 cup Aval (poha or flattened rice)
- 1 cup Rice flour
- 1 tablespoon Butter (melted)
- 1 teaspoon Ajwain (omam)
- 1 teaspoon Cumin seeds
- ½ teaspoon Asafoetida (hing)
- Salt to taste
- Oil as needed (for frying)
Yields: 14 murukku
Prep time: 10 minutes
Cook time: 20 minutes
Difficulty: Medium
Ingredient Notes
Let’s talk ingredients! Getting these right makes all the difference.
Aval (Poha/Flattened Rice) Varieties & Quality: You can use thin or medium aval for this recipe. I prefer the medium variety as it gives a nice bite. Make sure your aval isn’t stale – it should be crisp and not damp.
Rice Flour: Choosing the Right Type: Use a good quality, finely ground rice flour. I usually use idli rice flour, but regular rice flour works too. Avoid coarse rice flour, as it can make the murukku grainy.
The Significance of Ajwain (Omam) in South Indian Snacks: Ajwain isn’t just about flavour; it’s also believed to aid digestion! It adds a lovely earthy aroma and a subtle warmth to the murukku.
Understanding Asafoetida (Hing) – Regional Variations & Benefits: Asafoetida has a pungent smell in its raw form, but it transforms into a savoury delight when cooked. It’s a staple in Indian cooking, known for its digestive properties. You’ll find different varieties – some are more potent than others, so adjust accordingly.
Butter vs. Oil in the Dough – Texture Differences: I love using melted butter in the dough because it adds a subtle richness and helps create a slightly softer, more tender murukku. You can substitute with oil if you prefer, but the texture will be a bit different – slightly more brittle.
Step-By-Step Instructions
Alright, let’s get cooking!
- First, wash the aval gently and soak it in hot water for about 20 minutes. You want it to be fully absorbed and softened, but not mushy.
- Once softened, drain the aval well. Now, grind it with the melted butter in a mixer until you get a smooth paste. Don’t add any water!
- In a large bowl, combine the ground aval paste, rice flour, ajwain, cumin seeds, asafoetida, and salt.
- Start mixing everything together with your hands. Gradually add a little water (a teaspoon at a time) if needed, to form a soft, pliable dough. It shouldn’t be sticky, but it shouldn’t be too dry and crumbly either.
- Heat oil in a kadai (deep frying pan) over medium heat. While the oil heats up, grease your ladles or a clean kitchen surface with a little oil.
- Load the dough into a murukku press fitted with a small-hole plate.
- Press the murukku directly into the hot oil, forming small, spiral shapes. You can also press them onto the greased ladles and then gently slide them into the oil.
- Fry the murukku until they turn golden brown on both sides, flipping them carefully with a slotted spoon.
- Remove the fried murukku and drain them on paper towels to remove excess oil.
- Let them cool completely before storing. This is important – they crisp up as they cool!
Expert Tips
Here are a few things I’ve learned over the years to make the perfect Aval Murukku:
Achieving the Perfect Murukku Shape & Crispness: The key is the dough consistency. It should hold its shape when pressed, but still be soft enough to pass through the murukku press easily.
Troubleshooting Dough Consistency: If the dough is too dry, add a teaspoon of water at a time. If it’s too sticky, add a tablespoon of rice flour.
Oil Temperature – The Key to Golden Murukku: The oil shouldn’t be too hot (or the murukku will burn) or too cold (or they’ll absorb too much oil). Medium heat is ideal. Test with a tiny piece of dough first.
Variations
Want to switch things up? Here are a few ideas:
Vegan Aval Murukku Adaptation: Simply substitute the butter with an equal amount of vegetable oil.
Gluten-Free Considerations: This recipe is naturally gluten-free, as long as you use pure rice flour.
Spice Level Adjustment – Adding Chili Powder: If you like a little heat, add ½ to 1 teaspoon of chili powder to the dough. My friend, Priya, loves adding a pinch of cayenne pepper for an extra kick!
Festival Adaptations – Diwali & Special Occasions: During Diwali, I sometimes add a few strands of saffron to the dough for a beautiful colour and aroma.
Serving Suggestions
Aval Murukku is best enjoyed with a cup of hot chai or filter coffee. They’re also a great accompaniment to sambar or chutney. I love packing them for picnics or road trips – they’re the perfect travel snack!
Storage Instructions
Store cooled murukku in an airtight container at room temperature. They should stay crispy for up to a week, but honestly, they never last that long in my house!
FAQs
What is the best type of aval to use for murukku?
Medium-sized aval works best, but thin aval can also be used. Just ensure it’s fresh and crisp.
Can I make the dough ahead of time? If so, how should I store it?
Yes, you can! Make the dough and store it in an airtight container in the refrigerator for up to 2 days. Bring it to room temperature before using.
My murukku is breaking apart while frying. What am I doing wrong?
The dough is likely too dry. Add a little water, one teaspoon at a time, and knead well. Also, ensure the oil isn’t too hot.
What is asafoetida and can I substitute it?
Asafoetida (hing) is a resin with a pungent smell that adds a unique savoury flavour. If you can’t find it, you can omit it, but it does contribute to the authentic taste.
How can I adjust the crispness of the murukku?
Frying for a longer time will make them crispier, but be careful not to burn them. Also, ensuring the aval is well-drained before grinding helps with crispness.
Enjoy making these delicious Aval Murukku! Let me know how they turn out in the comments below. Happy snacking!


Neha Deshmukh
Neha holds a B.A. in History with a focus on Indian and world history, including ancient, medieval, and modern periods. At RecipesOfIndia.org — the world’s largest database of Indian recipes — she combines her love for food and history by exploring how India’s past has shaped its culinary traditions.