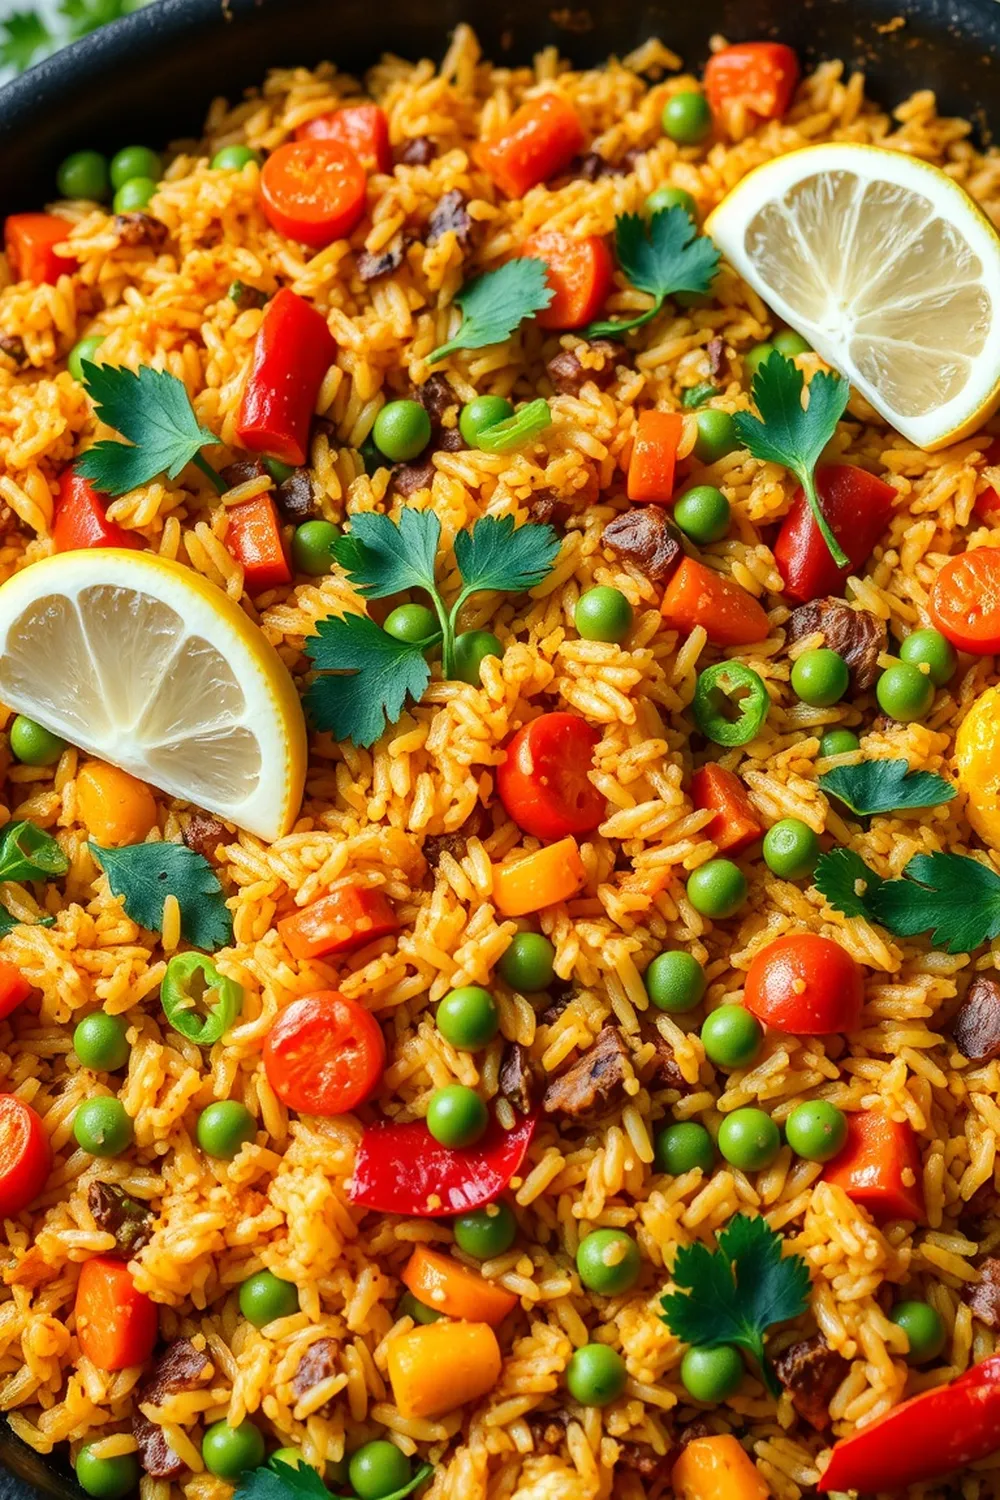
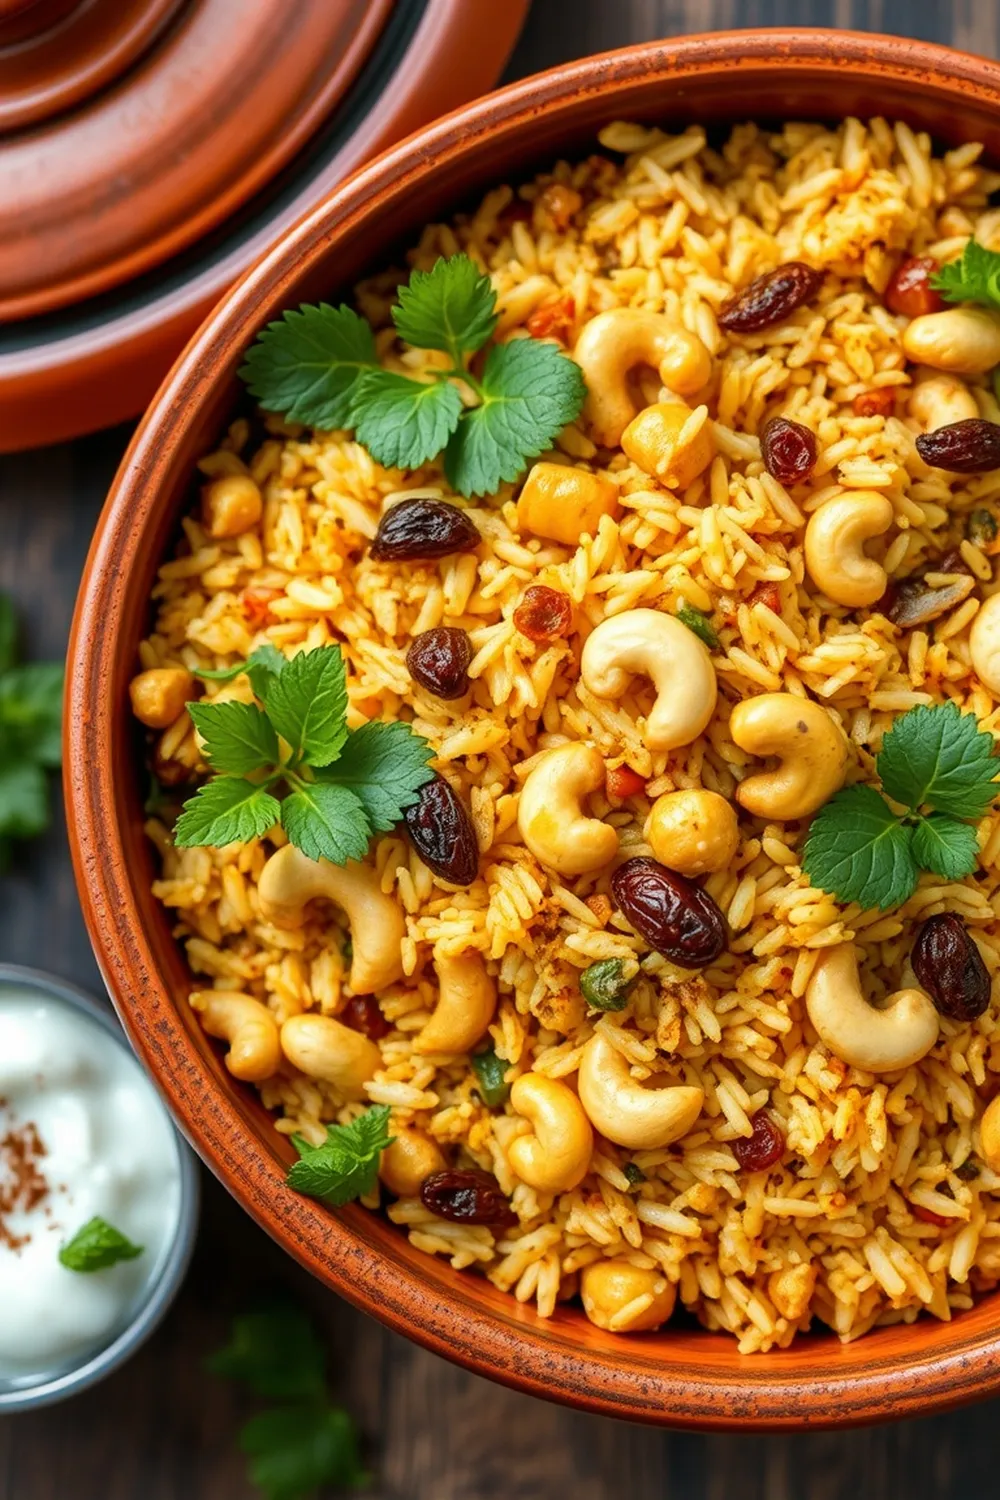
- Heat oil and ghee in a pressure cooker. Once hot, add mustard seeds and let them splutter.
- Add cumin seeds, crushed garlic, red chilies, cinnamon, cloves, and curry leaves. Sauté for 15-20 seconds on medium heat.
- Add chopped onions and green chilies. Sauté for 5 minutes. Mix in turmeric powder and salt.
- Add chopped tomatoes and cook for 5 minutes until softened.
- Stir in drained rice and split pigeon peas (tur dal). Sauté for 2 minutes. Add half the coriander leaves and mix well.
- Pour 4 cups of water, close the pressure cooker lid, and cook for 3 whistles. Let the pressure release naturally.
- Fluff the rice gently, garnish with remaining coriander leaves, and serve with papad and potato fry.
- Calories:450 kcal25%
- Energy:1882 kJ22%
- Protein:15 g28%
- Carbohydrates:75 mg40%
- Sugar:3 mg8%
- Salt:400 g25%
- Fat:12 g20%
Last Updated on 4 months by Neha Deshmukh
Authentic Dal Rice Recipe – Traditional Indian Comfort Food
Hey everyone! If you’re craving a hug in a bowl, you need this Dal Rice recipe. It’s the ultimate Indian comfort food, and honestly, it reminds me of my grandmother’s kitchen – the smell of ghee and spices simmering away… pure bliss! I first made this on my own when I was missing home, and it instantly transported me back. It’s surprisingly easy to make, and so incredibly satisfying. Let’s get cooking!
Why You’ll Love This Recipe
This Dal Rice isn’t just a meal; it’s an experience. It’s warm, flavorful, and incredibly nourishing. It’s perfect for a cozy weeknight dinner, a comforting lunch, or even a festive occasion. Plus, it’s a fantastic way to introduce someone to the wonderful world of South Indian cuisine. You’ll love how simple it is to whip up, and how much joy it brings with every bite.
Ingredients
Here’s what you’ll need to make this delicious Dal Rice:
- 1 ½ cups rice
- ½ cup tur dal (split pigeon peas)
- 1 large onion (finely chopped)
- 2 tomatoes (finely chopped)
- 2 green chilies (slit)
- 2 tbsp coriander leaves (chopped)
- ½ tsp mustard seeds
- ½ tsp cumin seeds
- 2 garlic cloves (crushed)
- 2 red chilies (broken into pieces)
- 1″ cinnamon stick
- 2 cloves
- 1 sprig curry leaves
- 1 tbsp oil
- 1 tbsp ghee
Ingredient Notes
Let’s talk ingredients! A few things can really elevate this dish:
- Tur Dal: This is the star of the show! Tur dal cooks up beautifully and has a lovely, slightly nutty flavor. Make sure to rinse it well before using.
- Rice: Traditionally, short-grain rice varieties like Sona Masoori are used in South India for Dal Rice. They get wonderfully fluffy. Basmati rice works in a pinch, but the texture will be a little different.
- Oil & Ghee: The combination of oil and ghee adds a depth of flavor that’s just chef’s kiss. Ghee brings a richness and aroma that’s hard to beat.
- Spice Levels: Spice levels vary hugely across India! Feel free to adjust the number of green chilies and red chilies to your liking. Some families add a pinch of red chili powder too.
Step-By-Step Instructions
Alright, let’s get cooking!
- Heat the oil and ghee in a pressure cooker over medium heat. Once hot, add the mustard seeds and let them splutter – you’ll know they’re ready when they start popping!
- Next, add the cumin seeds, crushed garlic, red chilies, cinnamon stick, cloves, and curry leaves. Sauté for about 15-20 seconds until fragrant. This is where the magic starts to happen!
- Add the chopped onions and green chilies. Sauté for about 5 minutes, or until the onions turn golden brown. Then, mix in the turmeric powder and salt.
- Add the chopped tomatoes and cook for another 5 minutes, stirring occasionally, until they soften and become mushy.
- Now, stir in the drained rice and tur dal. Sauté for about 2 minutes, ensuring everything is well combined. Add half of the chopped coriander leaves and mix well.
- Pour in 4 cups of water, close the pressure cooker lid, and cook for 3 whistles. Once the whistles stop, let the pressure release naturally. Don’t rush this part!
- Once the pressure has released, gently fluff the rice with a fork. Garnish with the remaining coriander leaves and serve hot!
Expert Tips
- Rinsing the Dal: Always rinse the tur dal thoroughly under cold water until the water runs clear. This helps remove any impurities and makes it easier to digest.
- Don’t Overcook: Be careful not to overcook the rice and dal. You want them to be tender but still hold their shape.
- Ghee is Key: Seriously, don’t skip the ghee! It makes all the difference.
Variations
Want to switch things up? Here are a few ideas:
- Vegan Adaptation: Simply substitute the ghee with an equal amount of oil. It won’t have quite the same flavor, but it will still be delicious!
- Gluten-Free: This recipe is naturally gluten-free, so you’re good to go!
- Spice Level Adjustments: My friend, Priya, loves to add a pinch of sambar powder for an extra kick. Feel free to experiment!
- Festival Adaptations: In my family, we often serve Dal Rice during Onam and Makar Sankranti. It’s a simple yet satisfying meal for festive occasions.
Serving Suggestions
Dal Rice is best enjoyed hot, straight from the pressure cooker! It pairs perfectly with:
- Papad (crispy lentil wafers)
- Potato Fry (aloo fry)
- A side of yogurt (raita)
- Pickle (achar)
Storage Instructions
If you have any leftovers (which is unlikely!), store them in an airtight container in the refrigerator for up to 2 days. Reheat gently on the stovetop or in the microwave.
FAQs
1. What type of rice is best for Dal Rice?
Short-grain rice varieties like Sona Masoori are traditionally used. They get wonderfully fluffy!
2. Can I make this recipe without a pressure cooker?
Yes, you can! Cook the dal and rice separately in a pot on the stovetop. It will take longer, but it’s definitely doable.
3. How can I adjust the spice level of this Dal Rice?
Reduce or increase the number of green chilies and red chilies. You can also add a pinch of red chili powder for extra heat.
4. What is the best way to serve Dal Rice for a traditional meal?
Serve it hot with papad, potato fry, yogurt, and pickle. It’s a complete and satisfying meal!
5. Can I prepare the Dal and Rice separately and combine them later?
Yes, you can! Just make sure to heat them through before combining.
Enjoy this recipe, and let me know how it turns out for you! I hope it brings a little bit of Indian comfort to your kitchen. Happy cooking!


