- Collect malai by skimming cream from boiled milk daily; refrigerate until accumulated.
- Mix malai with yogurt, cover, and ferment at room temperature for 6-8 hours.
- Churn the cultured cream with cold water using a blender or a wooden churner to separate the butter.
- Wash the butter under cold water, kneading until the water runs clear to remove buttermilk residue.
- Melt the butter on low heat in a heavy-bottomed pot until golden-brown solids form and the liquid becomes clear.
- Strain the ghee through cheesecloth into a glass jar; cool completely before sealing.
- Calories:130 kcal25%
- Energy:543 kJ22%
- Protein:g28%
- Carbohydrates:mg40%
- Sugar:mg8%
- Salt:g25%
- Fat:15 g20%
Last Updated on 4 months by Neha Deshmukh
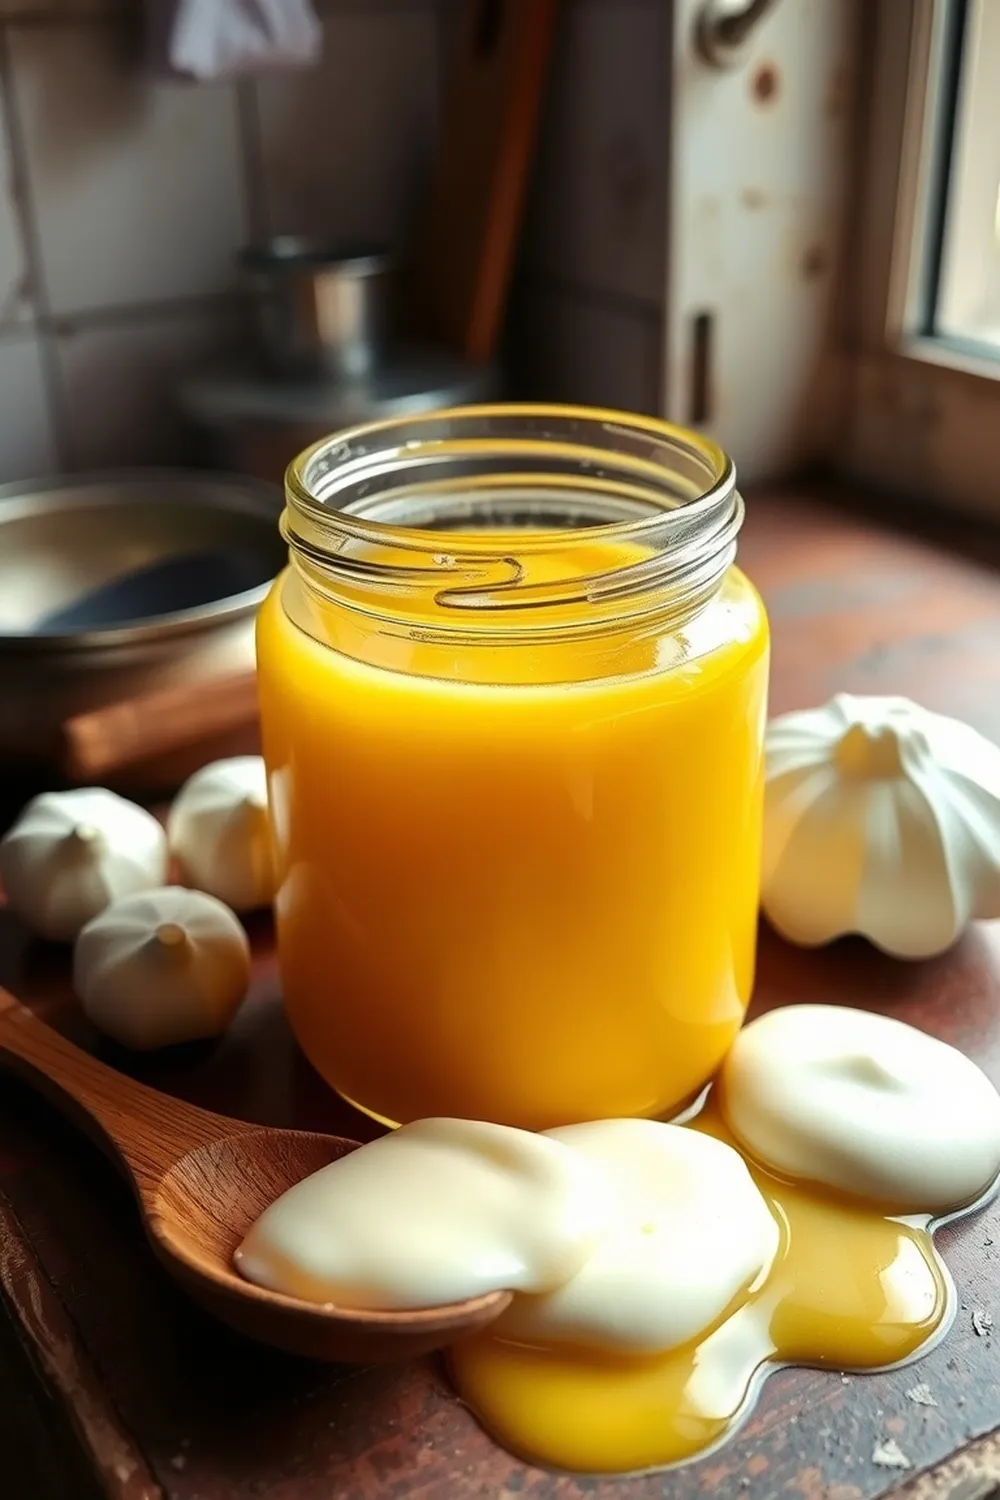
Authentic Ghee Recipe – From Malai Cream & Yogurt
Introduction
There’s just something magical about homemade ghee, isn’t there? That rich, nutty aroma filling your kitchen… it instantly feels like home. I remember my grandmother patiently skimming the malai off boiling milk every morning, a ritual that always resulted in the most incredible ghee. It’s a bit of a labor of love, but trust me, the flavour is so worth it. Today, I’m sharing her treasured recipe with you – a truly authentic ghee made from malai cream and a touch of yogurt. Let’s get started!
Why You’ll Love This Recipe
This isn’t just any ghee recipe. We’re going back to basics, using the traditional method of collecting malai. This results in a ghee with a depth of flavour you simply won’t find in store-bought versions. Plus, knowing exactly what goes into your ghee gives you peace of mind. It’s perfect for everything from your daily dal-chawal to festive treats!
Ingredients
- 2 cups organic milk cream (malai)
- 1 tablespoon yogurt (curd)
Ingredient Notes
Let’s talk ingredients! Getting these right makes all the difference.
Malai (Milk Cream) – Source & Quality
The star of the show! Traditionally, malai is collected by skimming the cream that forms on the surface of full-fat milk when it’s slowly simmered. Organic milk is best, if you can get it, as it contributes to a cleaner flavour. Don’t worry if you don’t have a cow at home – good quality full-fat milk from the store works beautifully too. You’ll need about 2 cups of this collected cream.
Yogurt (Curd) – Type & Importance
A tablespoon of yogurt helps kickstart the fermentation process, giving the ghee a lovely tang. Use plain, full-fat yogurt – the kind with a thick consistency. Avoid sweetened or flavoured yogurts.
Step-By-Step Instructions
Alright, let’s make some ghee!
- First, you’ll need to collect your malai. Skim the cream from boiled milk daily and refrigerate it until you have about 2 cups. This takes a few days, but patience is key!
- In a bowl, gently mix the collected malai with the yogurt. Don’t overmix – just combine them.
- Cover the bowl and let it ferment at room temperature for 6-8 hours. You’ll notice it thickens and develops a slightly sour aroma.
- Now for the churning! Add the fermented cream and about ¼ cup of cold water to a blender or use a traditional wooden churner. Churn until the butter separates from the buttermilk. This might take 5-10 minutes in a blender, or a bit longer with a churner.
- Drain the butter and wash it under cold running water. Knead it gently while washing to remove all traces of buttermilk. Keep washing until the water runs completely clear. This is important for a longer shelf life!
- Time to clarify! Melt the butter in a heavy-bottomed pot over low heat. This is where the magic happens. As it melts, you’ll see milk solids forming at the bottom. Continue heating until the solids turn golden brown and the liquid above becomes clear and golden.
- Carefully strain the ghee through a clean cheesecloth into a clean, dry glass jar. Let it cool completely before sealing.
Expert Tips
A few things I’ve learned over the years…
Achieving the Perfect Golden Color
The golden colour is what we’re after! Low and slow is the key. Don’t rush the process, or you risk burning the milk solids.
Preventing Burning During Clarification
Keep the heat very low. Stir occasionally to prevent sticking. A heavy-bottomed pot is essential for even heat distribution.
Understanding the Sizzle Test
A good way to check if the ghee is ready is the “sizzle test”. Drop a tiny drop of ghee into a hot pan. If it sizzles immediately and doesn’t smoke, it’s ready!
Variations
Want to get creative? Here are a few ideas:
Vegan Ghee (Using Plant-Based Cream)
You can absolutely make ghee using plant-based cream! Coconut cream or cashew cream work well, but the flavour will be different.
Instant Pot Ghee (Faster Method)
If you’re short on time, the Instant Pot can help! Use the sauté function on low and follow the same process. It significantly reduces the cooking time.
Spice Infused Ghee (Rosemary, Chili, etc.)
My friend, Priya, loves adding a sprig of rosemary or a few dried chili flakes to the ghee while it’s clarifying. It adds a wonderful flavour dimension.
Festival Adaptations (Diwali, Religious Ceremonies)
Ghee is considered sacred in many Indian traditions. During Diwali, it’s used in lamps and cooking. For religious ceremonies, it’s often offered to deities.
Serving Suggestions
Ghee is incredibly versatile! Drizzle it over rice, use it for sautéing vegetables, add a spoonful to your dal, or use it in baking. It elevates everything it touches.
Storage Instructions
Store your homemade ghee in an airtight glass jar at room temperature, away from direct sunlight.
FAQs
Let’s answer some common questions!
What is the difference between butter and ghee?
Ghee is clarified butter, meaning the milk solids have been removed. This gives it a higher smoke point and a richer, nuttier flavour.
How do I know when the ghee is ready?
The ghee is ready when the milk solids at the bottom of the pot are golden brown, and the liquid above is clear and golden. The sizzle test is also a good indicator.
Can I use store-bought cream instead of malai?
Yes, you can! Just make sure it’s full-fat cream. The flavour won’t be quite the same as using homemade malai, but it will still be delicious.
How does ghee benefit my health?
Ghee is rich in healthy fats and vitamins. It’s also believed to aid digestion and boost immunity.
What is the best way to store homemade ghee?
Store in an airtight glass jar at room temperature, away from sunlight.
How long does ghee last?
Homemade ghee can last for several months, even up to a year, when stored properly.


Neha Deshmukh
Neha holds a B.A. in History with a focus on Indian and world history, including ancient, medieval, and modern periods. At RecipesOfIndia.org — the world’s largest database of Indian recipes — she combines her love for food and history by exploring how India’s past has shaped its culinary traditions.


