- Prepare buttermilk by whisking fresh curd with water.
- Rinse idli rice, poha, and urad dal separately. Soak in buttermilk for 4-6 hours.
- Grind soaked ingredients into a smooth batter using the reserved soaking liquid.
- Mix salt into the batter. Ferment for 8-12 hours.
- Heat a griddle, pour batter onto the hot surface and spread into a circular dosa.
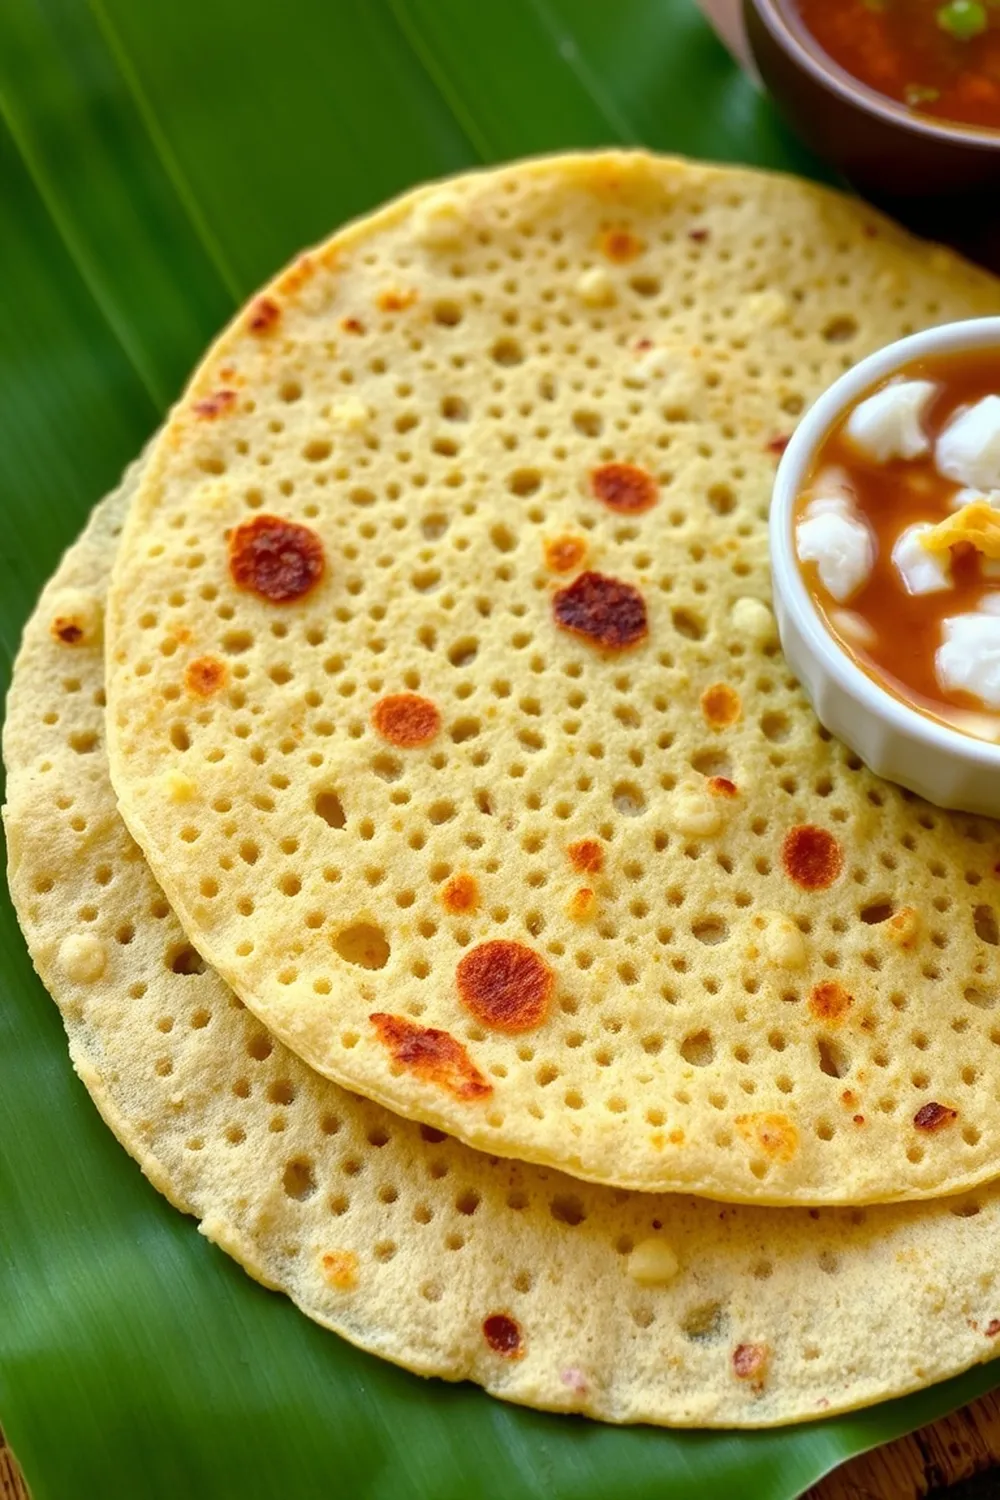
- Drizzle oil around the edges and cook, covered, for 2-3 minutes until the base is golden brown and crispy.
- Flip the dosa if desired to cook the second side briefly.
- Serve hot with coconut chutney or sambar.
- Calories:111 kcal25%
- Energy:464 kJ22%
- Protein:2 g28%
- Carbohydrates:17 mg40%
- Sugar:1 mg8%
- Salt:192 g25%
- Fat:3 g20%
Last Updated on 5 months ago by Neha Deshmukh
Authentic Idli Dosa Recipe – Fermented Rice & Lentil Pancake
Hey everyone! If there’s one dish that truly embodies South Indian cuisine for me, it’s gotta be the humble yet magnificent Dosa. Crispy, versatile, and utterly delicious – it’s a staple in so many homes, including mine! I remember learning to make this with my grandmother, and honestly, the first few attempts were… interesting! But with a little practice (and her patient guidance), I finally got the hang of it. Today, I’m sharing my go-to authentic Idli Dosa recipe with you. Let’s get cooking!
Why You’ll Love This Recipe
This isn’t just a dosa recipe, it’s the dosa recipe you’ll want to keep coming back to. We’re focusing on that perfect fermentation, which is key to a light and airy dosa. It’s a bit of a process, yes, but the reward – a beautifully crisp dosa – is SO worth it. Plus, it’s naturally gluten-free and easily adaptable to vegan diets (more on that later!).
Ingredients
Here’s what you’ll need to create this magic:
- 1 cup idli rice
- 0.5 cup thick poha (flattened rice)
- 2 tablespoons urad dal (split black lentils)
- 0.5 cup curd (plain yogurt)
- 1 cup water
- 0.25 teaspoon baking soda
- 1 teaspoon salt
- Oil as required
Ingredient Notes
Let’s talk ingredients! Getting these right makes all the difference.
- Idli Rice: This is the rice for soft idlis and crispy dosas. Don’t substitute with regular rice – it won’t give you the same texture.
- Poha Varieties: I prefer using thick poha for a slightly coarser texture in the dosa. You can find different thicknesses at Indian grocery stores. Thin poha works too, but the result will be a bit more delicate.
- Urad Dal Quality: Fresh urad dal is best! It should be pale and creamy, not yellowed or discolored. This contributes to the fermentation process.
- Buttermilk Fermentation: Using curd to create buttermilk is a traditional method. The lactic acid helps with fermentation and gives the dosa a lovely tang. Don’t skip this step!
Step-By-Step Instructions
Alright, let’s get down to business!
- First, prepare your buttermilk. Simply whisk the curd with the water until smooth. Set aside.
- Rinse the idli rice, poha, and urad dal separately under cold water until the water runs clear. This removes excess starch.
- Now, combine the rinsed rice, poha, and dal in a large bowl. Pour the prepared buttermilk over them, ensuring everything is well submerged. Let this soak for 2-3 hours.
- After soaking, it’s time to grind! Transfer the mixture to a grinder (or a high-powered blender) along with some of the reserved soaking liquid. Grind into a smooth batter. You might need to add more liquid gradually to achieve the right consistency.
- Once ground, transfer the batter to a large container. Add the baking soda and salt, and mix well.
- This is where the magic happens – fermentation! Cover the container and let it sit in a warm place for 4-5 hours, or even overnight. You’ll know it’s fermented when the batter has increased in volume and has a slightly sour aroma.
- Heat a flat griddle or tawa over medium heat. Once hot, lightly grease it with oil.
- Pour a ladleful of batter onto the center of the griddle and spread it in a circular motion to form a dosa.
- Drizzle a little oil around the edges. Cover the dosa for 1-2 minutes, allowing the base to become crispy.
- Optionally, flip the dosa and cook for another minute or so. I usually don’t bother flipping, I like the extra crispness!
- Serve immediately with your favorite chutney and sambar.
Expert Tips
- Batter Consistency: The batter should be smooth and flowing, like pancake batter. If it’s too thick, add a little water.
- Griddle Temperature: The griddle needs to be hot enough for the dosa to crisp up, but not so hot that it burns. A drop of water should sizzle and evaporate quickly.
- Don’t Overmix: Once you add the baking soda, gently mix it in. Overmixing can affect the texture.
Variations
Want to switch things up? Here are a few ideas:
- Vegan Adaptation: Substitute the curd with plant-based yogurt (like cashew or soy yogurt) to make a vegan dosa.
- Gluten-Free Confirmation: This recipe is naturally gluten-free, as long as your poha is certified gluten-free.
- Spice Level – Mild: This recipe is traditionally mild. Feel free to add a pinch of chili flakes to the batter for a little heat.
- Regional Variations:
- Mysore Dosa: Spread a spicy red chutney inside the dosa before folding it over.
- Rava Dosa: Add a little semolina (rava) to the batter for a different texture.
- Festival Adaptations: During Makar Sankranti, we often make a slightly sweeter version with a touch of jaggery in the batter.
Serving Suggestions
Dosa is incredibly versatile! Here are some of my favorite ways to enjoy it:
- With coconut chutney (a must-have!)
- With sambar (lentil-based vegetable stew)
- Filled with a potato masala (masala dosa)
- Rolled up with a simple onion and tomato filling
Storage Instructions
- Batter: You can store the fermented batter in the refrigerator for up to 3 days. It might become a little more sour, but that’s perfectly fine!
- Cooked Dosas: Dosas are best enjoyed fresh. However, you can reheat leftover dosas in a dry pan or toaster oven.
FAQs
Let’s answer some common questions:
- What is the ideal consistency of the dosa batter? It should be smooth and flowing, similar to pancake batter.
- Can I use store-bought buttermilk? Yes, you can! But homemade buttermilk (from curd and water) tastes better.
- How do I know when the dosa griddle is hot enough? Sprinkle a few drops of water on the griddle. If they sizzle and evaporate quickly, it’s ready.
- What is the purpose of soaking the rice and lentils? Soaking softens them, making them easier to grind and improving fermentation.
- Can I make the batter in advance and store it? Absolutely! You can soak the rice and lentils a day ahead and grind the batter the next day.
Enjoy making this classic South Indian dish! I hope this recipe brings a little bit of sunshine to your kitchen. Let me know how it turns out in the comments below!


Neha Deshmukh
Neha holds a B.A. in History with a focus on Indian and world history, including ancient, medieval, and modern periods. At RecipesOfIndia.org — the world’s largest database of Indian recipes — she combines her love for food and history by exploring how India’s past has shaped its culinary traditions.


