- Activate yeast by mixing sugar and 105°F water in a bowl. Sprinkle yeast on top, stir gently, and let sit until frothy (5-10 minutes).
- Combine bread flour and salt in a large bowl. Pour yeast mixture into the center and mix with a wooden spoon until a shaggy dough forms.
- Transfer dough to a lightly floured surface. Knead for 8-10 minutes until smooth and elastic, adding flour sparingly if too sticky.
- Place dough in an oiled bowl, turning to coat. Cover with plastic wrap and let rise in a warm place for 60-90 minutes, or until doubled in size.
- Gently divide dough into two portions. Shape each into a round loaf, place seam-side down in floured proofing baskets or bowls, and let rise for 30-45 minutes.
- Preheat oven to 450°F (232°C) with a covered Dutch oven inside. Carefully transfer risen dough to the hot Dutch oven. Score the top with a sharp knife and mist with water.
- Bake covered for 20 minutes. Remove lid, reduce temperature to 350°F (175°C), and bake uncovered for another 20-25 minutes, or until golden brown and the internal temperature reaches 200-210°F (93-99°C).
- Calories:280 kcal25%
- Energy:1171 kJ22%
- Protein:10 g28%
- Carbohydrates:55 mg40%
- Sugar:2 mg8%
- Salt:400 g25%
- Fat:2 g20%
Last Updated on 5 months ago by Neha Deshmukh
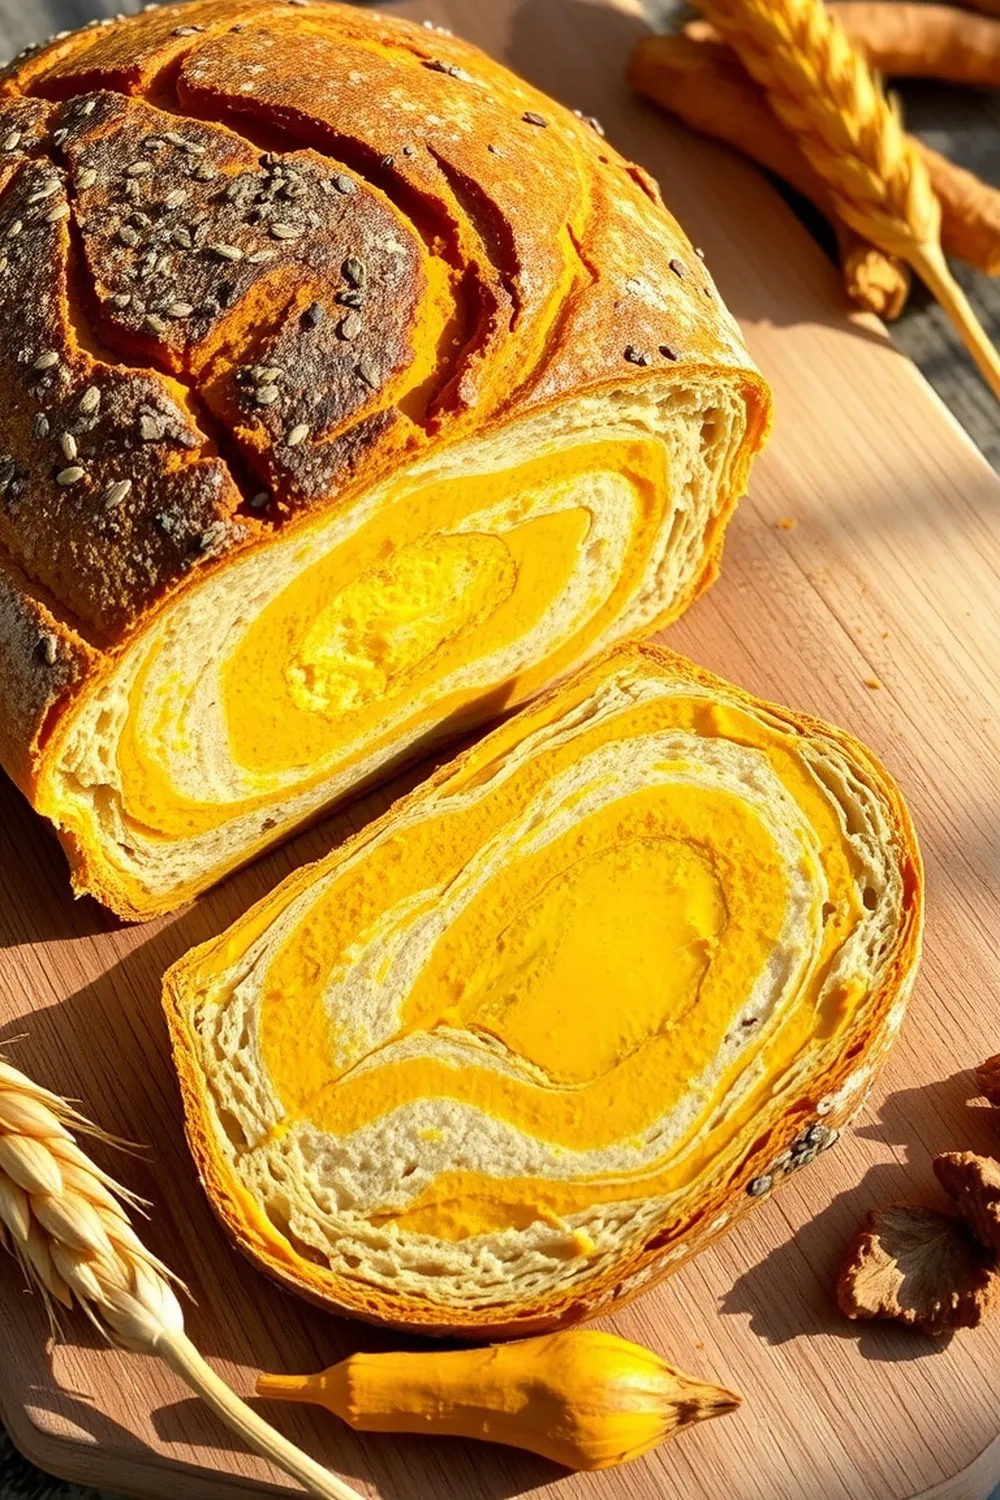
Authentic Indian Bread Recipe – Easy Homemade Flour & Yeast Loaf
Hey everyone! There’s just something so incredibly satisfying about the smell of freshly baked bread, isn’t there? Especially when it’s a warm, fluffy Indian loaf, perfect for scooping up your favorite curry or enjoying with a simple dollop of butter. I remember the first time I tried making this – it felt a little daunting, but the result was so worth it. Today, I’m sharing my go-to recipe for this classic Indian bread, and trust me, it’s easier than you think!
Why You’ll Love This Recipe
This isn’t just any bread recipe. It’s a little piece of home, a taste of tradition, and a seriously comforting treat. You’ll love it because:
- It’s surprisingly easy to make, even if you’re new to baking with yeast.
- The aroma while it bakes is absolutely divine.
- It’s incredibly versatile – perfect with everything from dal to sabzi.
- It’s a wonderful way to bring a little bit of India into your kitchen.
Ingredients
Here’s what you’ll need to create this deliciousness:
- 500 gm (4 cups) bread flour
- 2 tsp active dry yeast
- 2 tsp salt
- 1 tsp sugar
- 350 ml (1.5 cups) water
Ingredient Notes
Let’s talk ingredients for a sec! Getting these right makes all the difference.
- Bread Flour: This is key! Bread flour has a higher protein content than all-purpose flour, which helps develop the gluten needed for a chewy, elastic texture. I usually use a good quality, unbleached bread flour.
- Yeast Activation: Don’t skip activating the yeast! It’s how you know your yeast is alive and kicking. If it doesn’t get frothy, your yeast might be old and you’ll need to start with a fresh batch.
- Regional Variations in Flour Used: In some parts of India, especially in rural areas, people use atta (whole wheat flour) or a mix of atta and bread flour. Feel free to experiment! It will give the bread a slightly different flavor and texture.
Step-By-Step Instructions
Alright, let’s get baking!
- First, let’s wake up that yeast. In a bowl, mix the sugar with 350ml of lukewarm water (around 100°F). Sprinkle the yeast on top, give it a gentle stir, and let it sit for 5-10 minutes. You’ll know it’s working when it gets nice and frothy.
- In a large bowl, combine the bread flour and salt. Pour in the frothy yeast mixture and mix with a wooden spoon until a sticky dough starts to form.
- Now for the fun part – kneading! Turn the dough out onto a lightly floured surface. Knead for about 10 minutes, until it becomes smooth and elastic. If it’s too sticky, sprinkle on a little more flour, but don’t overdo it.
- Place the dough in a lightly oiled bowl, turning to coat. Cover with plastic wrap and let it rise in a warm place for about 90 minutes, or until it has doubled in size. Patience is key here!
- Once risen, gently punch down the dough to release the air. Divide it into two equal portions. Shape each portion into a round loaf, and place them seam-side down in lightly floured bowls. Let them rise again for another 30 minutes.
- Preheat your oven to 230°C/450°F. Here’s a little trick – place a covered casserole dish inside the oven while it preheats. This creates a steamy environment for baking, which gives the bread a lovely crust.
- Carefully remove the hot casserole dish from the oven. Gently transfer the risen dough into the hot dish. Score the top of each loaf with a sharp knife – this helps control how it expands in the oven. Lightly mist the loaves with water.
- Bake covered for 15 minutes. Then, remove the lid, reduce the oven temperature to 180°C/350°F, and bake uncovered for another 15 minutes, or until the loaves are golden brown and sound hollow when tapped on the bottom.
Expert Tips
- Warmth is your friend: Yeast loves warmth! Make sure your water isn’t too hot (it will kill the yeast) or too cold (it won’t activate).
- Don’t over-knead: Over-kneading can result in tough bread. 10 minutes is usually perfect.
- The tap test: The best way to tell if the bread is done is to tap the bottom. It should sound hollow.
Variations
Want to get creative? Here are a few ideas:
- Vegan Adaptation: Substitute the water with plant-based milk (like soy or almond) and ensure your sugar is vegan-friendly.
- Gluten-Free Adaptation: Use a good quality gluten-free flour blend designed for bread making. You might need to adjust the liquid slightly.
- Spice Level: My friend, Priya, loves adding a teaspoon of cumin seeds or a pinch of chili flakes to the dough for a little extra flavor.
- Festival Adaptations: During Diwali, my family loves to serve this bread with a special lentil curry. It’s a tradition!
Serving Suggestions
This bread is amazing on its own, but even better with:
- Your favorite Indian curries (dal, chana masala, butter chicken – the possibilities are endless!)
- A simple spread of butter or ghee.
- A side of yogurt or raita.
- A warm bowl of soup.
Storage Instructions
- Room Temperature: Store leftover bread in an airtight container at room temperature for up to 2 days.
- Freezing: For longer storage, wrap the bread tightly in plastic wrap and then in foil. It will keep in the freezer for up to 2 months. Reheat in the oven for a few minutes to restore its freshness.
FAQs
Let’s answer some common questions:
- What type of flour is best for this bread? Bread flour is ideal, but you can use all-purpose flour in a pinch.
- Can I use instant yeast instead of active dry yeast? Yes, you can! You don’t need to activate instant yeast – just add it directly to the flour.
- How do I know when the dough has risen enough? The dough should have doubled in size. Gently poke it with your finger – if the indentation remains, it’s ready.
- What if I don’t have a covered casserole dish? You can use a Dutch oven or even a large pot with a lid.
- Can this bread be made ahead of time? Yes! You can prepare the dough up to the first rise and store it in the refrigerator overnight. Just bring it to room temperature before continuing with the recipe.
Enjoy baking, and I hope this recipe brings a little bit of Indian warmth to your kitchen! Let me know how it turns out in the comments below.


Neha Deshmukh
Neha holds a B.A. in History with a focus on Indian and world history, including ancient, medieval, and modern periods. At RecipesOfIndia.org — the world’s largest database of Indian recipes — she combines her love for food and history by exploring how India’s past has shaped its culinary traditions.