- Heat 1 litre of full-fat milk in a heavy-bottomed pan over medium heat until it boils.
- Reduce heat to low and simmer, stirring frequently to prevent scorching.
- Scrape any milk solids from the sides and bottom of the pan and incorporate them back into the mixture.
- Continue cooking for approximately 50-60 minutes, until the milk thickens and becomes grainy.
- Stir continuously for another 30-60 minutes until it forms a semi-solid mass with minimal moisture. The cooking time will depend on the heat and pan used.
- Cook until the mixture pulls away from the sides of the pan, then transfer to a container to cool completely.
- Store refrigerated in an airtight container for up to a week, or freeze for longer storage.
- Calories:220 kcal25%
- Energy:920 kJ22%
- Protein:8 g28%
- Carbohydrates:17 mg40%
- Sugar:12 mg8%
- Salt:120 g25%
- Fat:14 g20%
Last Updated on 6 months ago by Neha Deshmukh
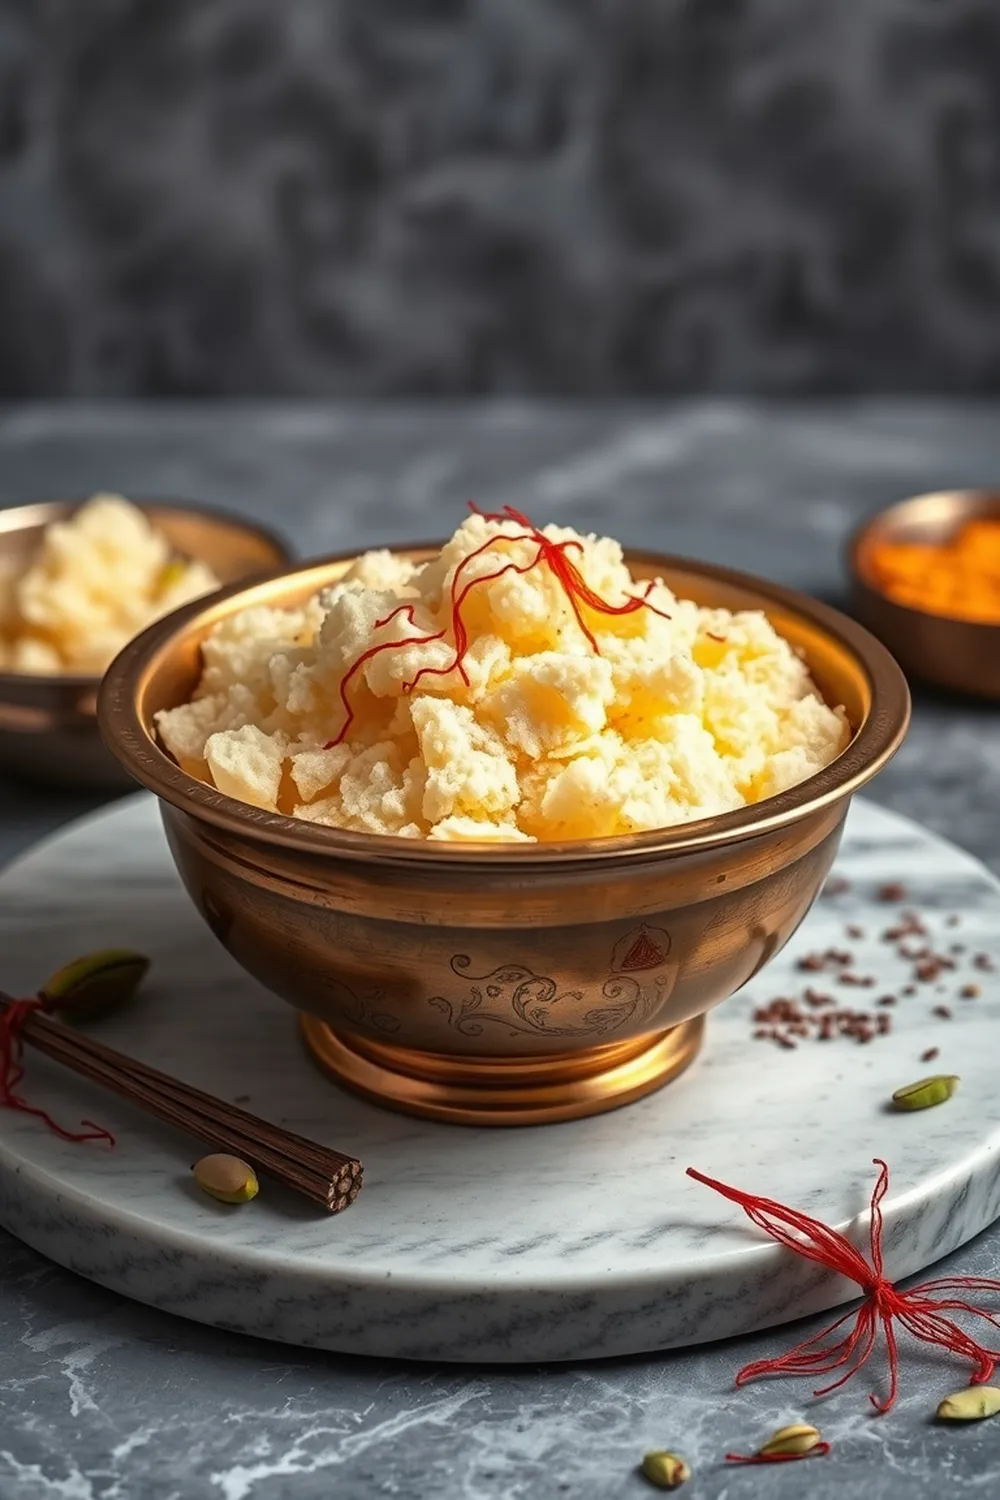
Authentic Indian Khoya Recipe – Homemade Mawa for Sweets
Okay, let’s be real. If you’ve ever dreamed of making truly amazing Indian sweets, you need to know how to make khoya. It’s the heart and soul of so many of our favourite treats! I remember the first time I tried making it – it felt a little daunting, but honestly, it’s not as tricky as it seems. And the reward? Oh, the reward is so worth it. This recipe will guide you through making authentic, homemade khoya (also known as mawa) that will elevate your sweet dishes to a whole new level.
Why You’ll Love This Recipe
This khoya recipe is all about flavour and control. Store-bought khoya can be…well, a little bland sometimes. Making it yourself lets you ensure the freshest, richest taste. Plus, there’s something incredibly satisfying about creating this foundational ingredient from scratch. It’s a bit of a labour of love, but trust me, you’ll taste the difference! It’s perfect for those special occasions, or just when you’re craving something truly delicious.
Ingredients
- 1 litre full fat milk (that’s about 4.2 cups!)
Ingredient Notes
Let’s talk milk. This is not the place to use low-fat or skim milk. Seriously. Full-fat milk is absolutely crucial for getting that rich, creamy texture and beautiful colour. The fat content is what allows the milk to reduce and thicken properly. Buffalo milk makes an even richer khoya, if you can get your hands on it – my grandmother always swore by it! Don’t skimp on quality here; it really impacts the final product.
Step-By-Step Instructions
First things first, pour your 1 litre of full-fat milk into a heavy-bottomed pan. A heavy bottom is key to prevent scorching. Place it over medium heat and bring it to a boil. Keep a close eye – you don’t want it to overflow!
Once it boils, immediately reduce the heat to the lowest setting. Now, the patience begins! We’re going to simmer this milk, stirring every few minutes to prevent it from sticking and burning.
As the milk simmers, you’ll start to notice milk solids forming on the sides and bottom of the pan. This is good! Use a spatula to scrape these solids back into the milk mixture. They’re packed with flavour and contribute to the beautiful colour of the khoya.
Continue simmering and stirring for about 50 minutes. You’ll see the milk gradually becoming grainy and thickening. Keep going!
After about an hour, you’ll need to stir constantly. This is where your arm gets a workout! The mixture will start to come together into a semi-solid mass, with less and less moisture.
Keep cooking and stirring until the mixture starts to leave the sides of the pan cleanly. This is your sign that it’s almost ready. Transfer the khoya to a clean container to cool completely.
Expert Tips
- Pan Selection: A heavy-bottomed stainless steel or cast iron pan is your best friend here. Avoid non-stick, as it doesn’t conduct heat as well.
- Stirring Technique: Consistent stirring is vital. Don’t let the milk sit for too long between stirs, or it will burn. But you don’t need to stir non-stop – every few minutes is usually enough in the beginning.
- Recognizing Consistency: The khoya is ready when it forms a cohesive mass that pulls away from the sides of the pan. It should be slightly grainy, but not watery.
- Don’t Rush It: Seriously. Low and slow is the way to go. Rushing the process will result in a grainy, subpar khoya.
Variations
- Milk Source: As I mentioned, buffalo milk creates a particularly rich khoya. Cow’s milk is more readily available and works perfectly well too!
- Regional Methods: Some families add a tiny pinch of citric acid or lemon juice early in the process to help with coagulation. My aunt always does this!
- Spice Infusions: A pinch of cardamom powder or a few strands of saffron added during the last 15 minutes of cooking can add a beautiful aroma and flavour.
- Adjusting Consistency: For softer khoya, ideal for creamy sweets like Rabri, stop cooking when it’s slightly less thick. For firmer khoya, needed for things like Gulab Jamun, cook it until it’s quite dry.
Serving Suggestions
Khoya is a star ingredient in so many Indian sweets! Here are a few of my favourites:
- Gulab Jamun
- Barfi (various types!)
- Pedha
- Kalakand
- Rasmalai
- Kheer
Honestly, the possibilities are endless!
Storage Instructions
Once cooled, store your khoya in an airtight container in the refrigerator for up to a week. You can also freeze it for longer storage – it will keep for a couple of months in the freezer. Just make sure it’s well wrapped to prevent freezer burn.
FAQs
Q: What is the difference between khoya and paneer?
A: Great question! Both are milk-based, but they’re made differently. Khoya is made by reducing milk over a long period, while paneer is made by curdling milk with an acid (like lemon juice). Khoya is richer and has a slightly grainy texture, while paneer is more like a firm cheese.
Q: Can I use UHT milk to make khoya?
A: It’s not ideal. UHT milk has been ultra-processed, which can affect its ability to thicken properly. Fresh, full-fat milk is always best.
Q: How do I know when the khoya is cooked properly?
A: Look for the mixture to pull away from the sides of the pan and form a cohesive mass. It should be slightly grainy, but not watery.
Q: What if my khoya is grainy and not smooth?
A: This usually means it’s been cooked too quickly or not stirred enough. Unfortunately, there’s not much you can do to fix it once it’s grainy. Next time, lower the heat and stir more frequently!
Q: Can I make khoya in an Instant Pot?
A: Yes, you can! There are many Instant Pot khoya recipes available online. It speeds up the process considerably, but you still need to stir frequently.


Neha Deshmukh
Neha holds a B.A. in History with a focus on Indian and world history, including ancient, medieval, and modern periods. At RecipesOfIndia.org — the world’s largest database of Indian recipes — she combines her love for food and history by exploring how India’s past has shaped its culinary traditions.


