- Day 1: Mix 60g all-purpose flour, 60g filtered water, and 5g raisins in a glass container. Cover loosely and let ferment.
- Day 2: Stir the mixture, add 60g all-purpose flour and 60g water. Mix thoroughly and cover.
- Days 3-8: Discard half the starter daily. Feed with 50g flour (wheat or all-purpose) and 50g water each day. Monitor for bubbles and hooch.
- Day 9: Perform a float test to check readiness. A bubbly texture and tangy aroma indicate an active starter.
- Maintain by regular feeding and store in the refrigerator when not in use.
- Calories:210 kcal25%
- Energy:878 kJ22%
- Protein:6 g28%
- Carbohydrates:45 mg40%
- Sugar:5 mg8%
- Salt:2 g25%
- Fat:1.5 g20%
Last Updated on 2 months by Neha Deshmukh
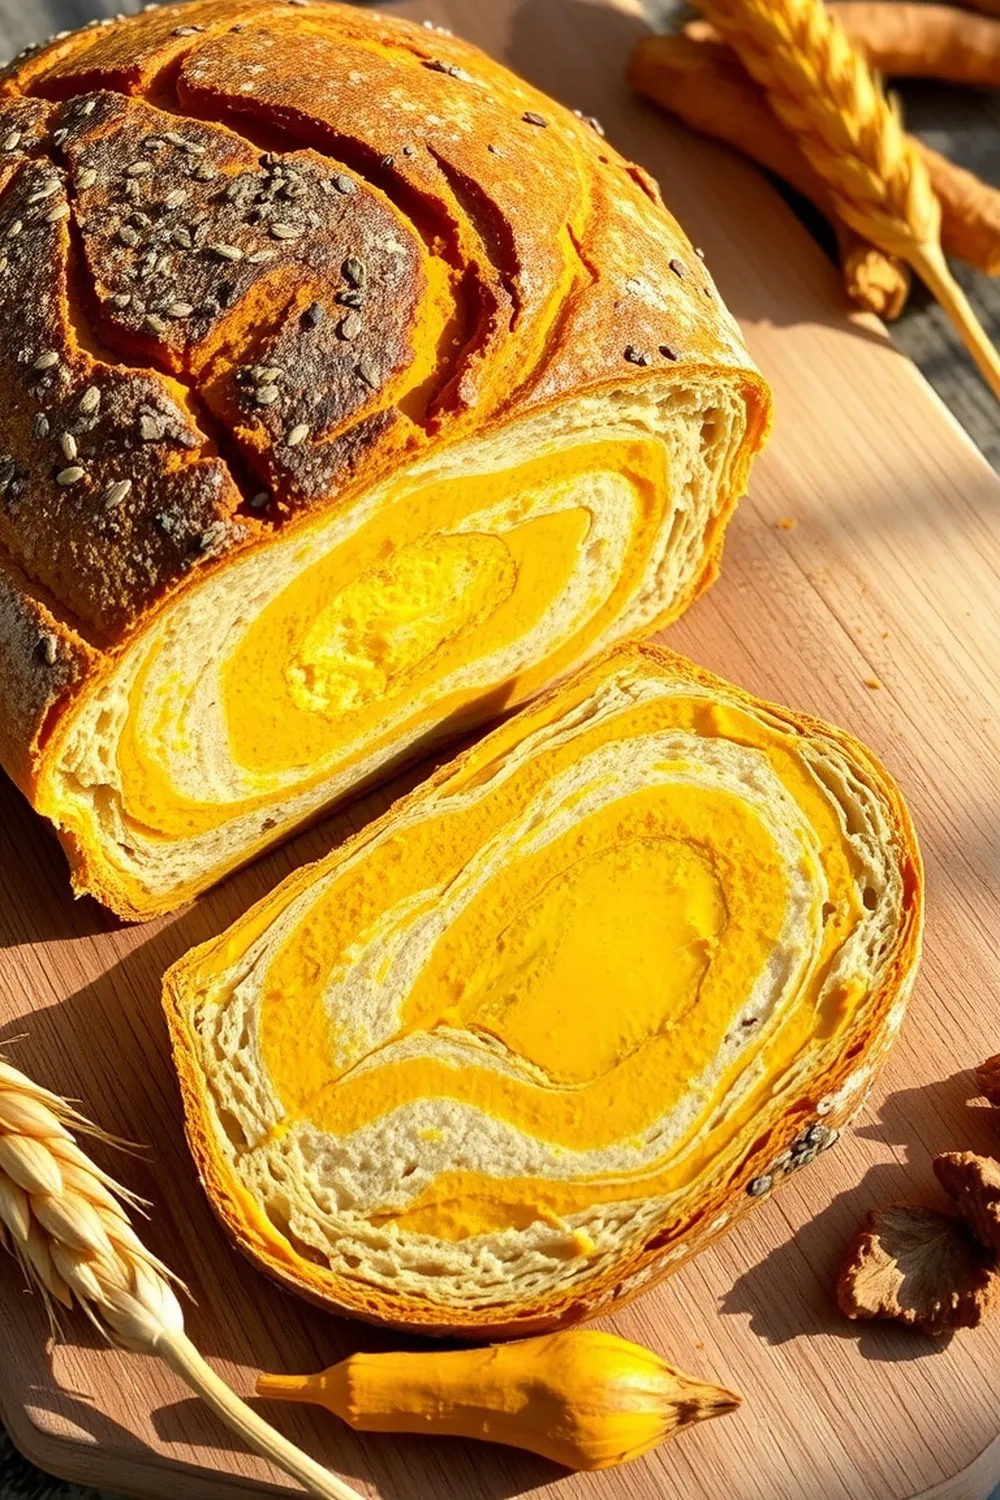
Authentic Indian Sourdough Starter Recipe – Flour & Raisin Feed
Hey everyone! If you’ve been curious about sourdough, especially how to bring a little bit of that amazing flavour to your Indian cooking, you’re in the right place. I remember when I first started experimenting with sourdough – it felt a little intimidating, but honestly, it’s incredibly rewarding. This recipe is for a simple, yet effective, Indian-style sourdough starter using all-purpose flour and a little secret ingredient: raisins! Let’s get started.
Why You’ll Love This Recipe
This isn’t your typical sourdough starter. We’re leaning into ingredients readily available in most Indian kitchens. The raisins add a natural sweetness and help kickstart fermentation, while using a mix of flours gives a lovely depth of flavour. It’s a fantastic way to add a unique tang to your rotis, naans, and other favourite breads. Plus, once you have an active starter, the possibilities are endless!
Ingredients
Here’s what you’ll need to create your bubbly little friend:
- 60 grams all-purpose flour (about ½ cup)
- 60 grams filtered water (about ¼ cup)
- 5 raisins
- 50 grams wheat flour (atta) (about ⅓ cup) – for feeding
- 50 grams filtered water (about ¼ cup) – for feeding
Ingredient Notes
Let’s talk ingredients for a sec. They really make a difference!
- All-Purpose Flour vs. Wheat Flour (Atta): I like to start with all-purpose flour because it’s readily available and provides a good base for fermentation. As we feed the starter, we’ll incorporate wheat flour (atta) which adds a lovely nutty flavour and a bit more substance. You can experiment with ratios later!
- The Role of Raisins: Don’t skip the raisins! They contain natural yeasts that help get the fermentation process going. They also provide a little food for the yeast, giving it a boost.
- Importance of Filtered Water: Filtered water is best because tap water can contain chlorine and other chemicals that can inhibit yeast growth. If you don’t have a filter, let tap water sit out for 24 hours to allow the chlorine to evaporate.
Step-By-Step Instructions
Alright, let’s make some sourdough magic!
Day 1: In a clean glass jar (a mason jar works perfectly!), combine 60g of all-purpose flour, 60g of filtered water, and 5 raisins. Give it a good mix – it should look like a thick paste. Cover loosely with a lid or plastic wrap and let it sit in a warm place.
Day 2: Give your mixture a little stir. It might not look like much is happening yet, but trust the process! Add another 60g of all-purpose flour and 60g of water. Mix thoroughly until everything is well combined. Cover and let it rest.
Days 3-8: This is where the routine begins. Each day, discard about half of the starter (don’t worry, it feels wasteful at first, but it’s necessary!). Then, feed it with 50g of flour (you can use wheat flour or all-purpose flour, or a mix!) and 50g of water. Mix well, cover, and let it sit. Keep an eye out for bubbles – that’s a good sign! You might also notice a layer of liquid on top, called “hooch.” That’s totally normal!
Day 9: Time for the float test! Take a small spoonful of your starter and gently drop it into a glass of water. If it floats, it’s ready to use! You should also see plenty of bubbles and a pleasantly tangy aroma. If it sinks, continue feeding for a few more days.
Expert Tips
- Warmth is Key: Sourdough loves warmth! Aim for a temperature around 75-80°F (24-27°C) for optimal fermentation.
- Consistency is Important: Try to feed your starter around the same time each day.
- Don’t Be Afraid to Experiment: Sourdough is a bit of an art, so don’t be afraid to adjust things based on your environment and preferences.
Variations
Want to get creative? Here are a few ideas:
- Different Flours: Try using ragi (finger millet) flour, bajra (pearl millet) flour, or jowar (sorghum) flour for a unique flavour profile. My aunt swears by a mix of ragi and wheat flour!
- Hydration Levels: If you live in a dry climate, you might need to add a little more water to keep the starter from drying out.
- Dried Fruits: Experiment with other dried fruits like chopped dates or figs instead of raisins.
- Spice Infusions: Add a tiny pinch of turmeric or hing (asafoetida) to your starter for a subtle flavour boost.
Serving Suggestions
Okay, so you’ve got an active starter… now what? This starter is your ticket to incredible Indian breads!
- Kulcha: Soft and fluffy leavened flatbread.
- Naan: The classic oven-baked flatbread.
- Bhatura: Deep-fried, puffed-up bread – perfect with chole!
Storage Instructions
Once your starter is active, you can store it in the refrigerator to slow down fermentation. Feed it once a week, even in the fridge. When you’re ready to bake, take it out, feed it a couple of times, and let it become active again.
FAQs
Let’s tackle some common questions:
- What is ‘hooch’ and is it harmful? Hooch is a liquid that forms on top of the starter. It’s a sign that the starter is hungry! You can either stir it back in or pour it off before feeding. It’s not harmful.
- How do I know if my starter is truly active? A bubbly texture, a tangy aroma, and the ability to float in water are all good signs.
- Can I use tap water instead of filtered water? It’s not ideal, but you can let tap water sit out for 24 hours to allow the chlorine to evaporate.
- What if I don’t have raisins? You can try using a small amount of honey or maple syrup instead, but raisins are the easiest and most reliable option.
- How often should I feed my starter if I bake infrequently? You can store it in the refrigerator and feed it once a week.


Neha Deshmukh
Neha holds a B.A. in History with a focus on Indian and world history, including ancient, medieval, and modern periods. At RecipesOfIndia.org — the world’s largest database of Indian recipes — she combines her love for food and history by exploring how India’s past has shaped its culinary traditions.