- Soak kala chana overnight in water. Drain and rinse before cooking.
- Pressure cook chana with 3 cups of water and salt for 3-4 whistles until tender.
- Heat ghee and oil in a pan. Add cumin seeds and let them splutter.
- Add grated ginger and slit green chilies. Sauté for 1 minute.
- Add chopped tomatoes and cook until mushy. Stir in red chili powder, coriander powder, and salt.
- Add cooked chana to the masala. Mix well and simmer for 10 minutes.
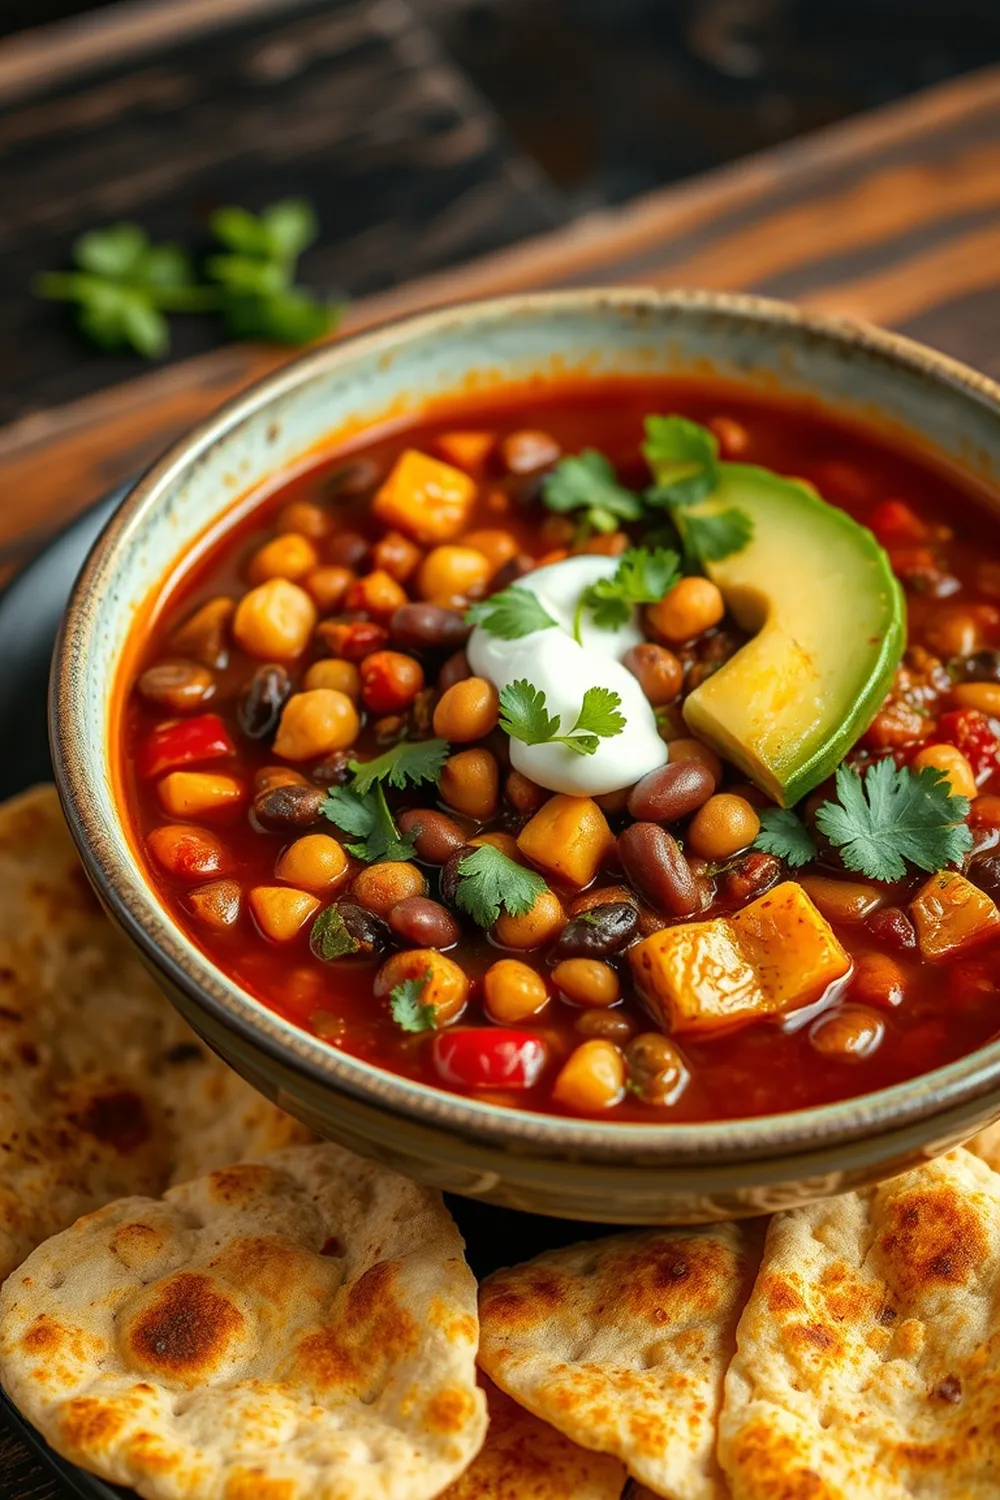
- Garnish with fresh coriander leaves and serve hot with puri or roti.
- Calories:404 kcal25%
- Energy:1690 kJ22%
- Protein:18 g28%
- Carbohydrates:60 mg40%
- Sugar:5 mg8%
- Salt:600 g25%
- Fat:15 g20%
Last Updated on 6 months ago by Neha Deshmukh
Authentic Kala Chana Masala Recipe – Black Chickpea Curry
Hey everyone! Today, I’m sharing a recipe that’s close to my heart – a truly authentic Kala Chana Masala. This black chickpea curry is a staple in many Indian households, and for good reason. It’s packed with flavour, incredibly satisfying, and surprisingly easy to make. I remember learning this recipe from my grandmother, and it always brings back such warm memories. Let’s get cooking!
Why You’ll Love This Recipe
This Kala Chana Masala isn’t just delicious; it’s also incredibly versatile. It’s perfect for a comforting weeknight dinner, a festive gathering, or even a vrat (fasting) meal. The earthy flavour of the black chickpeas combined with the aromatic spices is simply irresistible. Plus, it’s a fantastic source of protein and fibre, making it a healthy and wholesome choice.
Ingredients
Here’s what you’ll need to create this flavourful curry:
- 1 cup Kala Chana (Black Chickpeas) – about 200g
- 2 medium Tomatoes – about 300g, chopped
- 1 inch Ginger – roughly 25g, grated
- 2 Green Chillies – slit lengthwise
- 1 tsp Red Chili Powder
- 1 tsp Coriander Powder
- 1 tsp Cumin Seeds
- 1 tbsp Ghee
- 1 tbsp Cooking Oil
- Sendha Namak (Rock Salt) – to taste (about 1 tsp, adjust as needed)
- Fresh Coriander Leaves – for garnish
Ingredient Notes
Let’s talk about a few key ingredients to make sure you get the best results:
Kala Chana (Black Chickpeas): Benefits & Selection
Kala chana is a powerhouse of nutrients! It’s rich in protein, fibre, and iron. When buying, look for chickpeas that are plump and have a uniform colour. Avoid any that look shrivelled or have blemishes.
Sendha Namak (Rock Salt): A Traditional Choice
Sendha Namak, or rock salt, is traditionally used in Indian cooking, especially during fasting periods. It’s believed to have cooling properties and is a great alternative to regular table salt. You can find it at most Indian grocery stores. If you can’t find it, regular salt will work in a pinch, but the flavour profile will be slightly different.
Ghee vs. Oil: Flavor & Health Considerations
I love using a combination of ghee and oil. Ghee adds a beautiful richness and aroma, while the oil helps prevent the ghee from burning. You can use any cooking oil you prefer – I usually go for sunflower or vegetable oil. If you’re looking to reduce fat, you can use just oil, but the flavour won’t be quite as intense.
Regional Variations in Spice Blends
Spice blends can vary quite a bit depending on the region! Some people like to add a pinch of amchur (dry mango powder) for a tangy flavour, while others prefer a dash of garam masala. Feel free to experiment and adjust the spices to your liking.
Step-By-Step Instructions
Alright, let’s get down to business! Here’s how to make this delicious Kala Chana Masala:
- Soak the Chana: Start by soaking the kala chana overnight in plenty of water. This is crucial for softening them and reducing cooking time.
- Cook the Chana: Drain and rinse the soaked chana. Then, transfer them to a pressure cooker with 3 cups of fresh water and a pinch of salt. Pressure cook for 3-4 whistles, or until the chana are tender.
- Prepare the Masala: While the chana are cooking, heat ghee and oil in a pan over medium heat. Once hot, add the cumin seeds and let them splutter.
- Sauté Aromatics: Add the grated ginger and slit green chillies to the pan. Sauté for about a minute, until fragrant.
- Cook the Tomatoes: Add the chopped tomatoes and cook until they become soft and mushy. This usually takes about 5-7 minutes.
- Add Spice Powders: Stir in the red chili powder, coriander powder, and salt. Cook for another minute, stirring constantly to prevent burning.
- Combine & Simmer: Add the cooked chana to the masala. Mix well to coat the chana with the spice blend. Simmer for 10 minutes, allowing the flavours to meld together.
- Garnish & Serve: Garnish with fresh coriander leaves and serve hot with puri, roti, or rice.
Expert Tips
Here are a few tips to help you make the perfect Kala Chana Masala:
Soaking & Cooking Kala Chana for Perfect Texture
Don’t skip the soaking step! It really makes a difference in the texture of the chana. If you forget to soak them overnight, you can quick-soak them by boiling them for 5 minutes, then letting them sit in hot water for an hour.
Achieving the Right Masala Consistency
If the masala becomes too dry, add a splash of water. If it’s too watery, continue cooking until it thickens.
Balancing Spice Levels
Adjust the amount of red chili powder to your preference. If you like it mild, use half a teaspoon. If you like it spicy, feel free to add more!
Variations
Want to switch things up? Here are a few variations to try:
Vegan Kala Chana Masala
Simply replace the ghee with a plant-based oil like coconut oil or olive oil.
Gluten-Free Adaptation
This recipe is naturally gluten-free! Just double-check the labels of your spice powders to ensure they haven’t been processed in a facility that also handles gluten.
Spice Level Adjustment (Mild to Spicy)
As mentioned before, adjust the red chili powder. You can also add a pinch of cayenne pepper for extra heat.
Festival Adaptation: Navratri/Fasting-Friendly Version
Use Sendha Namak (rock salt) instead of regular salt and avoid using ginger and garlic.
Serving Suggestions
Kala Chana Masala is incredibly versatile. Here are a few of my favourite ways to serve it:
- With hot, fluffy puris – a classic combination!
- With roti or naan – perfect for soaking up all the delicious gravy.
- With steamed rice – a simple and satisfying meal.
- As a side dish with other Indian curries.
Storage Instructions
Leftover Kala Chana Masala can be stored in an airtight container in the refrigerator for up to 3 days. It also freezes well – just thaw it overnight before reheating.
FAQs
Let’s answer some common questions:
What is the best way to soak and cook Kala Chana?
Soaking overnight is best. Cook in a pressure cooker for 3-4 whistles after draining and rinsing.
Can I use canned Kala Chana instead of dried?
Yes, you can! Just drain and rinse the canned chana before adding them to the masala. Reduce the simmering time to about 5 minutes.
What is Sendha Namak and why is it used in this recipe?
Sendha Namak is rock salt, traditionally used during fasting. It’s believed to have cooling properties.
How can I adjust the spice level of this Kala Chana Masala?
Adjust the amount of red chili powder. Add cayenne pepper for extra heat, or reduce it for a milder flavour.
What are some good accompaniments to serve with Kala Chana Masala?
Puri, roti, naan, rice, or a side of raita (yogurt dip) are all great choices.
Can this dish be made ahead of time?
Yes! It actually tastes even better the next day as the flavours meld together.
Enjoy making this delicious and authentic Kala Chana Masala! I hope it becomes a favourite in your home too. Let me know how it turns out in the comments below. Happy cooking!


Neha Deshmukh
Neha holds a B.A. in History with a focus on Indian and world history, including ancient, medieval, and modern periods. At RecipesOfIndia.org — the world’s largest database of Indian recipes — she combines her love for food and history by exploring how India’s past has shaped its culinary traditions.