- Heat ghee in a kadai over low flame. Add maida (all-purpose flour) and roast for 8-10 minutes, stirring constantly, until it forms a semi-thick paste (avoid browning).
- Transfer the roasted maida to a bowl and let it cool to room temperature.
- Mix in cardamom powder and gradually add powdered sugar, kneading until a thick, smooth dough forms.
- Press the dough firmly into a greased, parchment-lined bowl. Let it set for 1 hour at room temperature or 30 minutes in the refrigerator.
- Invert the set dough onto a plate, cut into squares or desired shapes, and store in an airtight container. Best enjoyed after 24 hours.
- Calories:120 kcal25%
- Energy:502 kJ22%
- Protein:2 g28%
- Carbohydrates:15 mg40%
- Sugar:8 mg8%
- Salt:10 g25%
- Fat:5 g20%
Last Updated on 4 months by Neha Deshmukh
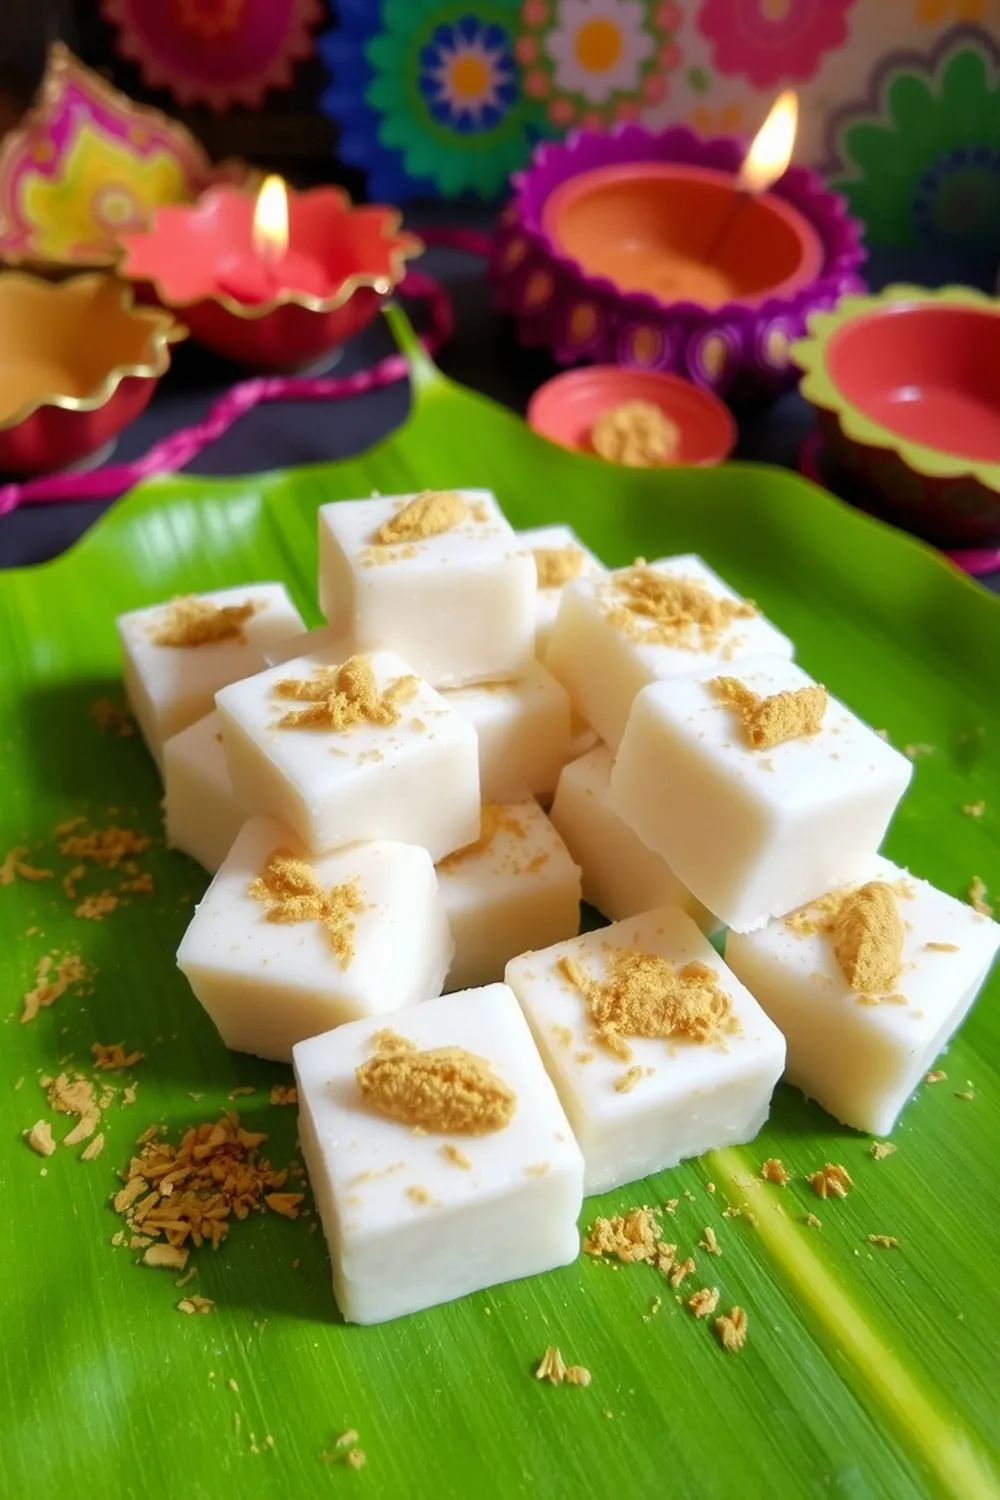
Authentic Maida Biscuits Recipe – Cardamom & Ghee Delight
Hey everyone! If you grew up in India, chances are you have fond memories of these melt-in-your-mouth Maida Biscuits. They were always present at family gatherings, and my grandmother used to make the most incredible ones. I’m so excited to share my version with you – it’s a little piece of nostalgia, and I promise, it’s easier to make than you think!
Why You’ll Love This Recipe
These aren’t your average biscuits. They’re subtly sweet, incredibly crumbly, and infused with the warm aroma of cardamom. They’re perfect with a cup of chai, as a little treat with your evening coffee, or just whenever you need a little something sweet. Plus, they stay fresh for days (if they even last that long!).
Ingredients
Here’s what you’ll need to whip up a batch of these delightful biscuits:
- 1 cup all-purpose flour (maida) – about 120g
- 1 cup powdered sugar – about 120g
- 0.5 cup melted ghee or dalda – about 120ml
- 0.25 tsp cardamom powder – about 1g
Yields: 35 pieces
Prep time: 5 minutes
Cooking time: 10 minutes
Difficulty: Easy
Ingredient Notes
Let’s talk ingredients! Getting these right will make all the difference.
Maida (All-Purpose Flour) – Types and Uses
Maida is the star of the show here. It’s a finely milled wheat flour that gives these biscuits their signature texture. You can find it easily in any Indian grocery store. Using the right maida is key – it should be fine and smooth, not coarse.
Ghee vs. Dalda – Flavor and Texture Differences
This is a classic debate! Traditionally, ghee (clarified butter) is used for its rich, nutty flavor. However, Dalda (vegetable shortening) creates a slightly more crumbly and melt-in-your-mouth texture. I personally love using ghee for the flavor, but feel free to experiment!
Cardamom Powder – Fresh vs. Store-Bought
Freshly ground cardamom is always best. The aroma is incredible! If you have cardamom pods, lightly toast them in a dry pan and then grind them. Store-bought cardamom powder works perfectly fine too, just make sure it’s relatively fresh.
Powdered Sugar – Achieving the Right Consistency
Using powdered sugar (also known as icing sugar) is crucial. Granulated sugar won’t dissolve properly and will result in a grainy texture. If your powdered sugar is a bit lumpy, give it a quick pulse in a food processor.
Step-By-Step Instructions
Alright, let’s get baking! Don’t worry, it’s super simple.
- Heat ghee in a kadai (or a deep frying pan) over low flame. Add the maida and roast for 8-10 minutes. Stir constantly to prevent burning! You’re looking for a semi-thick paste consistency – it shouldn’t brown.
- Transfer the roasted maida to a bowl and let it cool completely to room temperature. This is important – you don’t want to melt the sugar later!
- Once cooled, mix in the cardamom powder. Gradually add the powdered sugar, mixing well until a thick dough forms. It might take a little elbow grease, but keep going!
- Grease a bowl (I like to use a small mixing bowl) with a little ghee and line it with parchment paper. Press the dough firmly into the bowl, ensuring it’s evenly distributed.
- Let the dough set for 1 hour at room temperature, or 30 minutes in the refrigerator. This helps it firm up and makes it easier to cut.
- Invert the set dough onto a plate. Cut it into squares (or any shape you like!). Store in an airtight container. These biscuits are best enjoyed after 24 hours – the flavors really meld together!
Expert Tips
Want to take your Maida Biscuits to the next level? Here are a few tips I’ve learned over the years:
Achieving the Perfect Texture
The key is to roast the maida properly. You want it cooked through, but not browned. Low and slow is the way to go!
Preventing Cracking
If your dough cracks when you’re pressing it into the bowl, add a tiny bit more melted ghee – just a teaspoon at a time.
Working with Ghee Temperature
Make sure your ghee isn’t too hot when you add it to the maida. It should be melted, but not sizzling.
Ensuring Even Roasting of Maida
Stir, stir, stir! Constant stirring is essential to ensure the maida roasts evenly and doesn’t burn.
Variations
Want to get creative? Here are a few fun variations:
Vegan Maida Biscuits
Substitute the ghee with a vegan butter alternative. Make sure it has a similar fat content for the best results.
Gluten-Free Adaptation (Using Alternative Flours)
While these are traditionally made with maida, you can experiment with gluten-free flour blends. The texture will be slightly different, but still delicious!
Spice Level – Adding a Hint of Nutmeg or Saffron
My friend loves adding a pinch of nutmeg or a few strands of saffron for a more complex flavor.
Festival Adaptations – Diwali or Eid Special
During Diwali or Eid, I sometimes add a sprinkle of edible silver leaf (varak) on top for a festive touch.
Serving Suggestions
These biscuits are delicious on their own, but they also pair well with:
- A warm cup of chai
- A glass of cold milk
- A dollop of fruit jam
Storage Instructions
Store these biscuits in an airtight container at room temperature for up to a week. They actually get better with time!
FAQs
Got questions? I’ve got answers!
What is the best way to roast the maida without burning it?
Low heat and constant stirring are your best friends! Keep the flame low and don’t stop stirring.
Can I use unsalted butter instead of ghee? How will it affect the taste?
Yes, you can! Butter will give the biscuits a slightly different flavor – a bit less nutty and more creamy.
My dough is too crumbly, what should I do?
Add a teaspoon of melted ghee at a time until the dough comes together.
Can these biscuits be baked in an oven instead of being set at room temperature?
While traditionally set, you can bake them at 160°C (320°F) for 10-12 minutes. The texture will be slightly different – a bit more like a traditional cookie.
How long do these biscuits stay fresh, and what’s the best way to store them for longer shelf life?
They stay fresh for up to a week in an airtight container at room temperature. For longer storage, you can freeze them for up to a month.
Enjoy making these biscuits! I hope they bring as much joy to your kitchen as they do to mine. Let me know how they turn out in the comments below!


Neha Deshmukh
Neha holds a B.A. in History with a focus on Indian and world history, including ancient, medieval, and modern periods. At RecipesOfIndia.org — the world’s largest database of Indian recipes — she combines her love for food and history by exploring how India’s past has shaped its culinary traditions.


