- Steam cook maida in a cloth-lined container for 10-15 minutes. Cool completely, break up any lumps, and let it dry for 2-3 hours.
- Sieve the steamed maida. Mix with butter, sesame seeds, and salt in a bowl. Gradually add warm water and knead to form a smooth, pliable dough.
- Divide the dough into equal portions. Load each portion into a greased star-shaped murukku press.
- Press spiral patterns directly onto a greased ladle or a clean, flat surface. Carefully transfer the murukku into medium-hot oil.
- Fry until golden brown and crisp, flipping occasionally for even cooking. Drain on paper towels to remove excess oil. Store in an airtight container once cooled.
- Calories:350 kcal25%
- Energy:1464 kJ22%
- Protein:5 g28%
- Carbohydrates:45 mg40%
- Sugar:1 mg8%
- Salt:200 g25%
- Fat:18 g20%
Last Updated on 4 months by Neha Deshmukh
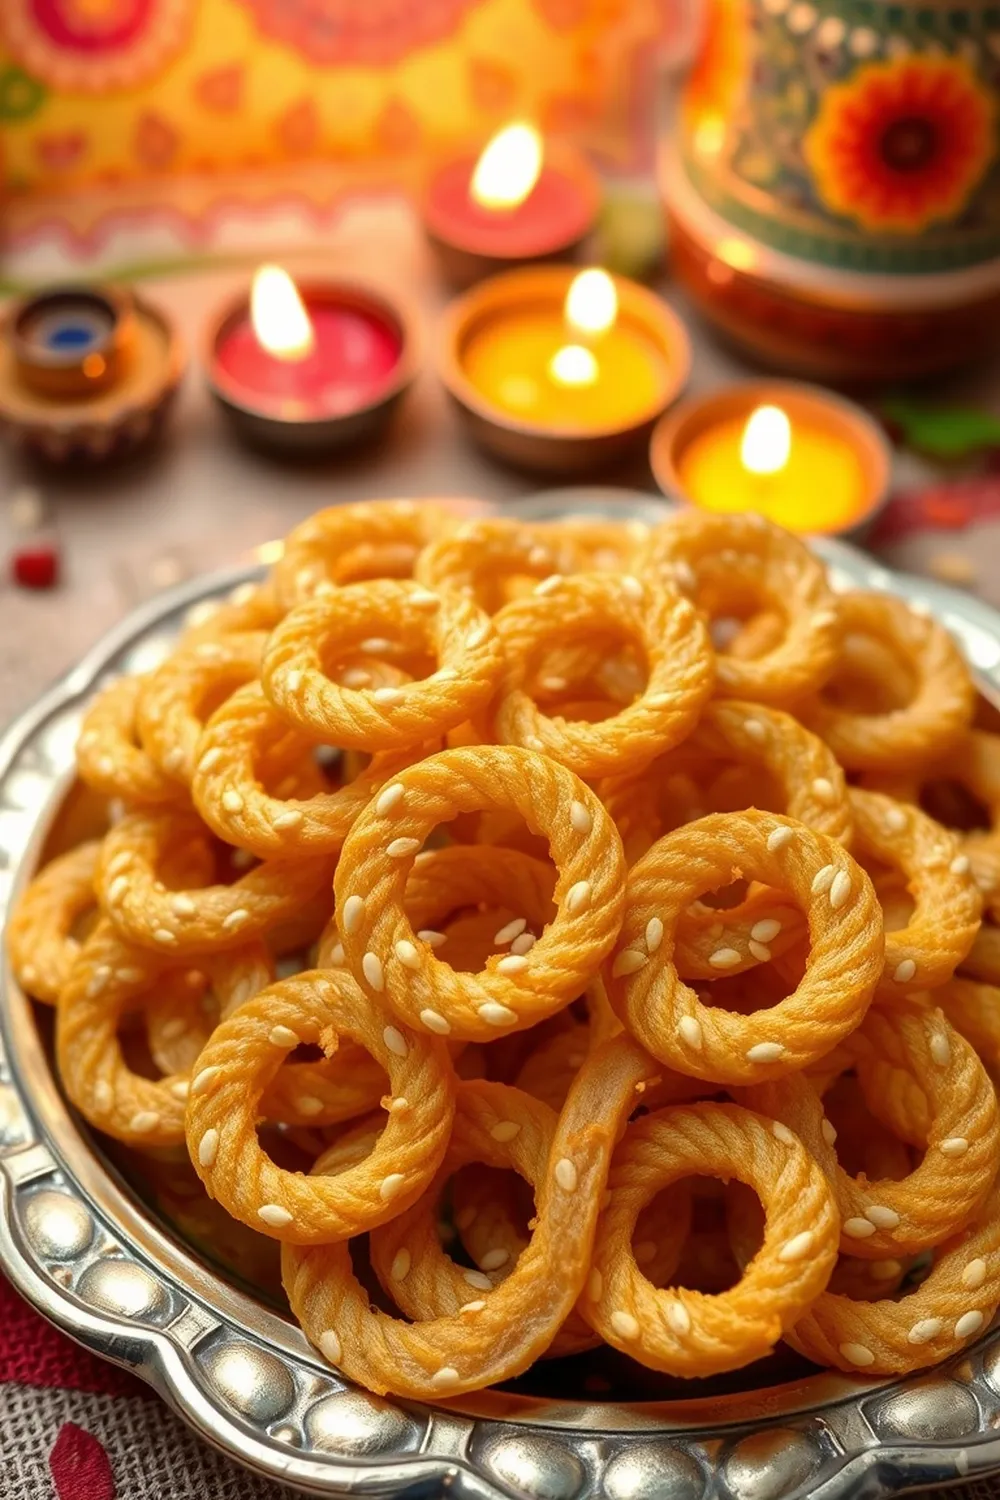
Authentic Maida Murukku Recipe – Sesame Seed Spiral Snacks
Hey everyone! If you’ve ever wandered through the bustling streets of India during festival season, you’ve probably been captivated by the aroma of freshly fried snacks. And honestly, few things beat a crunchy, savory bite of a perfectly made murukku. Today, I’m sharing my family’s go-to recipe for Maida Murukku – these delightful sesame seed spirals are always a hit! I first made these for Diwali a few years ago, and they disappeared within minutes. Trust me, you’ll love them too.
Why You’ll Love This Recipe
This Maida Murukku recipe is all about simple ingredients and maximum flavor. It’s surprisingly easy to make, even if you’re new to Indian snacks. Plus, the satisfying crunch and subtle sesame flavor make it utterly addictive. It’s perfect for tea time, festivals, or just a little something to munch on when cravings strike.
Ingredients
Here’s what you’ll need to create these crispy delights:
- 1.5 cup maida (all-purpose flour) – about 180g
- 2 teaspoon butter – about 10g
- 1.5 teaspoon sesame seeds – about 6g
- Salt to taste
- Warm water as needed – approximately ½ cup (120ml)
- Oil for frying – approximately 500ml
Ingredient Notes
Let’s talk ingredients – a few little things can make a big difference!
Maida Flour: Understanding Its Role in Murukku
Maida is the star here! It gives murukku that signature melt-in-your-mouth texture. Don’t worry if you’re not familiar with it; you can find it at most Indian grocery stores, or online.
Butter vs. Oil: Impact on Texture and Flavor
I prefer butter for a slightly richer flavor and a more tender crumb. You can substitute with oil (vegetable or sunflower work well), but the butter really elevates the taste.
Sesame Seeds: Regional Variations & Health Benefits
Sesame seeds add a lovely nutty flavor and a beautiful visual appeal. White sesame seeds are traditional, but black sesame seeds are also fantastic – and packed with even more nutrients! My grandmother always said they were good for strength.
The Importance of Warm Water Temperature
Warm water is key to bringing the dough together. It helps the gluten develop just enough for structure, without making the murukku tough. Not too hot, though – lukewarm is perfect!
Oil for Frying: Choosing the Right Type
I recommend using a neutral-flavored oil with a high smoke point, like vegetable, sunflower, or groundnut oil. You need enough oil for the murukku to float and fry evenly.
Step-By-Step Instructions
Alright, let’s get cooking!
- First, we need to steam the maida. Place the maida in a cloth-lined container and steam for about 10 minutes. This helps with the texture, making it extra crispy.
- Let the steamed maida cool completely. Once cool, break up any lumps and let it dry for about 2 hours. This is important – don’t skip this step!
- Sift the dried, steamed maida. Then, in a bowl, combine it with the butter, sesame seeds, and salt.
- Gradually add warm water, a little at a time, and knead until you form a smooth, pliable dough. It shouldn’t be sticky!
- Divide the dough into manageable portions. Load one portion into a greased star-shaped murukku press.
- Press spiral patterns directly onto a greased ladle. Carefully flip the ladle and gently drop the murukku into medium-heat oil.
- Fry until golden brown and crispy, flipping once halfway through. This usually takes about 2-3 minutes per batch.
- Remove the murukku and drain on paper towels.
- Store in an airtight container once completely cooled.
Expert Tips
Here are a few things I’ve learned over the years to make the perfect murukku:
Achieving the Perfect Murukku Shape
Make sure your murukku press is well-greased. This prevents the dough from sticking and ensures a clean spiral.
Troubleshooting Dough Consistency
If the dough is too dry, add a tiny bit more warm water. If it’s too sticky, add a little more maida. It takes a bit of practice to get it just right!
Maintaining Oil Temperature for Crispy Murukku
The oil temperature is crucial. If it’s too low, the murukku will absorb oil and become soggy. If it’s too high, they’ll burn on the outside before cooking through. Medium heat is your friend!
Ensuring Even Cooking
Don’t overcrowd the oil. Fry in batches to maintain the temperature and ensure even cooking.
Variations
Want to switch things up? Here are a few ideas:
Vegan Murukku Adaptation
Simply substitute the butter with an equal amount of vegan butter or vegetable oil.
Gluten-Free Murukku (Alternative Flour Options)
You can experiment with gluten-free flour blends, but the texture will be slightly different. Rice flour and besan (gram flour) are good options.
Spice Level Adjustment (Adding Chili Powder)
For a spicy kick, add ½ to 1 teaspoon of chili powder to the dough. My brother loves a really fiery murukku!
Diwali/Festival Adaptation (Sweet Murukku)
Add 2 tablespoons of powdered sugar and a pinch of cardamom to the dough for a sweet treat.
Serving Suggestions
Murukku is fantastic on its own with a cup of chai. It also pairs beautifully with sambar, chutney, or even a simple yogurt dip.
Storage Instructions
Store cooled murukku in an airtight container at room temperature for up to a week. They tend to lose their crispness over time, so enjoy them as soon as possible!
FAQs
Let’s answer some common questions:
What type of maida flour is best for making murukku?
Regular, all-purpose maida works perfectly. Just make sure it’s fresh!
Can I make the dough ahead of time? If so, how should I store it?
Yes, you can! Wrap the dough tightly in plastic wrap and refrigerate for up to 2 days. Bring it back to room temperature before using.
My murukku is breaking while frying. What am I doing wrong?
This usually means the dough is too dry or the oil temperature is too high. Add a little more water to the dough and lower the heat.
What is the best way to store murukku to keep it crispy?
An airtight container is essential! You can also add a few grains of rice to the container to absorb any moisture.
Can I use a different type of seed instead of sesame seeds?
Absolutely! Poppy seeds (khus khus) or cumin seeds are delicious alternatives.
Is it possible to bake murukku instead of frying?
While you can bake them, the texture won’t be quite the same. They’ll be less crispy and more biscuit-like. If you do bake, bake at 180°C (350°F) for about 15-20 minutes.
Enjoy making these delicious Maida Murukku! I hope this recipe brings a little bit of Indian joy to your kitchen. Let me know how they turn out in the comments below!


Neha Deshmukh
Neha holds a B.A. in History with a focus on Indian and world history, including ancient, medieval, and modern periods. At RecipesOfIndia.org — the world’s largest database of Indian recipes — she combines her love for food and history by exploring how India’s past has shaped its culinary traditions.


