- Rinse, drain, and finely chop the methi leaves.
- Combine whole wheat flour, besan, bajra flour, jowar flour, spices, oil, salt, and chopped methi leaves in a bowl.
- Add yogurt and knead into a soft dough. Adjust the consistency with more yogurt or flour if needed.
- Divide the dough into 10-11 balls. Roll each ball into a thin circle on a lightly floured surface.
- Heat a skillet or griddle. Cook each thepla until golden brown, brushing with oil on both sides.
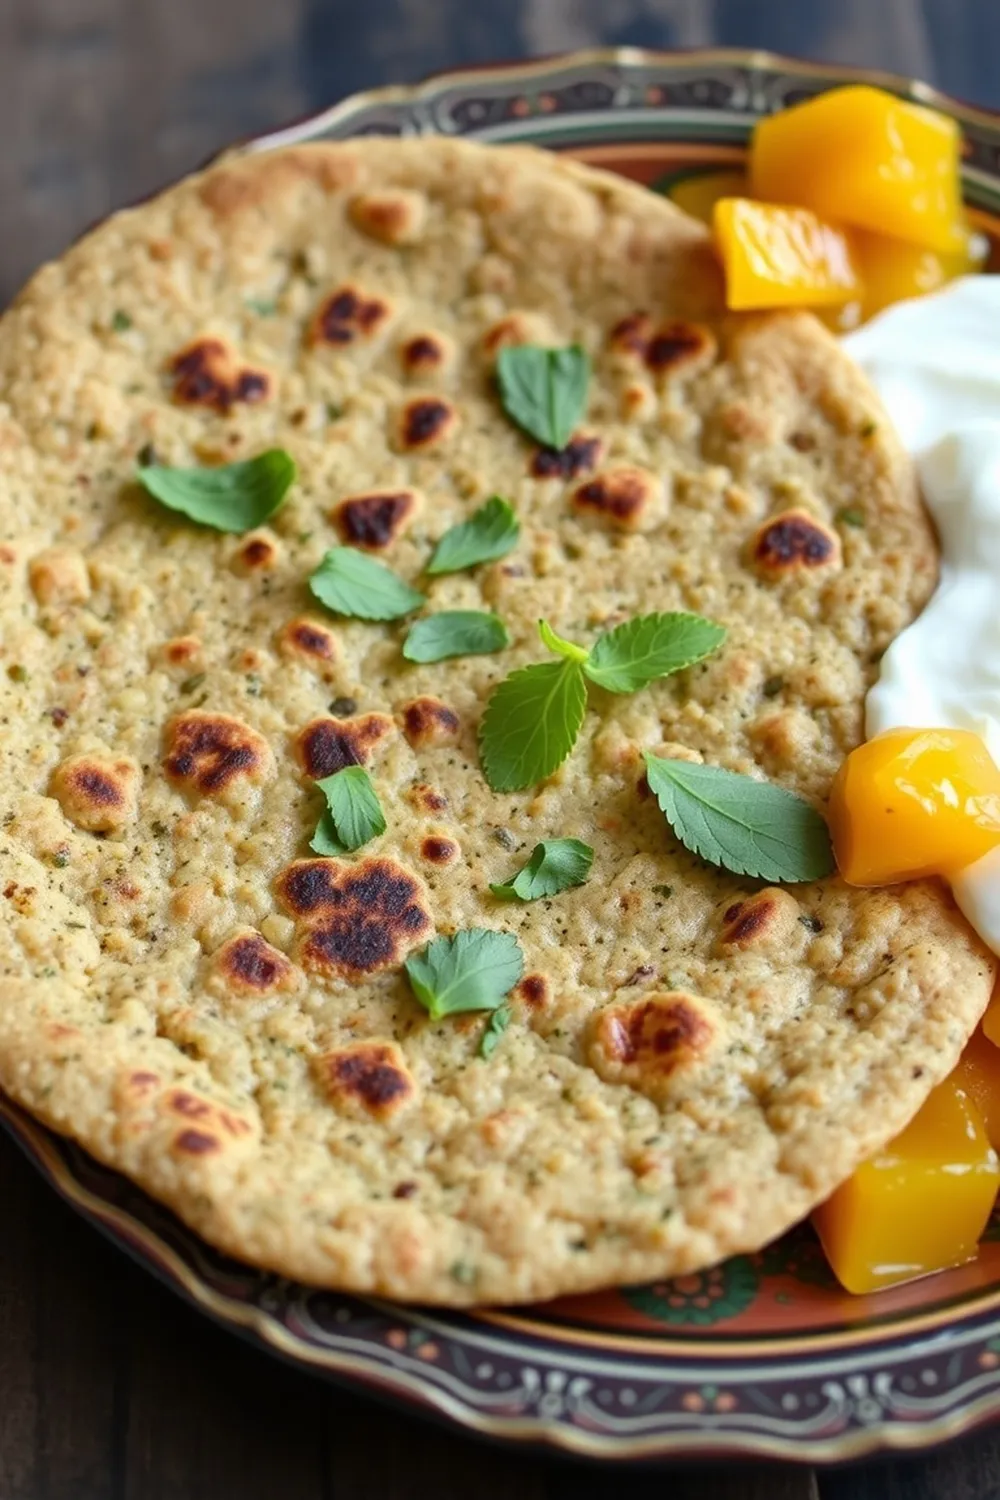
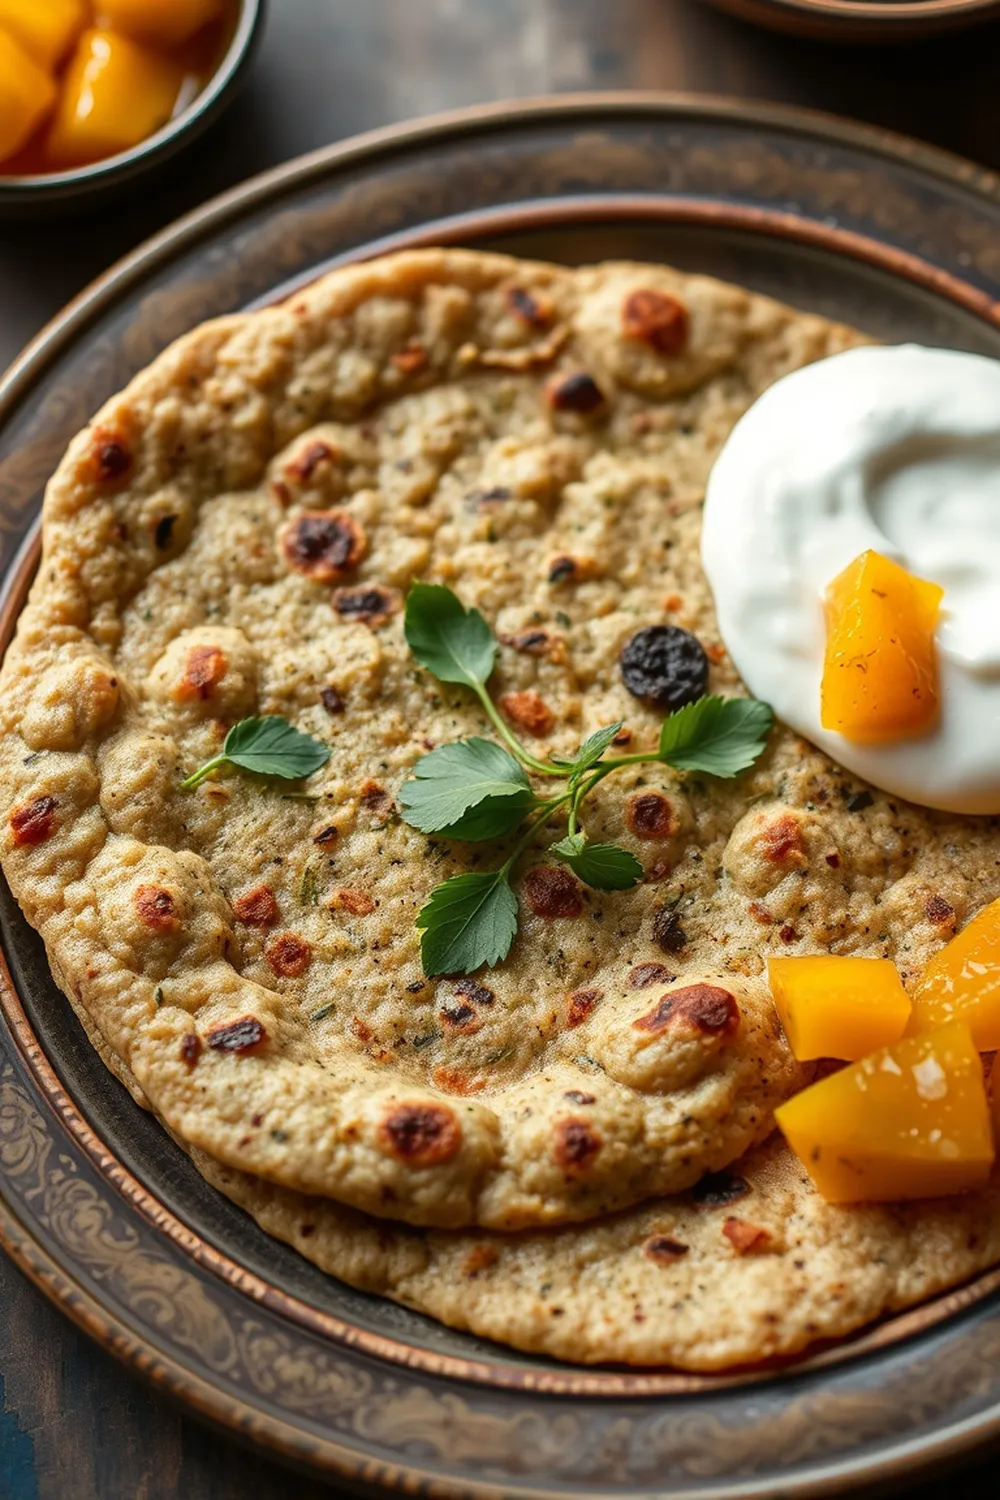
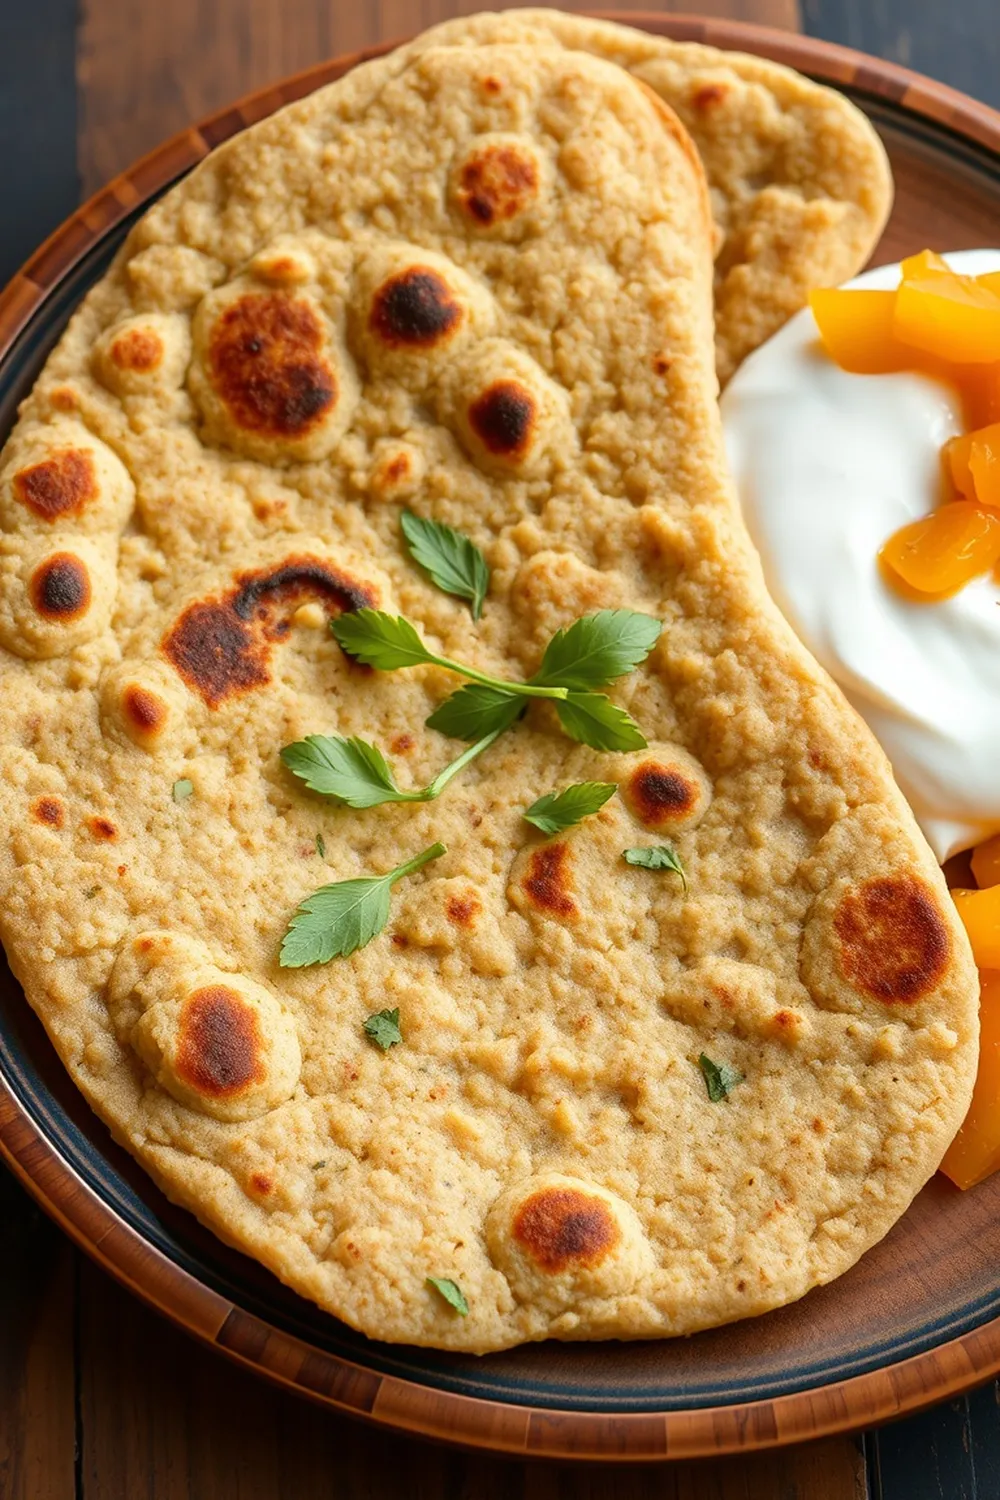
- Serve warm with yogurt, mango pickle, or chutney.
- Calories:220 kcal25%
- Energy:920 kJ22%
- Protein:6 g28%
- Carbohydrates:30 mg40%
- Sugar:2 mg8%
- Salt:350 g25%
- Fat:8 g20%
Last Updated on 4 months by Neha Deshmukh
Authentic Methi Thepla Recipe – Multi-Grain & Spice Flavored
Hey everyone! If you’re anything like me, you absolutely love a good thepla. It’s the ultimate comfort food, perfect for breakfast, lunch, or even a quick snack. And this isn’t just any thepla – this is my family’s treasured Methi Thepla recipe, packed with flavour and goodness from a blend of nutritious grains. I first made this when I was trying to sneak more healthy ingredients into my kids’ diets, and it was a huge hit! Let’s get cooking, shall we?
Why You’ll Love This Recipe
This Methi Thepla recipe is special for a few reasons. First, it’s incredibly flavourful, thanks to the fresh methi (fenugreek) leaves and a beautiful blend of spices. Second, it’s made with a mix of flours – whole wheat, besan, bajra, and jowar – which adds a lovely texture and a boost of nutrients. It’s a little bit more effort than using just one flour, but trust me, the result is SO worth it. Plus, it travels well, making it perfect for picnics or packing for work/school.
Ingredients
Here’s what you’ll need to make these delicious Methi Theplas:
- 1 cup whole wheat flour (approx. 120g)
- 0.25 cup besan (gram flour) (approx. 30g)
- 0.25 cup pearl millet flour (bajra atta) (approx. 30g)
- 0.25 cup sorghum flour (jowar atta) (approx. 30g)
- 1 inch ginger, grated
- 1-2 green chilies, crushed (adjust to your spice preference!)
- 0.5 tsp red chili powder
- 0.5 tsp turmeric powder
- 0.5 tsp cumin powder
- 0.5 tsp coriander powder
- 1 tbsp oil
- 0.75 tsp salt (or to taste)
- 1 cup chopped methi leaves (fenugreek leaves) (approx. 75g, packed)
- 4-5 tbsp curd (yogurt)
Ingredient Notes
Let’s talk about these ingredients for a sec! Using a mix of flours is what makes these theplas so special.
- Bajra (pearl millet) and Jowar (sorghum) add a lovely nutty flavour and are packed with fibre. They’re staples in many Indian households, especially in Gujarat and Rajasthan.
- Besan (gram flour) gives the theplas a slightly crispy texture and a beautiful golden colour.
- Methi (fenugreek) leaves have a unique, slightly bitter flavour that balances the spices perfectly. Make sure you chop them finely – we’ll get to that in the FAQs!
- Spice levels are totally customizable. My family likes a little kick, but feel free to adjust the green chilies and red chili powder to your liking.
- Don’t skimp on the yogurt! It helps bind the dough and makes the theplas soft and pliable.
Step-By-Step Instructions
Alright, let’s get down to business!
- First, rinse, drain, and finely chop your methi leaves. Really get in there and make sure they’re nice and small.
- In a large bowl, combine the whole wheat flour, besan, bajra flour, jowar flour, grated ginger, crushed green chilies, red chili powder, turmeric powder, cumin powder, coriander powder, oil, and salt.
- Add the chopped methi leaves and mix everything well.
- Now, add the yogurt, a tablespoon at a time, and start kneading the dough. You want a soft, pliable dough – not too sticky, not too dry. If it’s too sticky, add a little more flour. If it’s too dry, add a little more yogurt.
- Once the dough comes together, cover it and let it rest for about 10-15 minutes. This allows the flours to hydrate and makes the theplas easier to roll.
- Divide the dough into 10-11 equal balls.
- On a lightly floured surface, roll each ball into a thin circle – about 6-7 inches in diameter. Don’t worry if they’re not perfect circles!
- Heat a skillet or tawa over medium heat.
- Place a thepla on the hot skillet and cook for about 1-2 minutes per side, or until golden brown spots appear. Brush with a little oil on both sides while cooking.
- Repeat with the remaining dough balls.
Expert Tips
- Don’t overcrowd the skillet. Cook the theplas in batches to ensure they cook evenly.
- A well-heated skillet is key to getting those beautiful golden spots.
- If you’re having trouble rolling the theplas, let the dough rest for a bit longer.
- Press gently while rolling to avoid tearing the dough.
Variations
This recipe is super versatile! Here are a few ways to customize it:
- Vegan Adaptation: Simply swap the yogurt for a plant-based yogurt alternative. Coconut yogurt or soy yogurt work really well.
- Gluten-Free Adaptation: Use a gluten-free flour blend instead of the wheat flour. Make sure it’s a blend designed for baking.
- Spice Level Adjustments: If you like it really spicy, add another green chili or a pinch of cayenne pepper. For a milder flavour, omit the green chilies altogether.
- Gujarati vs. Rajasthani Style Thepla: Gujarati theplas tend to be a bit sweeter, with a touch of sugar added to the dough. Rajasthani theplas often include a pinch of asafoetida (hing) for a more pungent flavour. My version leans more towards the Gujarati side, but feel free to experiment!
Serving Suggestions
Serve these Methi Theplas warm with a dollop of creamy yogurt, a tangy mango pickle, or your favourite chutney. They’re also delicious with a cup of chai! Honestly, they’re good enough to eat on their own too.
Storage Instructions
Leftover theplas can be stored in an airtight container at room temperature for up to 2 days, or in the refrigerator for up to a week. Reheat them on a skillet or in a microwave before serving. You can also freeze them for longer storage – just wrap them individually in plastic wrap before placing them in a freezer bag.
FAQs
1. What is the best way to chop methi leaves for thepla?
Finely chopping the methi leaves is crucial! You don’t want big chunks that overpower the flavour. I like to roll the leaves up tightly like a cigar and then slice them thinly.
2. Can I make the dough for thepla ahead of time? How should I store it?
Yes, absolutely! You can make the dough a day in advance. Store it in an airtight container in the refrigerator. Bring it to room temperature before rolling.
3. What is the difference between bajra atta, jowar atta, and besan?
- Bajra atta (pearl millet flour) is a gluten-free flour with a slightly nutty flavour.
- Jowar atta (sorghum flour) is another gluten-free flour, also with a nutty flavour, but a bit milder than bajra.
- Besan (gram flour) is made from chickpeas and has a slightly savoury flavour.
4. Can I use dried methi leaves (kasuri methi) if fresh aren’t available? What’s the conversion?
You can, but the flavour won’t be quite the same. Use about 1 tablespoon of kasuri methi for every 1 cup of fresh methi leaves. Crush the kasuri methi between your palms before adding it to the dough.
5. My thepla is sticking to the skillet. What am I doing wrong?
Make sure your skillet is hot enough and well-oiled. Also, ensure the dough isn’t too sticky. A little flour on the rolling surface can also help prevent sticking.
6. What are some good accompaniments besides yogurt and pickle?
Oh, so many! Try serving them with a spicy garlic chutney, a cooling raita, or even a simple tomato salsa. They’re also great with a side of dal or sabzi.
Enjoy making these Methi Theplas! I hope they bring as much joy to your table as they do to mine. Let me know how they turn out in the comments below!
Neha Deshmukh
Neha holds a B.A. in History with a focus on Indian and world history, including ancient, medieval, and modern periods. At RecipesOfIndia.org — the world’s largest database of Indian recipes — she combines her love for food and history by exploring how India’s past has shaped its culinary traditions.