- Chop vegetables and chillies into small pieces or julienne strips.
- Combine vegetables, chillies, garlic, vinegar, and salt in a sterilized jar. Let it sit for 2 days.
- Drain the vinegar and pat the vegetables dry with paper towels.
- Dry roast coriander seeds, mustard seeds, and nigella seeds until fragrant. Coarsely grind.
- Heat oil in a pan. Add ground spices, chilli flakes, turmeric, peppercorns, cloves, and cinnamon. Warm gently; do not boil.
- Mix spiced oil with vegetables. Adjust sugar to taste.
- Transfer pickle to sterilized jars. Refrigerate for up to 1 month.
- Calories:35 kcal25%
- Energy:146 kJ22%
- Protein:1 g28%
- Carbohydrates:4 mg40%
- Sugar:2 mg8%
- Salt:300 g25%
- Fat:2 g20%
Last Updated on 5 months ago by Neha Deshmukh
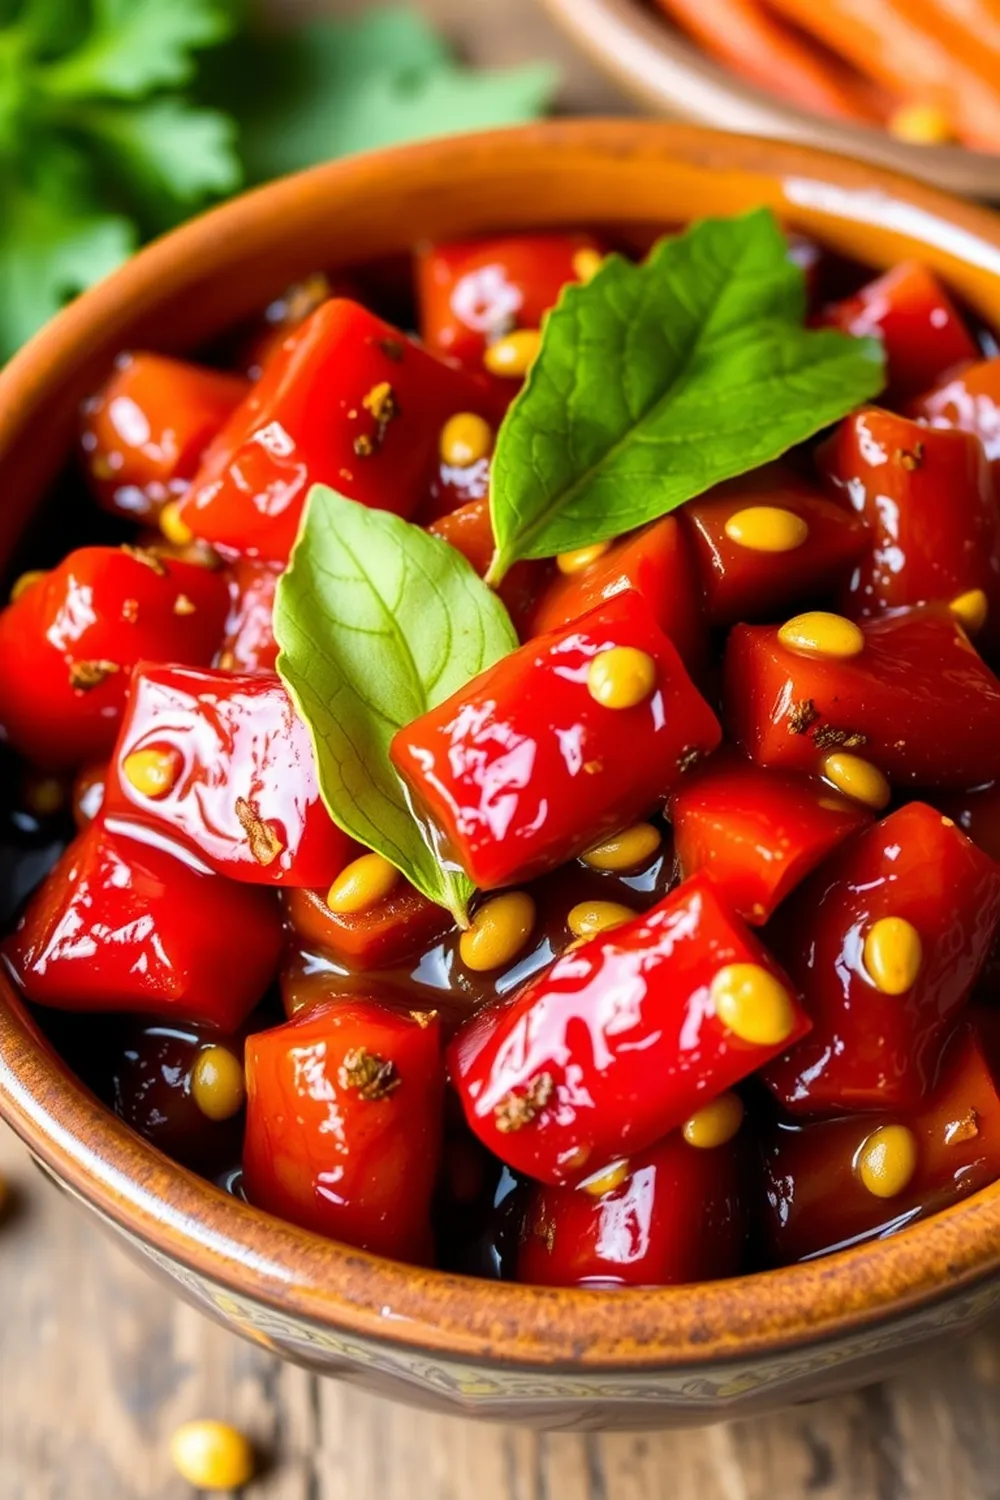
Authentic Mixed Vegetable Pickle Recipe – Indian Style
Hey everyone! If you’ve ever craved that zingy, spicy, and utterly addictive Indian pickle with your meals, you’re in the right place. I remember my grandmother making huge batches of this mixed vegetable pickle every year, and the aroma would fill the entire house. It’s a taste of home, and I’m so excited to share my version with you. This recipe isn’t just about preserving vegetables; it’s about bottling up sunshine and flavour!
Why You’ll Love This Recipe
This mixed vegetable pickle (or achar as we call it in India) is a flavour bomb! It’s crunchy, tangy, spicy, and just a little bit sweet. It’s incredibly versatile – perfect with rice, roti, paratha, or even as a side with your favourite Indian snacks. Plus, it’s surprisingly easy to make, even if you’ve never attempted pickling before. Trust me, once you taste homemade pickle, you’ll never go back to store-bought!
Ingredients
Here’s what you’ll need to create this delicious pickle:
- 3 cups chopped vegetables (carrots, green beans, cabbage, or cauliflower)
- 5 green chillies
- 3 cloves garlic, peeled and chopped
- 2 cups vinegar
- 1 tsp salt (plus more to taste)
- 1 tbsp coriander seeds (roasted and coarsely ground)
- 1 tsp black mustard seeds
- 0.5 tsp nigella seeds
- 1 cinnamon stick (5cm piece, broken)
- 10 black peppercorns
- 8 cloves
- 3 tbsp chilli flakes
- 1 tsp turmeric
- 1 tbsp sugar
- 0.25 cup canola or olive oil
Ingredient Notes
Let’s talk ingredients! Getting these right makes all the difference.
- Vegetable Selection: Feel free to get creative with your veggies! Carrots, green beans, cauliflower, and cabbage are classic choices, but you can also add beetroot, radish, or even baby corn. Just make sure they’re firm and fresh.
- Vinegar: I usually use white vinegar, but you can also use apple cider vinegar for a slightly milder flavour. In India, we sometimes use mango vinegar for a unique tangy taste.
- Nigella Seeds (Kalonji): These tiny black seeds are a game-changer! They have a slightly bitter, smoky flavour that adds so much depth to the pickle. Don’t skip them if you can help it – they’re what gives this pickle its authentic Indian flavour. My mom always said a pinch of kalonji wards off evil spirits too!
Step-By-Step Instructions
Alright, let’s get pickling!
- First, chop your vegetables and chillies into small pieces or julienne strips. The smaller the pieces, the quicker they’ll pickle.
- Now, combine the chopped vegetables, chillies, garlic, vinegar, and 1 tsp of salt in a sterilized jar. Give it a good shake!
- Let this mixture sit for 2 days, shaking the jar once or twice a day. This helps the vegetables soften and absorb the vinegar.
- After 2 days, drain the vinegar and pat the vegetables really dry with paper towels. This is crucial for a crisp pickle – no one likes a soggy pickle!
- Time for the spices! Dry roast the coriander seeds, mustard seeds, and nigella seeds in a pan until fragrant. Be careful not to burn them! Then, coarsely grind them.
- Heat the oil in a pan. Add the ground spices, chilli flakes, turmeric, peppercorns, cloves, and cinnamon stick. Warm gently for a few minutes – you want to infuse the oil with all those amazing flavours, but don’t let it boil.
- Pour the spiced oil over the drained vegetables and mix well. Now, add the sugar and adjust to taste. You might want a little more if you prefer a sweeter pickle.
- Finally, transfer the pickle to sterilized jars. Refrigerate for up to 1 month. The flavour will develop even more over time!
Expert Tips
- Sterilizing Jars: This is super important to prevent mould. Boil the jars and lids in water for 10 minutes.
- Drying Vegetables: Seriously, don’t skip this step! The drier the vegetables, the crisper the pickle.
- Spice Level: Adjust the amount of chilli flakes and green chillies to your liking.
Variations
Want to switch things up? Here are a few ideas:
- Vegan Adaptation: This recipe is naturally vegan! Just double-check your vinegar to ensure it’s vegan-friendly.
- Spice Level Adjustment: For a milder pickle, reduce the chilli flakes and remove the seeds from the green chillies. For a fiery kick, add more chilli flakes or use hotter chillies.
- Regional Variations: North Indian pickles often use mustard oil and a lot of fenugreek seeds. South Indian pickles tend to be tangier and use more curry leaves.
- Festival Adaptations: My family always makes a big batch of this pickle for Diwali and Holi – it’s a festive treat everyone loves!
Serving Suggestions
This pickle is amazing with… well, everything!
- Serve it alongside a simple dal-rice meal.
- Spread it on your favourite paratha or roti.
- Enjoy it as a side with samosas or pakoras.
- Add a spoonful to your yogurt for a flavourful dip.
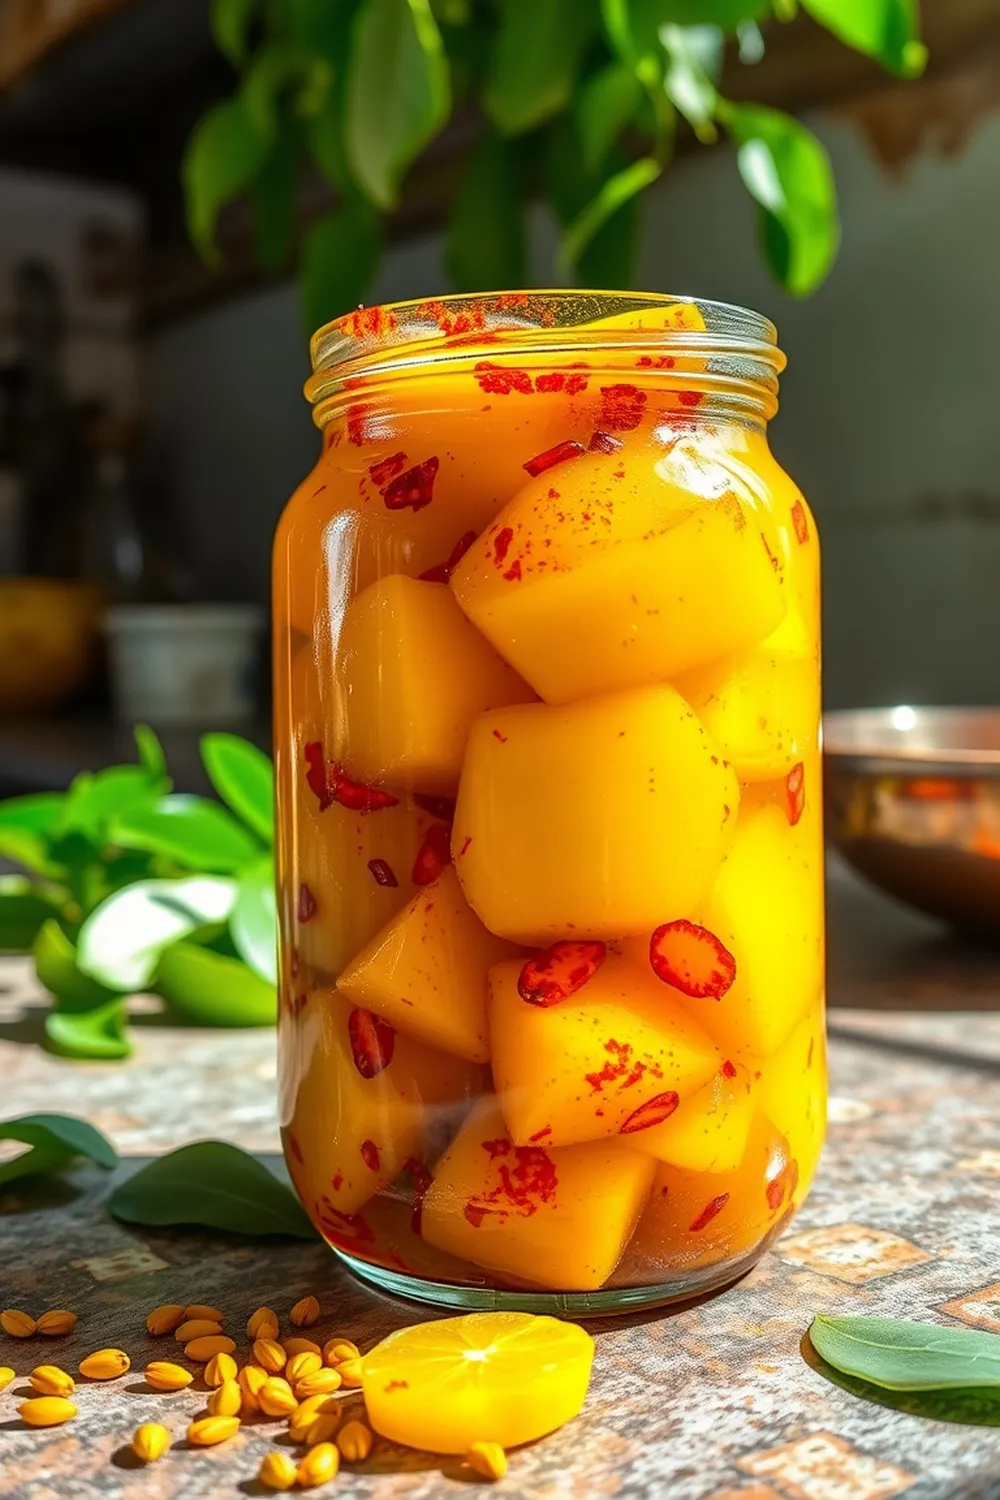
Storage Instructions
Store the pickle in sterilized airtight jars in the refrigerator. It will stay good for up to 1 month, but honestly, it rarely lasts that long in my house!
FAQs
Let’s answer some common questions:
1. What type of oil is best for making Indian pickles?
Traditionally, mustard oil is used, but canola or olive oil work well too. Mustard oil gives a more pungent flavour.
2. Can I use different vegetables in this pickle recipe?
Absolutely! Feel free to experiment with your favourite vegetables.
3. How do I ensure my pickle stays crisp and doesn’t get soggy?
Drying the vegetables thoroughly after soaking in vinegar is key. Also, make sure your jars are properly sterilized.
4. What is the role of nigella seeds in this pickle?
Nigella seeds add a unique smoky and slightly bitter flavour that’s characteristic of Indian pickles.
5. How long does this pickle typically last, and how can I extend its shelf life?
It lasts for about a month in the refrigerator. Ensuring everything is properly sterilized and keeping the pickle submerged in oil will help extend its shelf life.
6. Can I make a smaller batch of this pickle?
Yes, you can easily halve or quarter the recipe. Just adjust the cooking time accordingly.
Enjoy making this delicious and authentic Indian pickle! I hope it brings a little bit of Indian sunshine to your table. Let me know how it turns out in the comments below!


Neha Deshmukh
Neha holds a B.A. in History with a focus on Indian and world history, including ancient, medieval, and modern periods. At RecipesOfIndia.org — the world’s largest database of Indian recipes — she combines her love for food and history by exploring how India’s past has shaped its culinary traditions.