- Roast moong dal with ghee in a pan or pressure cooker (without the whistle function initially). Add water and milk, then pressure cook for 4-5 whistles.
- Blend the cooked dal into a smooth paste. Mix with rice flour and warm water to form a soft dough.
- Knead the dough until smooth and non-sticky. Shape into small balls and design with a toothpick or other tool.
- Prepare sugar syrup by boiling sugar and water until it reaches one-string consistency. Add saffron and cardamom towards the end.
- Deep fry the pitha on low-medium flame until golden brown and crispy. Soak in warm sugar syrup for at least 30 minutes to 1 hour before serving.
- Calories:150 kcal25%
- Energy:627 kJ22%
- Protein:3 g28%
- Carbohydrates:25 mg40%
- Sugar:15 mg8%
- Salt:10 g25%
- Fat:5 g20%
Last Updated on 5 months ago by Neha Deshmukh
Authentic Moong Dal Pitha Recipe – Traditional Indian Sweet Recipe
Introduction
Oh, Pitha! Just the word brings back so many childhood memories of festivals and the sweet aroma filling my grandmother’s kitchen. This Moong Dal Pitha is a truly special treat – a delicate, melt-in-your-mouth sweet that’s a staple in many Indian households, especially during celebrations. It takes a little patience, but trust me, the end result is so worth it. I first attempted this recipe with my mom guiding me, and it was a bit of a learning curve, but now it’s a family favorite I’m excited to share with you!
Why You’ll Love This Recipe
This isn’t just another sweet recipe; it’s a taste of tradition. Moong Dal Pitha offers a unique texture – slightly crispy on the outside and wonderfully soft inside. The subtle sweetness, infused with the fragrance of cardamom and saffron, is simply divine. Plus, it’s a beautiful dessert to present, especially with a little creative shaping!
Ingredients
Here’s what you’ll need to create this delightful treat:
- 2 tsp ghee / clarified butter
- ?? cup moong dal (approximately 150g)
- 1?? cup water (approximately 240ml) – for cooking dal
- 1 cup milk (approximately 240ml)
- 1 cup rice flour (approximately 120g)
- Oil for frying
- 1?? cup sugar (approximately 300g)
- 1?? cup water (approximately 240ml) – for sugar syrup
- ?? tsp saffron (a pinch, about 10-15 strands)
- ?? tsp cardamom powder (approximately 1/2 tsp)
Ingredient Notes
Let’s talk ingredients – a few little things can make a big difference!
Moong Dal: Type and Soaking Considerations
I recommend using split moong dal (yellow moong dal) for this recipe. While soaking isn’t strictly necessary, a quick 30-minute soak can help it cook a little faster and become even smoother.
Ghee: The Importance of Clarified Butter in Flavor
Ghee is key here. It lends a beautiful nutty flavor that you just won’t get with regular oil. If you’re new to ghee, it’s clarified butter – the milk solids have been removed, leaving behind pure butterfat. You can easily make your own, or find it at most Indian grocery stores.
Rice Flour: Regional Variations and Substitutions
Rice flour is traditionally used, giving the pitha its delicate texture. Different regions in India use slightly different types of rice flour. If you can’t find it, you can make your own by grinding raw rice!
Saffron: Quality and Blooming Techniques
A little saffron goes a long way, both in flavor and color. For the best results, bloom the saffron strands in 2 tablespoons of warm milk for about 20 minutes before adding it to the sugar syrup. This releases its beautiful color and aroma.
Cardamom: Freshly Ground vs. Powder
Freshly ground cardamom is always best! The flavor is so much more vibrant. But if you’re short on time, good quality cardamom powder works just fine.
Oil for Frying: Choosing the Right Oil for Authentic Texture
I prefer using vegetable oil or sunflower oil for frying. They have a neutral flavor and a high smoke point, which is important for achieving that perfect golden-brown color without burning.
Step-By-Step Instructions
Alright, let’s get cooking!
- Roast the Dal: Start by roasting the moong dal in ghee in a pressure cooker over medium heat for about 2-3 minutes, until fragrant.
- Pressure Cook: Add 1 cup of water and 1 cup of milk to the pressure cooker. Close the lid and pressure cook for 4 whistles. Let the pressure release naturally.
- Blend to Smoothness: Once cooled, blend the cooked dal into a very smooth paste. This is important for the texture of the pitha.
- Make the Dough: In a bowl, combine the blended dal, rice flour, and a little water (start with 2-3 tablespoons) to form a soft, pliable dough.
- Knead it Well: Knead the dough for about 5-7 minutes until it’s smooth and non-sticky. Add a little more water if needed, but be careful not to make it too sticky.
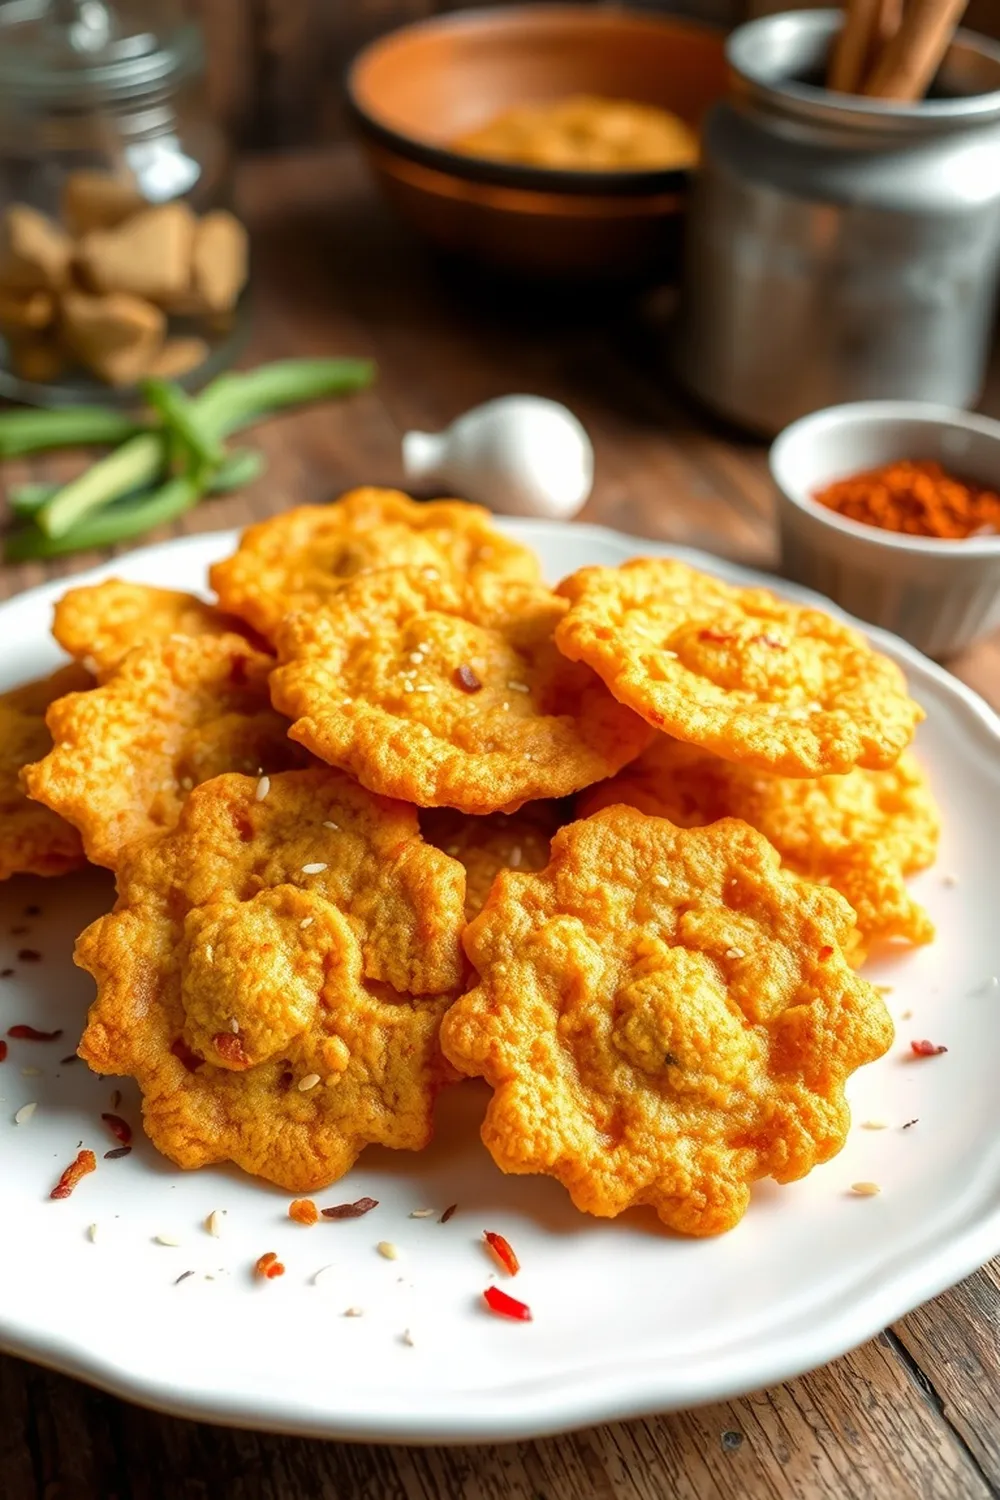
- Shape the Pitha: Pinch off small balls of dough (about 1 inch in diameter). Gently flatten them and use a toothpick to create decorative designs. Get creative!
- Prepare the Syrup: While you’re shaping the pitha, let’s make the sugar syrup. In a separate pan, combine 1 cup of sugar, 1 cup of water, saffron (bloomed in milk), and cardamom powder.
- Boil the Syrup: Bring the syrup to a boil and cook until it reaches a sticky consistency (about 8-10 minutes). You’ll know it’s ready when a drop of syrup forms a soft ball when dropped into cold water.
- Fry to Golden: Heat oil in a deep frying pan over low heat. Carefully drop the pitha into the hot oil and fry until golden brown on all sides.
- Soak in Syrup: Immediately transfer the fried pitha to the warm sugar syrup. Let them soak for at least 2 hours (or even overnight!) before serving. This is where they really absorb all that delicious flavor.
Expert Tips
A few little secrets to help you nail this recipe:
Achieving the Perfect Syrup Consistency
The syrup consistency is crucial. If it’s too thin, the pitha will become soggy. Too thick, and it won’t absorb properly. The “soft ball” test is your friend!
Preventing Pitha from Absorbing Too Much Syrup
Don’t overcrowd the pan when frying. Frying in batches ensures the oil temperature stays consistent, and the pitha won’t absorb excess oil or syrup.
Tips for Shaping and Designing Pitha
A little practice makes perfect! If you’re struggling with the designs, start with simple patterns. A toothpick is your best tool.
Maintaining Oil Temperature for Even Frying
Keep the heat on low. You want the pitha to cook through without burning. If the oil is too hot, they’ll brown quickly on the outside but remain uncooked inside.
Variations
Want to put your own spin on things? Here are a few ideas:
- Vegan Moong Dal Pitha: Substitute the ghee with a plant-based oil like coconut oil.
- Gluten-Free Moong Dal Pitha: This recipe is naturally gluten-free as long as you use pure rice flour!
- Spice Level Adjustment (Cardamom): Feel free to adjust the amount of cardamom to your liking. Some people prefer a stronger cardamom flavor. My grandmother always added a tiny pinch of nutmeg too!
- Festival Adaptations (Makar Sankranti, Durga Puja): During Makar Sankranti, some families add sesame seeds to the dough. For Durga Puja, you might see slightly larger pitha with more intricate designs.
Serving Suggestions
These are best enjoyed at room temperature. A sprinkle of chopped nuts (pistachios or almonds) adds a lovely touch. They’re perfect with a cup of chai!
Storage Instructions
Store leftover pitha in an airtight container at room temperature for up to 3 days. They tend to soften over time, but they’ll still be delicious!
FAQs
Let’s answer some common questions:
What is the origin of Moong Dal Pitha?
Pitha has a rich history in Eastern India, particularly in states like Odisha, West Bengal, and Assam. It’s traditionally made during festivals and special occasions.
Can I make the pitha dough ahead of time?
Yes, you can! The dough can be made a day in advance and stored in the refrigerator. Just bring it to room temperature before shaping.
How do I know when the sugar syrup has reached the correct consistency?
The “soft ball” test is the most reliable method. Drop a tiny bit of syrup into a bowl of cold water. If it forms a soft, pliable ball, it’s ready.
What can I substitute for ghee in this recipe?
While ghee is preferred, you can use vegetable oil or coconut oil as a substitute. The flavor won’t be quite the same, but it will still be delicious.
How can I prevent the pitha from becoming soggy?
Don’t overcrowd the pan when frying, and make sure the syrup isn’t too thin. Soaking for the right amount of time is also key – too long, and they’ll become soggy.


