- Combine chickpea flour, rice flour, red chili powder, ghee, asafoetida, and salt in a bowl.
- Gradually add warm water to form a soft, sticky dough.
- Heat oil in a thick-bottomed pan to 350-375°F (medium heat).
- Load dough into a murukku press fitted with a flat-hole plate. Press dough directly into hot oil in circular motions (3-4 loops per batch).
- Fry until golden brown and crisp (2-3 minutes per batch), flipping once.
- Fry curry leaves in the residual oil until crisp, then garnish the pakoras.
- Cool completely before storing in an airtight container.
- Calories:350 kcal25%
- Energy:1464 kJ22%
- Protein:6 g28%
- Carbohydrates:40 mg40%
- Sugar:2 mg8%
- Salt:200 g25%
- Fat:20 g20%
Last Updated on 5 months ago by Neha Deshmukh
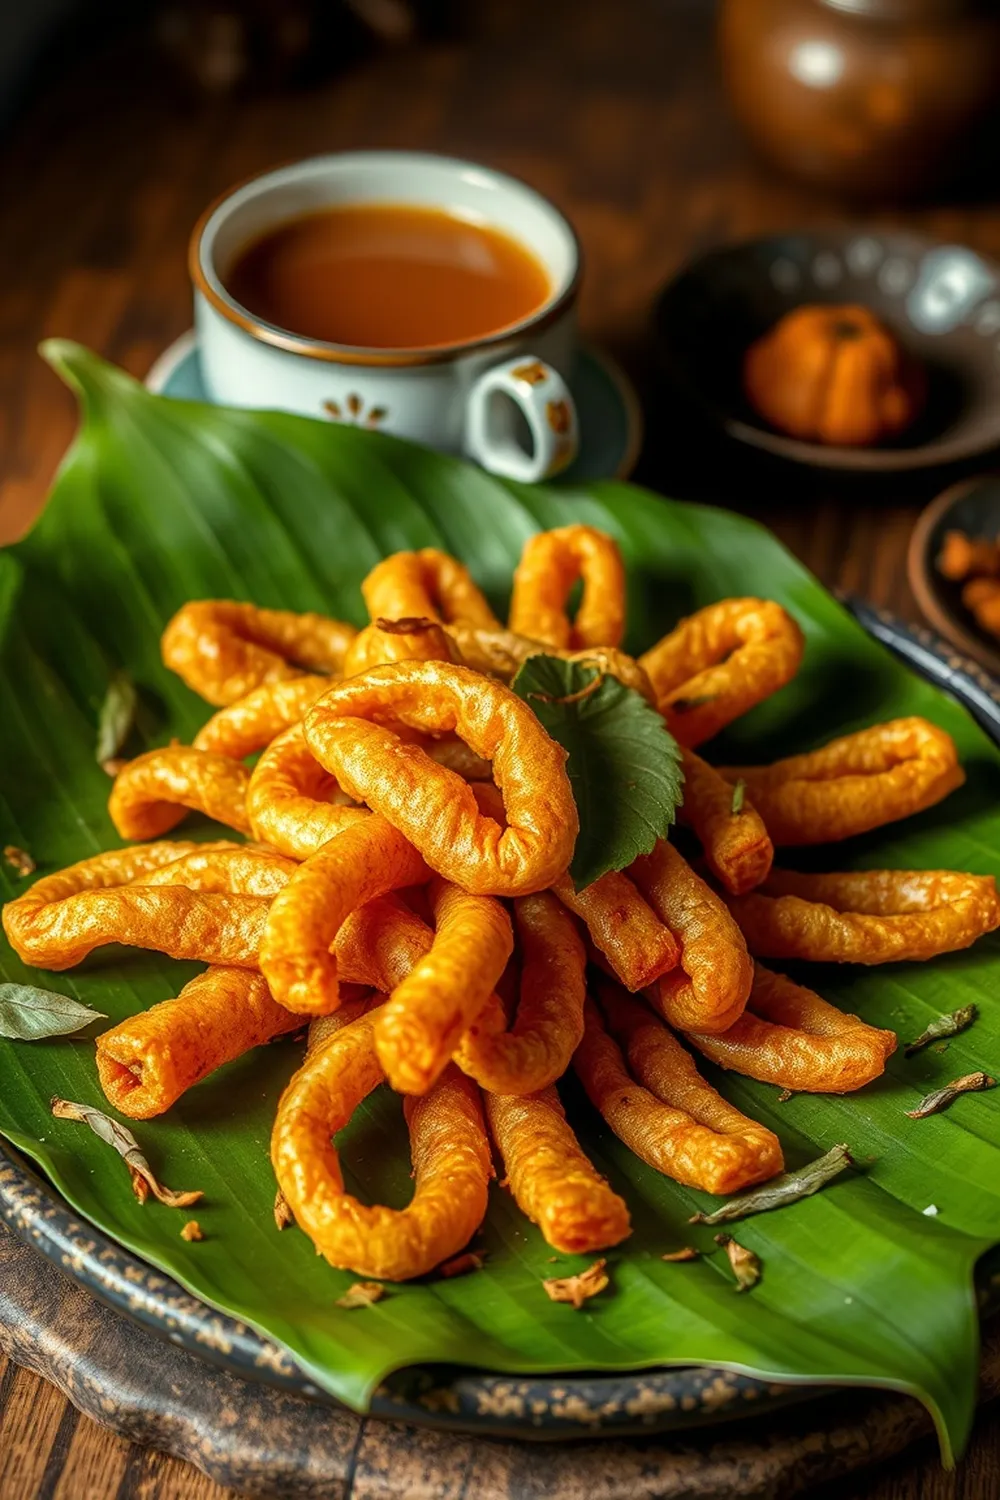
Authentic Murukku Recipe – Crispy Chickpea Flour Pakoda with Curry Leaves
Introduction
Oh, Murukku! Just the name brings back childhood memories of festive seasons and my grandmother’s kitchen filled with the aroma of frying pakodas. This crispy, savory snack is a staple in South Indian households, and honestly, no celebration feels complete without a batch of these golden swirls. I first made this recipe myself when I moved away from home, desperately trying to recreate that familiar taste. It took a few tries to get it just right, but now I’m excited to share my version with you! It’s a little bit of effort, but trust me, the satisfying crunch is totally worth it.
Why You’ll Love This Recipe
This Murukku recipe isn’t just about a delicious snack; it’s about tradition, flavor, and a little bit of kitchen magic. It’s wonderfully crispy, perfectly spiced, and the addition of fresh curry leaves takes it to another level. Plus, it’s naturally gluten-free! You’ll love how satisfying it is to shape these little beauties and even more satisfying to share them with family and friends.
Ingredients
Here’s what you’ll need to make these delightful Murukku:
- 2 cups Chickpea flour/Besan
- 1 cup Rice flour
- 2 tablespoons Red chili powder
- 1 tablespoon Clarified butter/Ghee
- 10 sprigs Curry leaves
- 0.5 teaspoon Asafoetida/Hing
- 1.5 teaspoons Salt
- 1.25 cups Warm Water (approximately 300ml)
- 4 cups Canola oil (for frying)
Ingredient Notes
Let’s talk ingredients! Getting these right makes all the difference.
Chickpea Flour/Besan: Types and Quality
Using a good quality besan is key. Look for a bright yellow color – that indicates freshness. You can find besan at any Indian grocery store, or even most well-stocked supermarkets.
Rice Flour: Choosing the Right Grind
I prefer a slightly coarse rice flour for Murukku. It gives a better texture. If yours is very fine, you can mix it with a tablespoon of semolina (rava) for a bit of bite.
Red Chili Powder: Spice Level & Regional Variations
The amount of red chili powder is adjustable, of course! I use Kashmiri chili powder for a vibrant color and mild heat. If you like it spicier, add a pinch of cayenne pepper or use a hotter chili powder variety.
Clarified Butter/Ghee: The Importance of Flavor
Ghee adds a beautiful richness and aroma. You can substitute with vegetable oil, but the flavor won’t be quite the same. A little ghee goes a long way!
Asafoetida/Hing: Benefits and Substitutions
Asafoetida (hing) has a pungent smell in its raw form, but it mellows out beautifully when cooked, adding a savory depth. If you can’t find it, you can skip it, but it really does enhance the flavor.
Curry Leaves: Fresh vs. Dried & Regional Varieties
Fresh curry leaves are essential here. Dried just don’t have the same fragrance. If you grow your own, even better! Different regions in India use slightly different varieties of curry leaves – feel free to use what you’re familiar with.
Oils for Frying: Choosing the Best Option
Canola oil is my go-to for frying because of its neutral flavor and high smoke point. You can also use vegetable oil or sunflower oil. Avoid olive oil, as it has a lower smoke point.
Step-By-Step Instructions
Alright, let’s get cooking!
- In a large bowl, combine the chickpea flour, rice flour, red chili powder, ghee, asafoetida, and salt. Mix well with your hands – this helps distribute the ghee evenly.
- Gradually add the warm water, mixing continuously. You want to form a soft, sticky dough. Don’t add all the water at once; you might not need it all.
- Heat the oil in a thick-bottomed pan over medium heat (around 365°F or 185°C). A deep pan is best to prevent splattering.
- Fit your murukku press with the flat-hole plate. Load the dough into the press.
- Press the dough directly into the hot oil in circular motions, creating 3-4 loops per batch. Be careful not to overcrowd the pan.
- Fry for about 3 minutes per batch, flipping once, until golden brown and crispy.
- Remove the Murukku with a slotted spoon and drain on a paper towel-lined plate.
- In the residual oil, quickly fry the curry leaves until crisp. These are for garnish!
- Cool the Murukku completely before storing.
Expert Tips
A few things I’ve learned over the years…
Achieving the Perfect Dough Consistency
The dough should be soft and pliable, but not sticky. It should hold its shape when you press it. If it’s too dry, add a little more water, a teaspoon at a time. If it’s too wet, add a tablespoon of besan.
Troubleshooting Murukku Shape
If your Murukku are breaking or not forming a nice swirl, the dough is likely too dry. Add a little more water and knead well. Also, make sure your murukku press is clean and the holes aren’t clogged.
Maintaining Oil Temperature for Crispy Pakoda
Keeping the oil at the right temperature is crucial. If it’s too hot, the Murukku will burn on the outside and remain soft inside. If it’s too cold, they’ll absorb too much oil. Use a thermometer if you have one, or test with a small piece of dough.
Variations
Let’s get creative!
Vegan Murukku
Simply substitute the ghee with an equal amount of vegetable oil.
Gluten-Free Murukku (Naturally Gluten-Free!)
This recipe is naturally gluten-free, as long as your besan and rice flour are certified gluten-free.
Spice Level Adjustments (Mild, Medium, Hot)
Adjust the amount of red chili powder to your liking. For mild, use 1 tablespoon. For hot, add a pinch of cayenne pepper.
Festival Adaptations (Diwali, Ganesh Chaturthi)
During Diwali, I like to add a pinch of cardamom powder to the dough for a festive aroma. For Ganesh Chaturthi, I sometimes shape the Murukku into small spirals to resemble the modak (sweet dumpling) offered to Lord Ganesha.
Serving Suggestions
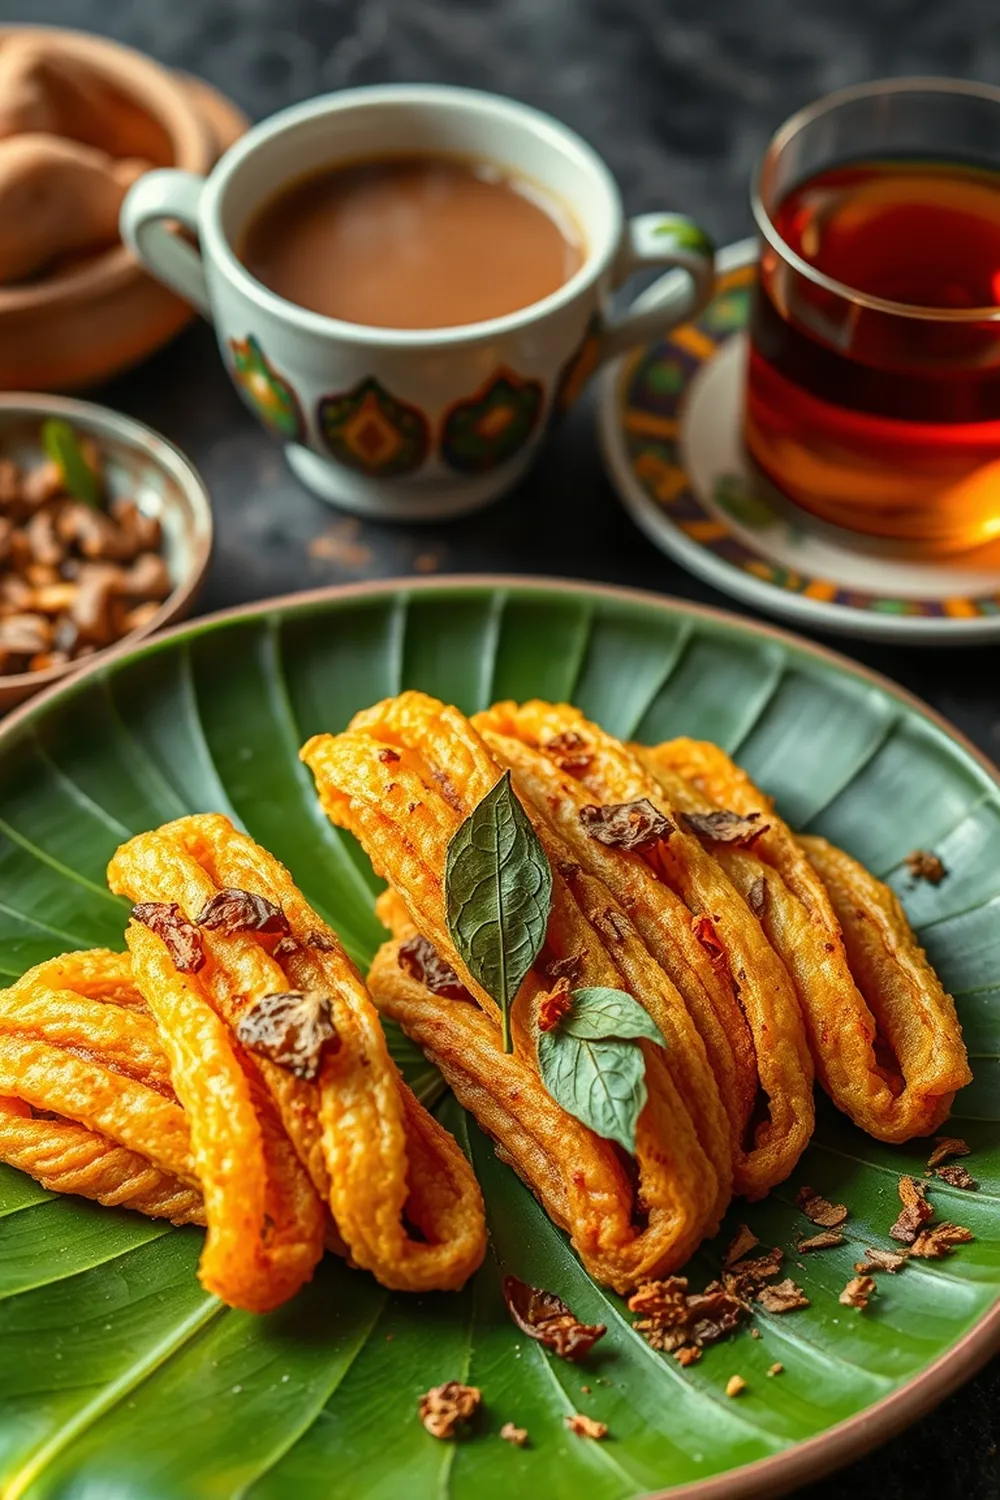
Murukku is best enjoyed with a cup of hot chai or filter coffee. It’s also a great accompaniment to sambar or chutney. My kids love to pack them in their lunchboxes!
Storage Instructions
Once completely cooled, store the Murukku in an airtight container at room temperature. They’ll stay crispy for up to a week (if they last that long!).
FAQs
Got questions? I’ve got answers!
What type of flour is best for making Murukku?
A combination of chickpea flour (besan) and rice flour works best. The besan provides structure, while the rice flour adds crispness.
Can I make the dough ahead of time?
Yes, you can! Make the dough and store it in an airtight container in the refrigerator for up to 2 days. Bring it to room temperature before using.
How do I prevent the Murukku from absorbing too much oil?
Maintain the correct oil temperature and don’t overcrowd the pan. Fry in batches.
What if I don’t have a Murukku press?
While a murukku press is ideal, you can try using a cookie press with a suitable nozzle. It won’t be quite the same shape, but it will still taste delicious!
How can I store Murukku to keep it crispy?
Store in an airtight container at room temperature. Adding a small packet of silica gel can help absorb moisture.
What is Asafoetida (Hing) and why is it used in this recipe?
Asafoetida (hing) is a resin with a pungent aroma that adds a savory, umami flavor to the Murukku. It’s often used in Indian cooking to aid digestion.

Neha Deshmukh
Neha holds a B.A. in History with a focus on Indian and world history, including ancient, medieval, and modern periods. At RecipesOfIndia.org — the world’s largest database of Indian recipes — she combines her love for food and history by exploring how India’s past has shaped its culinary traditions.