- Roast rice flour until it turns fragrant and draws a continuous line when tested. Cool completely.
- Dry roast urad dal flour for 2-3 minutes, or until lightly golden. Let it cool completely.
- Roast grated coconut until golden brown and moisture-free. Set aside to cool.
- Sieve the roasted rice flour and urad dal flour together to remove any lumps.
- Combine the sieved flours, melted butter, sesame seeds, and roasted coconut in a bowl.
- Add water gradually, a little at a time, to form a soft, non-sticky dough. Be careful not to overwater.
- Pinch small portions of dough and gently roll them into loose balls (avoid packing tightly).
- Place the balls on a clean, dry cloth and let them rest for at least 30 minutes, or up to an hour, to dry out.
- Optionally, prick each ball with a toothpick to prevent bursting during frying.
- Heat oil for deep frying and test-fry one seedai. If it rises to the surface and is crisp, proceed to fry the remaining in batches.
- Fry on medium heat until golden brown and crisp, stirring gently for even cooking.
- Drain the seedai on paper towels to remove excess oil and cool completely before storing in an airtight container.
- Calories:350 kcal25%
- Energy:1464 kJ22%
- Protein:5 g28%
- Carbohydrates:40 mg40%
- Sugar:1 mg8%
- Salt:150 g25%
- Fat:20 g20%
Last Updated on 2 months by Neha Deshmukh
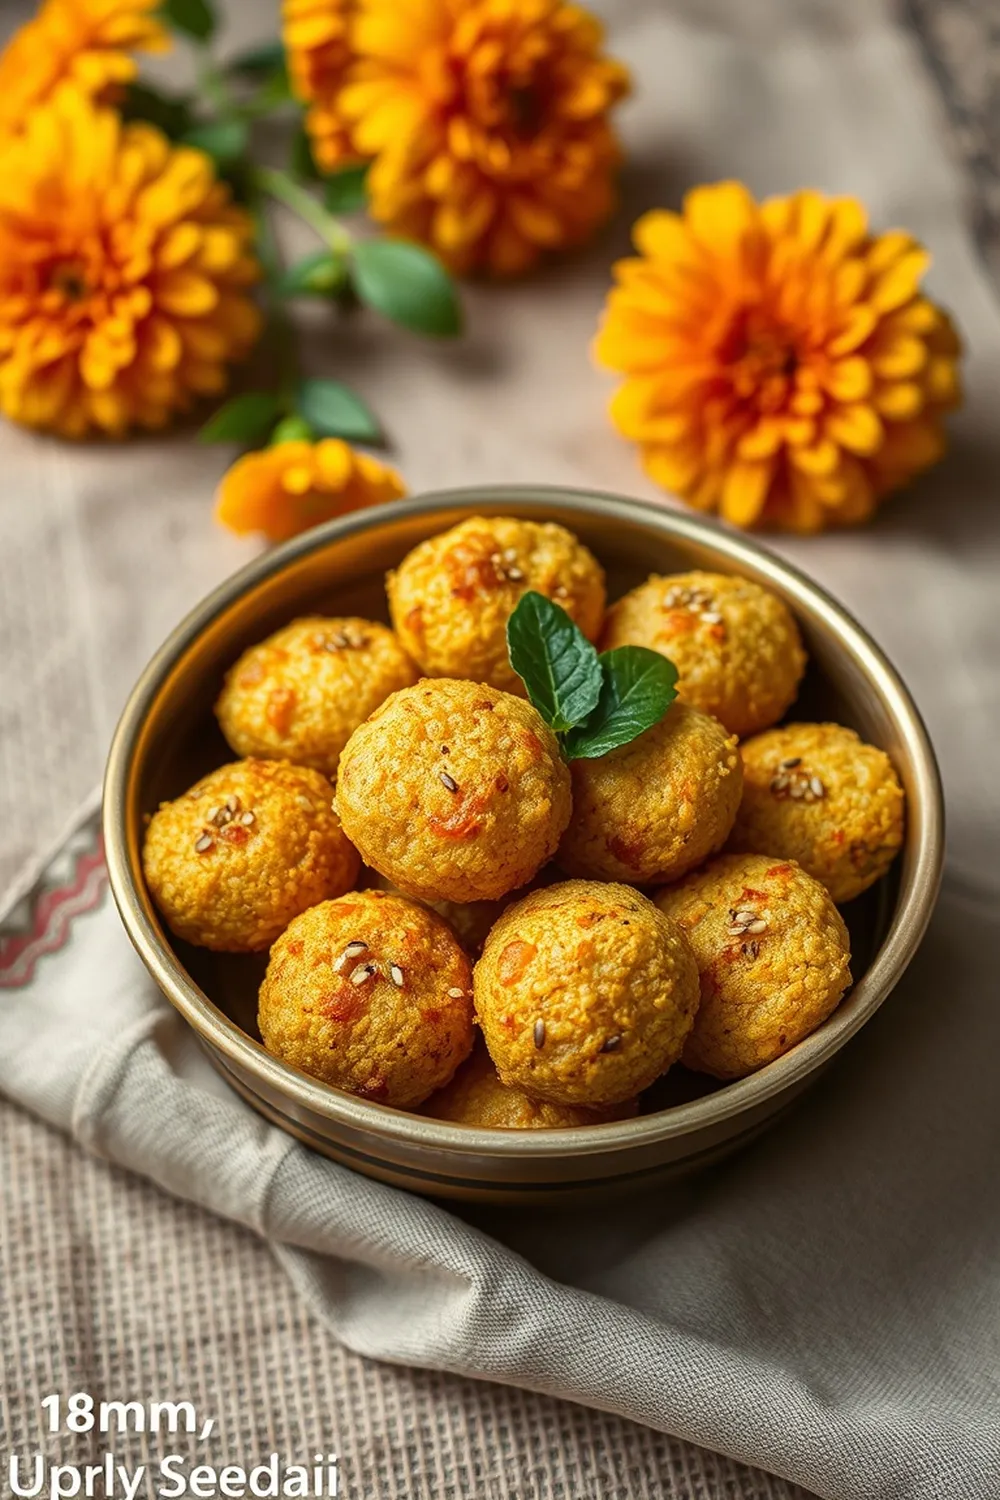
Authentic Seedai Recipe – Rice Flour & Coconut South Indian Snack
Hey everyone! If you’ve ever been to South India, especially during festivals, you’ve probably stumbled upon these delightful little bites – Seedai! They’re crunchy, savory, and utterly addictive. I remember my grandmother making huge batches of these during Krishna Jayanthi, and the whole house would smell of roasted rice and coconut. Today, I’m so excited to share my version of this classic recipe with you. It’s a little bit of effort, but trust me, it’s so worth it!
Why You’ll Love This Recipe
Seedai is more than just a snack; it’s a little piece of South Indian tradition. It’s perfect for festive occasions, afternoon tea, or just when you’re craving something crunchy and satisfying. Plus, it’s naturally gluten-free! This recipe focuses on getting that perfect crispness and flavor, so you’ll be enjoying restaurant-quality Seedai right in your own kitchen.
Ingredients
Here’s what you’ll need to make these little beauties:
- 1 cup rice flour (approximately 150g)
- 1 tablespoon urad dal flour (approximately 8g)
- 2 tablespoons melted butter (approximately 30ml) – or oil for a vegan option!
- 0.5 tablespoon sesame seeds (approximately 5g)
- 1 tablespoon grated coconut (roasted) (approximately 8g)
- Water, as needed
- Oil, for frying
Ingredient Notes
Let’s talk ingredients for a sec, because getting these right makes all the difference.
- Rice Flour: This is the star! I recommend using a good quality, fine rice flour. The type of rice flour matters – idli rice flour works beautifully, giving a nice texture. Avoid coarse rice flour if you can.
- Urad Dal Flour: Don’t skip this! It acts as a binder and adds a lovely subtle flavor. You can easily find this at Indian grocery stores.
- Roasting the Coconut: This is crucial. You want the coconut to be completely dry and golden brown. This prevents the Seedai from becoming soggy. I usually roast it in a pan on medium heat, stirring constantly, until all the moisture is gone. It should smell wonderfully fragrant!
Step-By-Step Instructions
Alright, let’s get cooking!
- First, we need to roast the rice flour. Heat a heavy-bottomed pan and add the rice flour. Roast it on medium heat, stirring constantly, until it draws a continuous line when tested. This usually takes about 5-7 minutes. Let it cool completely.
- Next, dry roast the urad dal flour for about 2 minutes. Again, let it cool completely.
- Roast the grated coconut until it’s moisture-free. Set this aside to cool as well.
- Now, sieve the roasted rice flour and urad dal flour together. This gets rid of any lumps and makes the Seedai super crispy.
- In a large bowl, combine the sieved flours, melted butter (or oil), sesame seeds, and roasted coconut.
- Time for the water! Add water gradually, a little at a time, and mix until you form a soft, non-sticky dough. Don’t add too much water at once – you can always add more, but you can’t take it away!
- Pinch off small portions of the dough – about the size of a small marble – and gently roll them into loose balls. Don’t pack them too tightly, or they won’t be as crispy.
- Place the balls on a clean, dry cloth and let them rest for about 30 minutes. This helps remove any excess moisture.
- (Optional, but helpful!) Prick each ball with a toothpick. This helps prevent them from bursting during frying.
- Heat oil in a deep frying pan over medium heat. Test-fry one Seedai to see if the oil is at the right temperature. If it rises to the surface quickly, you’re good to go!
- Fry the remaining Seedai in batches, stirring gently to ensure even cooking. Fry until they are golden brown and crispy.
- Drain the fried Seedai on paper towels to remove excess oil. Let them cool completely before storing.
Expert Tips
- Oil Temperature is Key: If the oil is too hot, the Seedai will burn on the outside and remain uncooked inside. Too cold, and they’ll absorb too much oil.
- Don’t Overcrowd the Pan: Frying in batches ensures the oil temperature doesn’t drop, resulting in crispier Seedai.
- Cooling is Important: Let the Seedai cool completely before storing. This helps them maintain their crispness.
Variations
Want to switch things up? Here are a few ideas:
- Vegan Adaptation: Simply substitute the melted butter with an equal amount of oil. Coconut oil works particularly well!
- Gluten-Free: This recipe is naturally gluten-free, but always double-check your ingredients to ensure they are certified gluten-free if you have a severe allergy.
- Spice Level: Add a pinch of chili powder to the dough for a little kick! My friend, Priya, loves adding a tiny bit of asafoetida (hing) too.
- Festival Adaptations: These are traditionally made for Krishna Jayanthi and Ganesh Chaturthi, but honestly, any celebration is a good excuse for Seedai!
Serving Suggestions
Seedai is best enjoyed with a cup of hot chai or filter coffee. They’re also a great accompaniment to sambar or rasam. Honestly, they’re delicious on their own too!
Storage Instructions
Store cooled Seedai in an airtight container at room temperature. They should stay fresh and crispy for up to a week, but they usually disappear much faster than that in my house!
FAQs
Let’s answer some common questions:
- What type of rice flour is best for Seedai? Idli rice flour is ideal, as it gives a nice texture.
- Can I make Seedai without urad dal flour? While it’s not recommended, you can try substituting it with cornstarch, but the texture won’t be quite the same.
- How do I know if the coconut is roasted enough? The coconut should be golden brown, completely dry, and fragrant.
- Why are my Seedai bursting while frying? This usually happens if the dough is packed too tightly or if there’s too much moisture in the dough. Pricking them with a toothpick can also help.
- How long does Seedai stay fresh? Seedai stays fresh for up to a week when stored in an airtight container at room temperature.
Enjoy making (and eating!) these delicious Seedai. Let me know how they turn out in the comments below!


Neha Deshmukh
Neha holds a B.A. in History with a focus on Indian and world history, including ancient, medieval, and modern periods. At RecipesOfIndia.org — the world’s largest database of Indian recipes — she combines her love for food and history by exploring how India’s past has shaped its culinary traditions.


