- Lightly dry roast the rice flour. Cool and mix with the sieved urad dal flour.
- Add cardamom powder, sesame seeds, desiccated coconut, and melted butter. Mix well.
- Boil jaggery with water to make a syrup. Strain the syrup and add it to the flour mixture.
- Knead into a thick dough. Roll into small balls and let them dry on a clean cloth for 15-20 minutes.
- Heat oil. Fry the seedai in batches on a low-medium flame until golden brown and crisp.
- Cool completely before storing in an airtight container.
- Calories:120 kcal25%
- Energy:502 kJ22%
- Protein:2 g28%
- Carbohydrates:15 mg40%
- Sugar:8 mg8%
- Salt:10 g25%
- Fat:5 g20%
Last Updated on 2 months by Neha Deshmukh
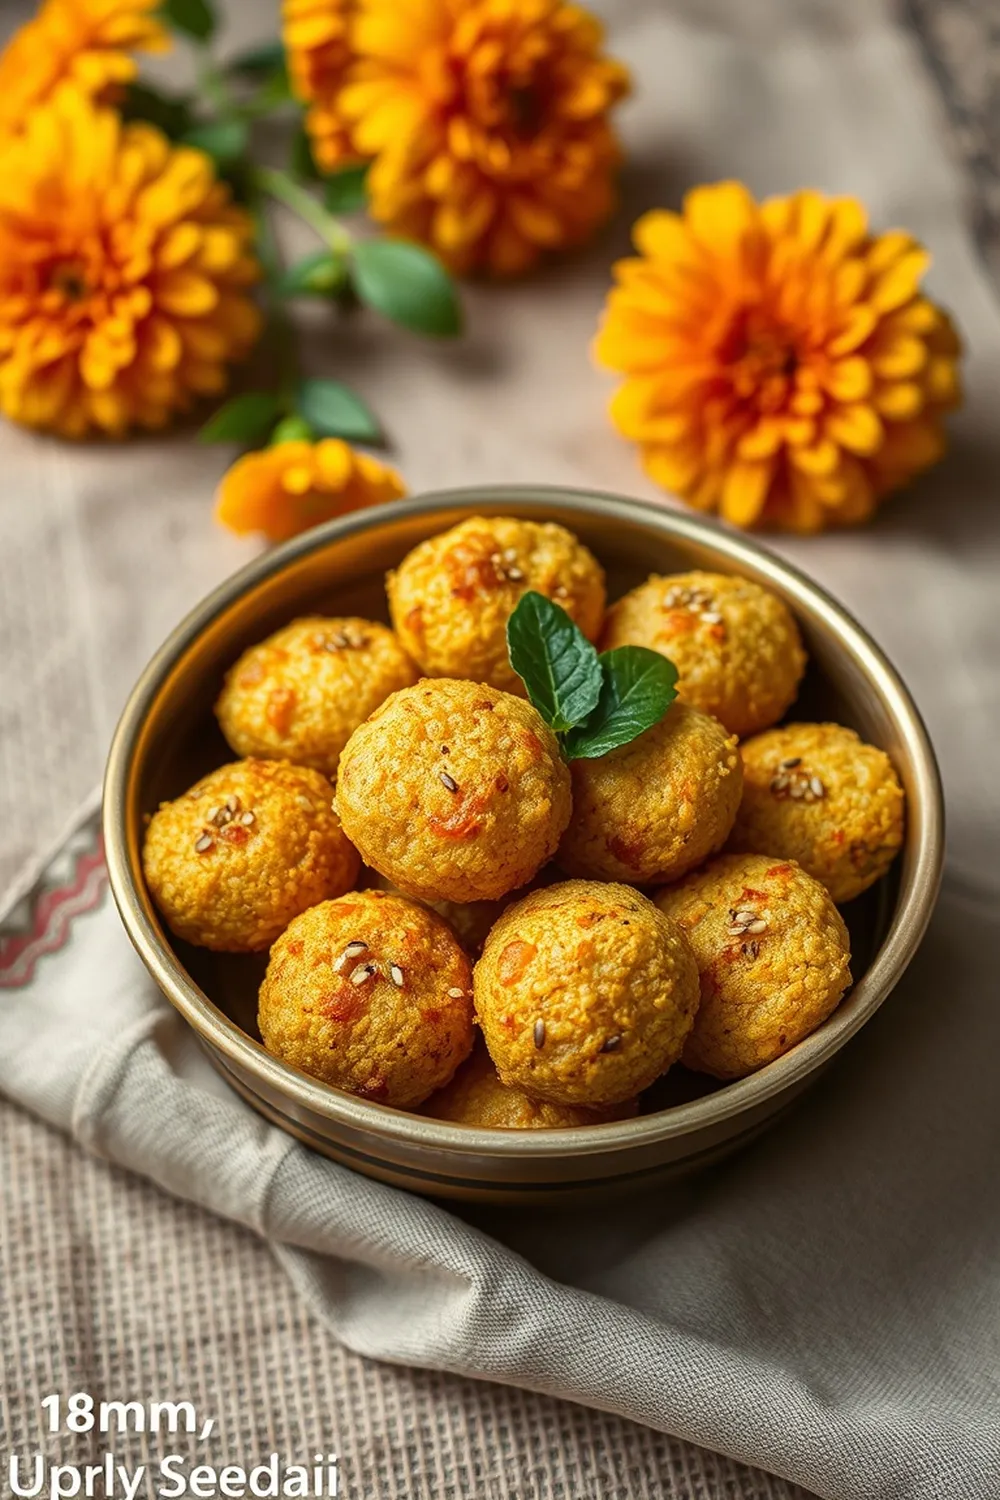
Authentic Seedai Recipe – Rice Flour & Jaggery South Indian Snack
Hey everyone! If you’ve ever been to a South Indian festival or celebration, chances are you’ve stumbled upon these delightful little bites – Seedai! These crispy, golden-brown spheres are a total crowd-pleaser, and honestly, they bring back so many childhood memories of Diwali at my grandmother’s house. Today, I’m sharing my family’s treasured recipe with you, so you can experience the magic too. It might seem a little fiddly at first, but trust me, the end result is so worth it.
Why You’ll Love This Recipe
Seedai is more than just a snack; it’s a little piece of South Indian culture. It’s wonderfully crunchy, subtly sweet from the jaggery, and has a lovely aroma from the cardamom and sesame seeds. Plus, it’s naturally gluten-free! This recipe is perfect for festive occasions, afternoon tea, or just when you’re craving something a little special. You’ll love how satisfying it is to make these from scratch.
Ingredients
Here’s what you’ll need to make a batch of these addictive Seedai:
- 1 cup processed rice flour
- 2 tsp roasted urad dal flour
- ½ cup grated jaggery (about 120g)
- 1 tbsp grated coconut (about 8g)
- 1 tsp sesame seeds
- ½ tbsp soft butter (about 7g)
- 2 cardamom pods
- A pinch of salt
- Oil for deep frying
Ingredient Notes
Let’s talk ingredients for a sec, because getting these right makes all the difference!
- Processed Rice Flour: This is key. Don’t try to make this with regular rice flour – it won’t bind properly. You can find it in Indian grocery stores, or online.
- Urad Dal Flour: Roasting the urad dal before grinding it into flour adds a lovely nutty flavour. You can buy it pre-roasted, or easily do it yourself in a dry pan.
- Jaggery: Jaggery is unrefined cane sugar, and it gives Seedai its beautiful colour and unique flavour. There are different types – I prefer using vellai karuppu (light brown jaggery) for a milder sweetness, but you can use darker jaggery if you like a more intense flavour. Regional variations are common, so feel free to experiment!
- Butter: Using butter adds a richness and helps with the texture. You can substitute with ghee for an even more traditional flavour.
Step-By-Step Instructions
Alright, let’s get cooking!
- First, lightly dry roast the rice flour in a pan for about 2-3 minutes. This gets rid of any moisture and helps with the crispiness. Let it cool completely.
- In a large bowl, mix the cooled roasted rice flour with the roasted urad dal flour.
- Now, boil the grated jaggery with about ¼ cup of water (60ml) until it dissolves and forms a syrup. Strain this syrup to remove any impurities – this ensures a smooth Seedai.
- Pour the warm jaggery syrup into the flour mixture. Add the cardamom powder (just crush the pods and use the seeds), sesame seeds, coconut powder, butter, and a pinch of salt.
- Mix everything really well with your hands. This is where the elbow grease comes in! You want to combine everything thoroughly until it forms a thick, slightly sticky dough.
- Knead the dough for a couple of minutes. Then, roll small portions of the dough (about the size of a marble) into smooth balls.
- Place the Seedai balls on a clean, lightly oiled cloth and let them dry for about 15-20 minutes. This helps them hold their shape during frying.
- Heat oil in a deep frying pan or kadai over medium-low heat. The oil should be hot enough to fry, but not so hot that it burns the Seedai.
- Fry the Seedai in batches, turning them occasionally, until they are golden brown and crispy. This usually takes about 8-10 minutes per batch.
- Remove the Seedai with a slotted spoon and place them on a paper towel-lined plate to drain excess oil.
- Let them cool completely before storing. Seriously, don’t try to eat them warm – they won’t be as crispy!
Expert Tips
- Don’t overcrowd the pan: Frying in batches ensures the oil temperature doesn’t drop, and the Seedai will be perfectly crispy.
- Low and slow is the way to go: Frying on medium-low heat prevents the Seedai from burning on the outside while remaining raw inside.
- Test the oil: Drop a tiny piece of dough into the oil. If it sizzles and rises to the surface, the oil is ready.
Variations
Want to put your own spin on things? Here are a few ideas:
- Gluten-Free Adaptation: This recipe is already naturally gluten-free, but double-check your rice flour source to ensure it hasn’t been processed in a facility that also handles gluten.
- Spice Level: My friend Priya loves adding a pinch of chili powder to the dough for a little kick! It’s surprisingly good.
- Festival Adaptations: During Diwali, my family makes a huge batch of Seedai to share with friends and neighbours. It’s also a popular offering during Krishna Jayanthi.
Serving Suggestions
Seedai is best enjoyed with a cup of hot chai or filter coffee. It’s also a great snack to pack for picnics or road trips. Honestly, it’s good enough to eat straight from the container!
Storage Instructions
Store cooled Seedai in an airtight container at room temperature for up to a week. They might lose a little of their crispness over time, but they’ll still be delicious.
FAQs
Let’s tackle some common questions:
- What type of rice flour is best for Seedai? Processed rice flour is essential! It has the right texture and binding properties.
- Can I use powdered sugar instead of jaggery? While you can, it won’t have the same flavour or colour. Jaggery is really what makes Seedai special.
- How do I know when the oil is at the right temperature? Drop a tiny piece of dough into the oil. If it sizzles and rises to the surface, it’s ready.
- Why are my Seedai cracking while frying? The dough might be too dry. Add a teaspoon of water at a time until it comes together. Also, make sure the heat isn’t too high.
- How long does Seedai stay fresh? Seedai stays fresh for up to a week in an airtight container at room temperature.
Enjoy making (and eating!) this classic South Indian snack. Let me know how it turns out for you in the comments below!


Neha Deshmukh
Neha holds a B.A. in History with a focus on Indian and world history, including ancient, medieval, and modern periods. At RecipesOfIndia.org — the world’s largest database of Indian recipes — she combines her love for food and history by exploring how India’s past has shaped its culinary traditions.