- Measure wheat flour and transfer it to a clean cloth. Tie securely to prevent moisture. Steam cook for 20 minutes using an idli steamer.
- Cool the steamed flour, then sieve to remove lumps. Discard any coarse residue.
- In a bowl, combine the sieved wheat flour, rice flour, and urad dal flour. Add melted butter, sesame seeds, hing (asafoetida), and salt.
- Combine the ingredients with your fingertips. Gradually add water to form a smooth, non-sticky dough.
- Pinch small portions of dough and roll them into pea-sized balls. Place them on a clean cloth to absorb excess moisture.
- Heat oil in a pan. Fry the seedai in batches on medium-low heat until golden brown, stirring gently for even cooking.
- Drain the fried seedai on paper towels. Cool completely before storing in an airtight container.
- Calories:391 kcal25%
- Energy:1635 kJ22%
- Protein:10 g28%
- Carbohydrates:73 mg40%
- Sugar:0.2 mg8%
- Salt:34 g25%
- Fat:5 g20%
Last Updated on 4 months by Neha Deshmukh
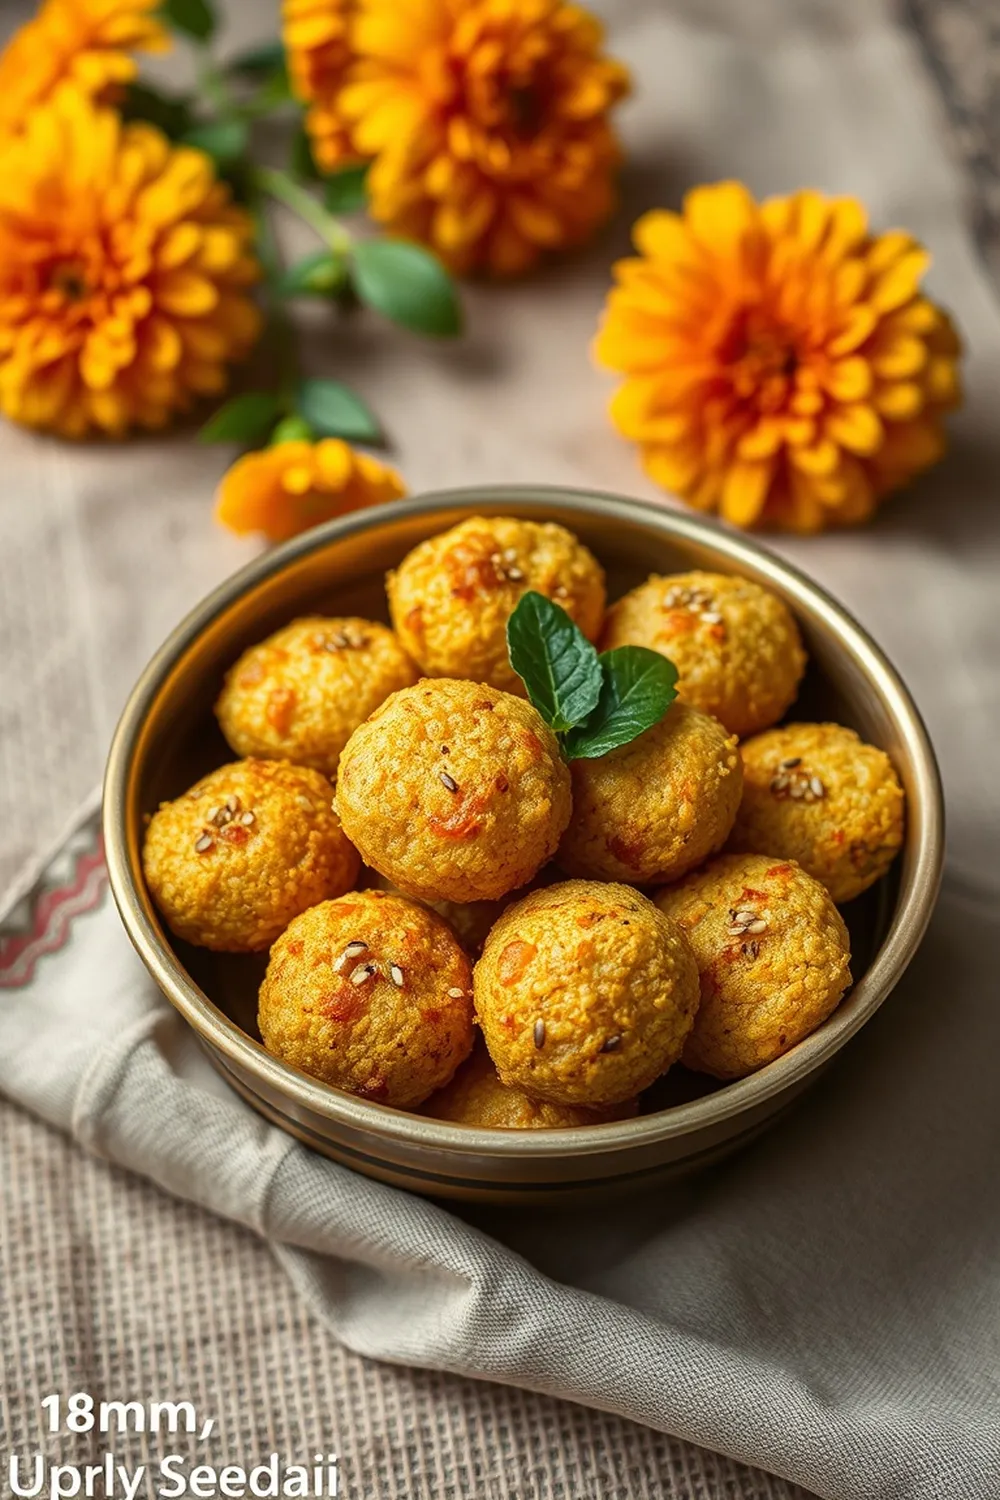
Authentic Seedai Recipe – Wheat Flour & Sesame Crispy Bites
Hey everyone! If you’ve ever been to a South Indian festival or celebration, chances are you’ve stumbled upon these delightful little crispy bites – Seedai! They’re seriously addictive, and honestly, making them is a bit of a labor of love, but so worth it. I remember my grandmother making huge batches of these during Diwali, and the whole house would smell amazing. Today, I’m sharing my version of this authentic Seedai recipe with you, using wheat flour for a slightly different, but equally delicious, texture.
Why You’ll Love This Recipe
These aren’t just any snack; Seedai are a little piece of Indian tradition. They’re wonderfully crunchy, subtly savory, and packed with the nutty flavor of sesame seeds. Plus, they’re perfect for enjoying with a cup of chai or as a festive treat. This recipe is a little different as we’re using wheat flour, which gives a lovely, slightly softer bite compared to the more traditional rice flour-only versions.
Ingredients
Here’s what you’ll need to make these crispy delights:
- 1 heaped cup wheat flour / chapathi flour (about 150g)
- ¼ cup rice flour (about 30g)
- 1 tablespoon urad dal flour (about 10g)
- 3 teaspoons melted butter (about 15ml)
- 1 teaspoon white sesame seeds (about 5g)
- A tiny pinch of hing (asafoetida)
- Salt to taste
- As needed water (approximately ½ – ¾ cup)
- Oil for frying
Ingredient Notes
Let’s talk ingredients – getting these right makes all the difference!
Wheat Flour / Chapati Flour – Choosing the Right Type
I prefer using a good quality chapati flour (atta) for this recipe. It gives the Seedai a lovely texture. You want a flour that’s finely ground.
Rice Flour – Regional Variations & Substitutions
Rice flour helps with the crispiness. You can use store-bought rice flour or make your own by grinding raw rice. Some people also use a mix of different rice varieties for a unique flavor!
Urad Dal Flour – The Role of Lentils in Seedai
Urad dal flour (black lentil flour) adds a subtle nutty flavor and helps bind the dough. Don’t skip this one! It’s a key component of authentic Seedai.
Sesame Seeds – Black vs. White & Toasting for Flavor
I’m using white sesame seeds here, but black sesame seeds work beautifully too – they have a slightly stronger flavor. You can even toast the sesame seeds lightly in a dry pan for a minute or two before adding them to the dough. This really enhances their aroma!
Hing (Asafoetida) – A Traditional Touch & Its Benefits
Hing might smell a little funky on its own, but trust me, it adds a wonderful savory depth to the Seedai. It’s also known for its digestive properties – a little bonus!
Step-By-Step Instructions
Alright, let’s get cooking!
- First, measure out your wheat flour and transfer it to a clean cloth. Tie it up securely – this is important to prevent any moisture from getting in. Now, steam cook it for about 20 minutes using an idli steamer. This step is crucial for the right texture.
- Once steamed, let the flour cool completely. Then, sieve it to remove any lumps. Don’t worry about discarding any coarse residue that’s left behind.
- In a large bowl, combine the sieved wheat flour, rice flour, and urad dal flour. Add the melted butter, sesame seeds, hing, and salt.
- Now, the fun part! Start combining the ingredients with your fingertips. Gradually add water, a little at a time, and knead to form a smooth, non-sticky dough. It should be firm but pliable.
- Pinch off small portions of the dough – about the size of a pea – and roll them into little balls. Place these balls on a clean cloth to absorb any excess moisture.
- Heat oil in a pan over medium-low heat. This is important – you don’t want the Seedai to brown too quickly on the outside while remaining raw inside. Fry the Seedai in batches, stirring gently to ensure even cooking. They should turn golden brown in about 5-7 minutes.
- Drain the fried Seedai on paper towels to remove any excess oil. Let them cool completely before storing them in an airtight container.
Expert Tips
- Don’t overcrowd the pan: Frying in batches ensures the oil temperature doesn’t drop, resulting in crispier Seedai.
- Low and slow is key: Frying on medium-low heat prevents burning and ensures the Seedai cook through.
- Moisture is the enemy: Make sure the dough isn’t too wet, and the Seedai are well-drained after frying.
Variations
Want to switch things up? Here are a few ideas:
Vegan Seedai Adaptation
Simply substitute the melted butter with a vegan butter alternative or a neutral-flavored oil like coconut oil.
Gluten-Free Seedai Adaptation (Using Alternative Flours)
Replace the wheat flour with a gluten-free flour blend. A blend containing sorghum flour and millet flour works well. You might need to adjust the water slightly to achieve the right dough consistency.
Spice Level – Adding a Hint of Chili
My friend, Priya, loves to add a pinch of chili powder to the dough for a little kick! Feel free to experiment with different spices like cumin or coriander powder.
Festival Adaptations – Seedai for Diwali & Other Celebrations
During Diwali, my family likes to make a larger batch and gift them to friends and neighbors. They’re a lovely gesture!
Serving Suggestions
Seedai are fantastic on their own as a snack. They also pair beautifully with a cup of hot chai or filter coffee. You can even serve them as part of a festive spread during Diwali or other celebrations.
Storage Instructions
Store cooled Seedai in an airtight container at room temperature. They should stay crispy for up to a week, but honestly, they rarely last that long in my house!
FAQs
What is the best way to prevent Seedai from becoming hard?
Steaming the wheat flour properly and not over-frying are the key! Also, storing them in an airtight container is crucial.
Can I make Seedai dough ahead of time?
You can, but the dough tends to dry out. If you do make it ahead, wrap it tightly in plastic wrap and refrigerate for no more than a day. You might need to add a little water to rehydrate it before shaping.
What type of oil is best for frying Seedai?
Any neutral-flavored oil with a high smoke point will work well – like sunflower oil, vegetable oil, or groundnut oil.
Why is steaming the wheat flour important?
Steaming helps to gelatinize the starch in the wheat flour, resulting in a softer, more pliable dough and a better texture in the final Seedai.
Can I use a different type of flour instead of Urad Dal flour?
While you can experiment, Urad Dal flour plays a significant role in the flavor and binding of the Seedai. It’s best to stick with it for the most authentic results.


Neha Deshmukh
Neha holds a B.A. in History with a focus on Indian and world history, including ancient, medieval, and modern periods. At RecipesOfIndia.org — the world’s largest database of Indian recipes — she combines her love for food and history by exploring how India’s past has shaped its culinary traditions.