- Combine rice flour, chickpea flour, salt, red chili powder, ajwain, and hot ghee or oil in a bowl. Mix thoroughly.
- Gradually add water to form a soft, pliable dough. Test for seasoning by frying a small piece of dough.
- Heat oil in a deep pan. Fill a murukku press fitted with the smallest die with dough.
- Press dough in circular motions into medium-hot oil. Fry until bubbling subsides and the sev turns golden brown.
- Flip the sev once, drain on paper towels, and cool completely before storing in an airtight container.
- Calories:150 kcal25%
- Energy:627 kJ22%
- Protein:3 g28%
- Carbohydrates:16 mg40%
- Sugar:1 mg8%
- Salt:100 g25%
- Fat:8 g20%
Last Updated on 2 months by Neha Deshmukh
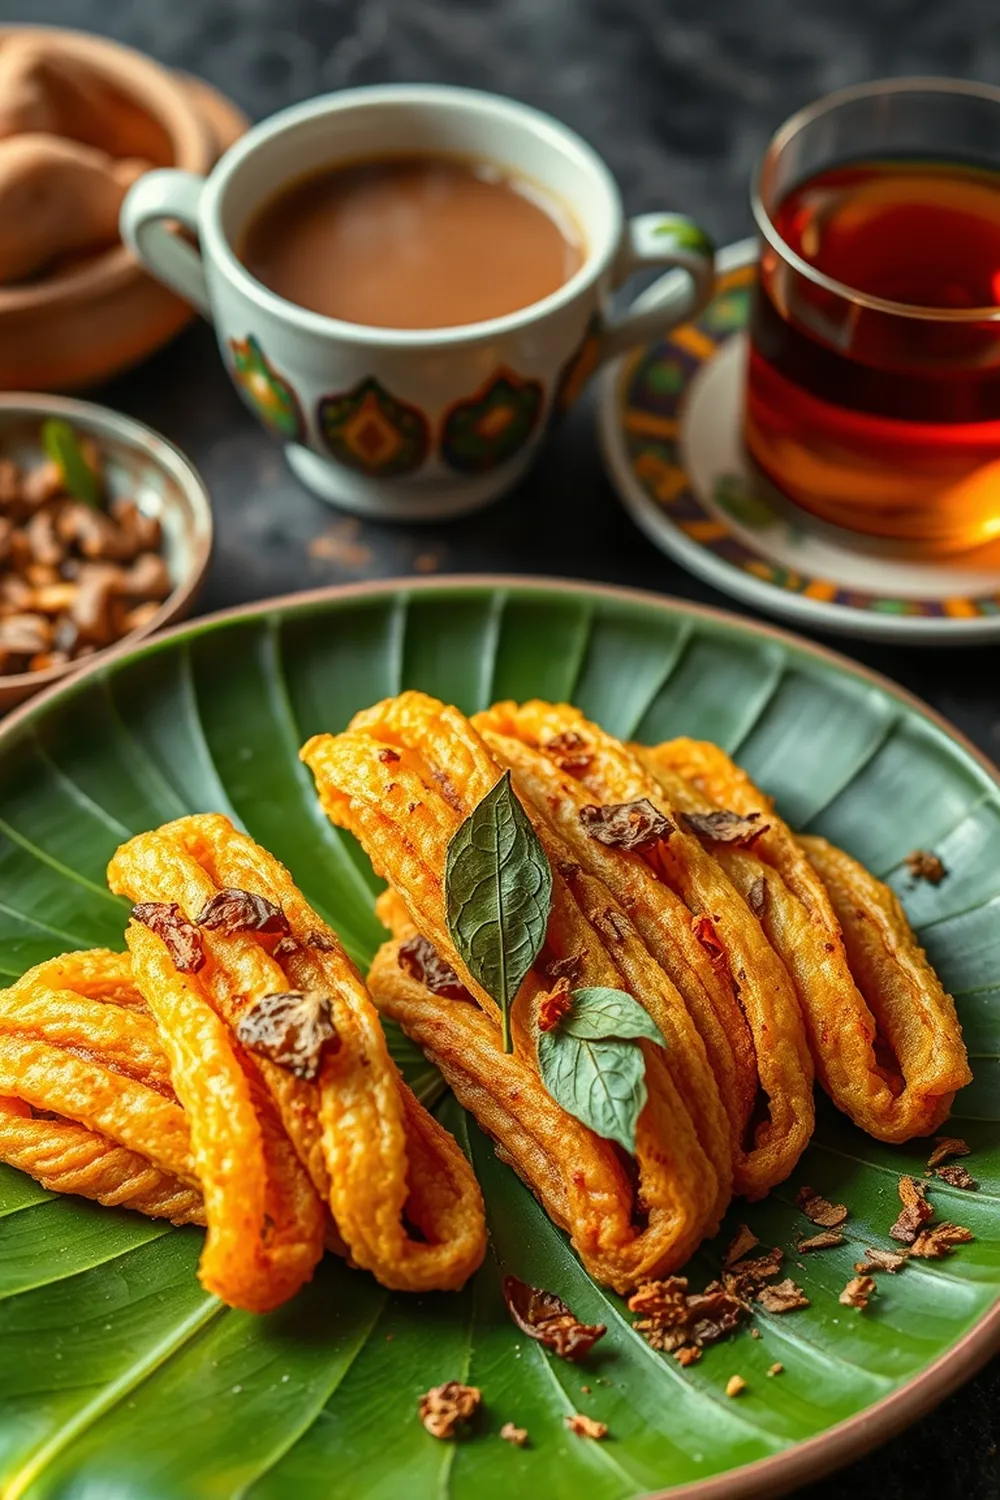
Authentic Sev Recipe – Crispy Rice & Besan Snack
Hey everyone! If you’ve ever been to India, or even just spent time with Indian food lovers, you know sev. It’s that delightfully crunchy, savory snack that’s impossible to stop eating. I remember the first time my auntie made this for me – a huge batch for Diwali, and it disappeared within hours! Today, I’m sharing my go-to recipe for authentic, crispy sev, so you can experience the magic too.
Why You’ll Love This Recipe
This sev recipe isn’t just about a snack; it’s about a little piece of Indian tradition. It’s incredibly satisfying to make (and even more satisfying to eat!). Plus, it’s perfect for festive occasions, afternoon tea, or just a little something to munch on when those cravings hit. It’s a guaranteed crowd-pleaser, and honestly, it’s easier than you might think!
Ingredients
Here’s what you’ll need to create this crispy delight:
- 1 cup rice flour (approx. 170g)
- 1 1/4 cup chickpea flour (besan) (approx. 150g)
- 1/4 tsp red chili powder (approx. 1.25g)
- 1/2 tsp ajwain (vaamu) (approx. 2.5g)
- Salt to taste
- 1 tbsp hot ghee or oil (approx. 15ml)
- Oil for deep frying
Ingredient Notes
Let’s talk ingredients – a few little things can make a big difference!
Rice Flour: Choosing the Right Grain
I prefer using a fine-grained rice flour for the best texture. It results in a more delicate, crispy sev. You can find this at most Indian grocery stores.
Chickpea Flour (Besan): Quality and Flavor
Good quality besan is key! Look for a bright yellow color and a fresh, slightly nutty aroma. Stale besan can give your sev a bitter taste.
Ajwain (Vaamu): The Digestive Spice
Ajwain isn’t just about flavor; it also aids digestion, which is a bonus when you’re enjoying a tasty snack! Don’t skip it – it adds a lovely, unique warmth.
Ghee vs. Oil: Impact on Flavor and Texture
Traditionally, ghee is used for a richer flavor and a slightly more delicate texture. However, oil works perfectly well too, especially if you’re looking for a vegan option. I sometimes use a mix of both!
Regional Variations in Sev Recipes
Sev isn’t a one-size-fits-all snack! You’ll find variations across India. Some regions add a pinch of turmeric for color, while others include a little hing (asafoetida) for extra flavor. Feel free to experiment and make it your own!
Step-By-Step Instructions
Alright, let’s get cooking!
- First, in a large bowl, combine the rice flour, chickpea flour, salt, red chili powder, and ajwain.
- Now, pour in the hot ghee or oil. This is important – the hot fat helps create a light and crispy texture.
- Mix everything really well with your hands. You want to rub the flour together until it resembles breadcrumbs.
- Gradually add water, a little at a time, and knead to form a soft, pliable dough. It shouldn’t be sticky, but it shouldn’t be too dry either.
- To test the seasoning, fry a tiny piece of the dough in hot oil. Adjust the salt and chili powder as needed.
- Heat oil in a deep pan over medium heat. Make sure there’s enough oil for the sev to fry properly.
- Fill your murukku press with the dough, fitted with the smallest disc.
- Press the dough in circular motions directly into the hot oil.
- Fry until the sev turns golden brown and the bubbling subsides.
- Flip the sev once to ensure even cooking.
- Remove the sev with a slotted spoon and drain on paper towels.
- Let it cool completely before storing in an airtight container. This is crucial for maintaining crispness!
Expert Tips
Here are a few things I’ve learned over the years to make the perfect sev:
Achieving the Perfect Dough Consistency
The dough is the most important part! It should be soft and pliable, like playdough. If it’s too dry, the sev will be hard. If it’s too wet, it will absorb too much oil.
Maintaining Oil Temperature for Crispy Sev
Keep the oil at a consistent medium heat. If it’s too hot, the sev will burn on the outside before it cooks through. If it’s too cold, it will absorb too much oil and become soggy.
Troubleshooting: Sev Not Crispy Enough
If your sev isn’t crispy, it’s likely due to the dough being too wet or the oil temperature being too low.
Pressing Technique for Uniform Shape
Apply even pressure when pressing the dough. This will ensure that your sev is uniform in shape and cooks evenly.
Variations
Want to switch things up? Here are a few ideas:
Spice Level: Adjusting the Red Chili Powder
I like a mild kick, but feel free to add more red chili powder if you prefer a spicier sev. My friend, Priya, adds a pinch of cayenne pepper for extra heat!
Vegan Sev: Substituting Ghee
Simply replace the ghee with an equal amount of vegetable oil. It won’t have the same rich flavor, but it will still be delicious.
Gluten-Free Sev: Ensuring Purity of Ingredients
Double-check that your besan is certified gluten-free if you have a gluten intolerance.
Festival Adaptations: Diwali & Special Occasions
Sev is a staple during Diwali, but it’s also perfect for other festivals and special occasions. I often make a big batch for weddings and birthdays.
Serving Suggestions
Sev is fantastic on its own as a snack. But it’s also amazing as a topping for chaat, bhel puri, or even just sprinkled over your favorite yogurt.
Storage Instructions
Store cooled sev in an airtight container at room temperature. It should stay crispy for up to a week, but honestly, it never lasts that long in my house!
FAQs
Let’s answer some common questions:
What type of oil is best for frying sev?
Groundnut oil or vegetable oil are both good choices. They have a high smoke point and a neutral flavor.
Can I make the dough ahead of time?
Yes, you can! Just wrap it tightly in plastic wrap and store it in the refrigerator for up to 24 hours. Bring it to room temperature before using.
How do I prevent the sev from absorbing too much oil?
Make sure the oil is at the right temperature and don’t overcrowd the pan.
What if I don’t have a murukku press? Are there alternatives?
Unfortunately, a murukku press is really the best tool for making traditional sev. You might be able to improvise with a piping bag and a small round nozzle, but the results won’t be quite the same.
How long does sev stay crispy once made?
If stored properly in an airtight container, sev should stay crispy for up to a week. But let’s be real, it’s usually gone much sooner!


Neha Deshmukh
Neha holds a B.A. in History with a focus on Indian and world history, including ancient, medieval, and modern periods. At RecipesOfIndia.org — the world’s largest database of Indian recipes — she combines her love for food and history by exploring how India’s past has shaped its culinary traditions.