- Prepare the dry flour: Grind raw rice, urad dal, chana dal, fenugreek seeds, and coriander seeds into a coarse powder. Store in an airtight container for up to 3 months.
- Mix the dough: Combine the vade flour, red chili powder, turmeric powder, and salt. Gradually add warm water to form a medium-consistency dough. Let it rest, covered, for 30 minutes.
- Shape the vade: Knead the dough for 3-4 minutes. Roll into lemon-sized balls, flatten them on oiled plastic/butter paper into circular discs, and create a hole in the center.
- Fry the vade: Heat oil in a pan. Gently slide the shaped vade into medium-hot oil. Press lightly with a spatula to help it puff up. Fry until golden brown on both sides.
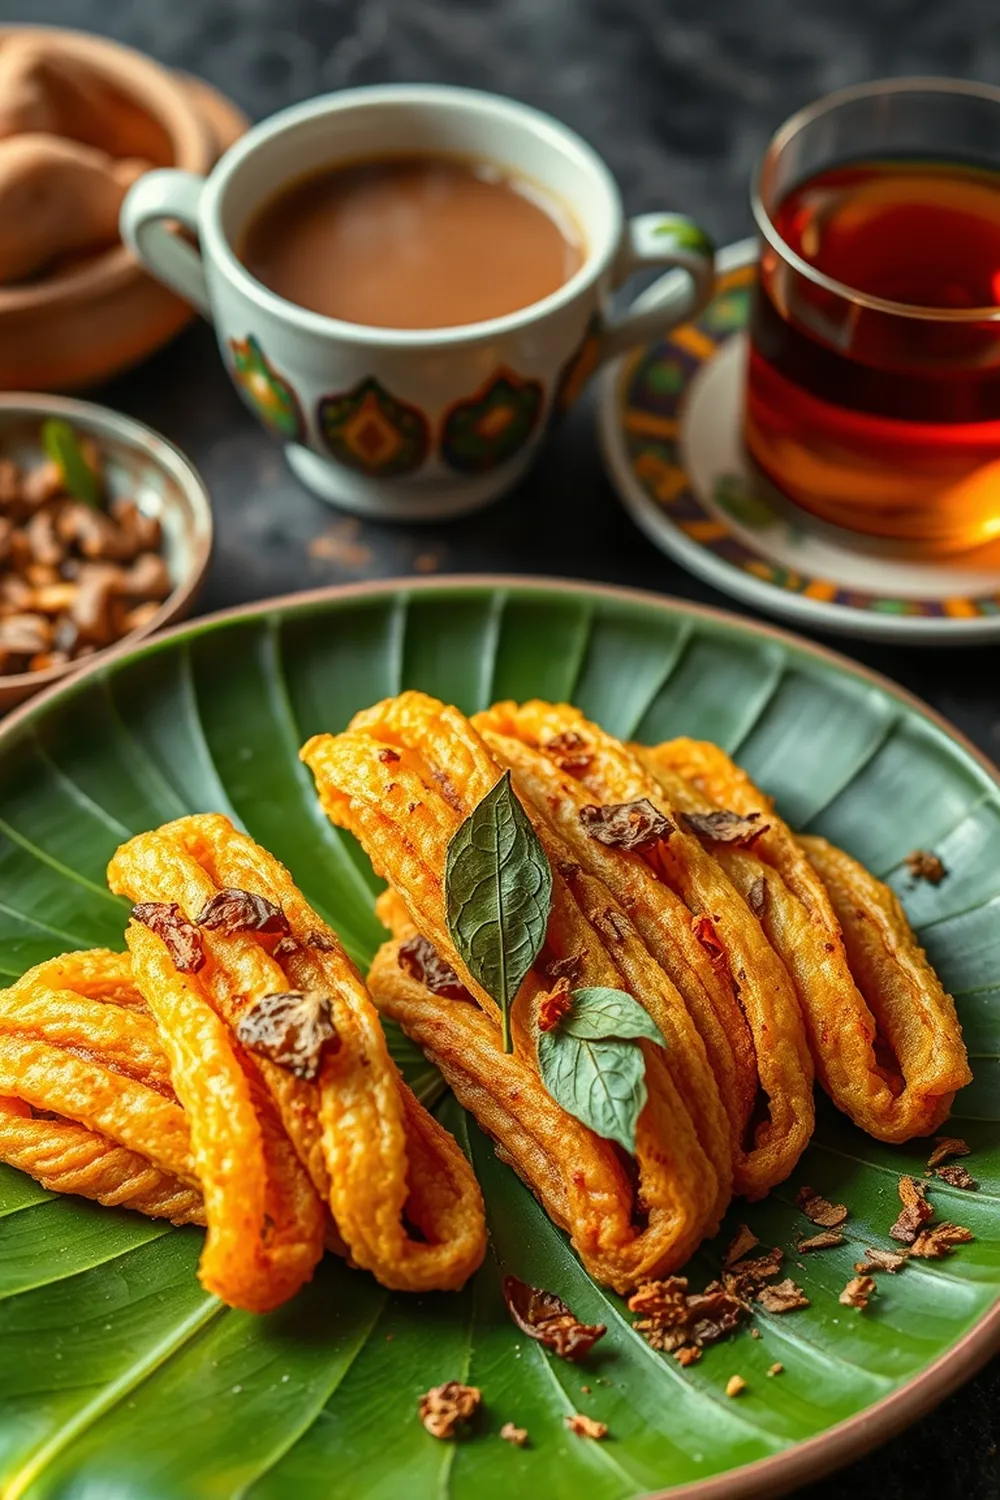
- Serve hot with chutney, homemade butter, or chicken gravy.
- Calories:180 kcal25%
- Energy:753 kJ22%
- Protein:4 g28%
- Carbohydrates:22 mg40%
- Sugar:mg8%
- Salt:150 g25%
- Fat:8 g20%
Last Updated on 4 months by Neha Deshmukh
Authentic Vada Recipe – Rice & Lentil Vada with Homemade Flour
Introduction
Oh, vada! Just the word brings back so many memories of monsoon evenings at my grandmother’s place, the aroma of frying vadas filling the air. These crispy, fluffy delights are a staple in South Indian cuisine, and honestly, once you make them from scratch, you’ll never go back to store-bought. This recipe is for a classic rice and lentil vada, and I’m going to share all my secrets for getting them just right. It seems a little involved making the flour, but trust me, the flavour is worth it!
Why You’ll Love This Recipe
This vada recipe isn’t just about a delicious snack; it’s about connecting with tradition. It’s about the satisfying crunch, the soft interior, and the warmth of a homemade treat. Plus, making your own vada flour means you control the ingredients and freshness. You’ll be amazed at how much better these taste than anything you can buy!
Ingredients
Here’s what you’ll need to create these delightful vadas:
- 1 kg Raw Rice
- 250g Udid Daal (Split Black Gram)
- 250g Chana Daal (Split Chickpeas)
- 1 teaspoon Fenugreek Seeds
- 250g Coriander Seeds
- 3 cups Vade Dry Flour (once ground)
- 1 teaspoon Red Chili Powder (adjust to taste)
- 0.5 teaspoon Turmeric Powder
- Salt to taste
- Oil for deep frying
Ingredient Notes
Let’s talk ingredients! A few little things can make a big difference.
- Raw Rice Varieties & Their Impact: I prefer using a short-grain raw rice like sona masuri for a slightly softer vada. You can experiment with different varieties, but avoid using aged rice as it might not bind well.
- Udid Daal & Chana Daal: The Protein Powerhouse: These lentils are key for binding and adding a lovely texture. Don’t skip them!
- The Significance of Fenugreek & Coriander Seeds: These aren’t just for flavour. Fenugreek adds a subtle bitterness that balances the richness, and coriander lends a beautiful aroma.
- Regional Variations in Vada Flour Composition: Some families add a handful of poha (flattened rice) to the flour for extra crispness. Feel free to experiment!
- Oil Choice for Authentic Flavor & Texture: Traditionally, groundnut oil is used for frying vadas, giving them a distinct flavour. You can also use vegetable oil or sunflower oil, but the flavour profile will be slightly different.
Step-By-Step Instructions
Alright, let’s get cooking!
- Prepare the dry flour: First, we need to grind our flour. Combine the raw rice, udid daal, chana daal, fenugreek seeds, and coriander seeds in a grinder. Grind to a coarse powder – you don’t want it too fine! Store this in an airtight container. It’ll keep for up to 3 months, which is super handy.
- Mix the dough: In a large bowl, combine 3 cups of the vada flour, red chili powder, turmeric powder, and salt. Gradually add warm water, a little at a time, and mix well. You’re aiming for a medium-consistency dough – not too runny, not too stiff. Cover the dough and let it rest for about 30 minutes. This allows the flavours to meld and the dough to become more pliable.
- Shape the vade: Now for the fun part! Knead the dough for 3-4 minutes. Take a lemon-sized ball of dough and flatten it on a lightly oiled plastic sheet or butter paper into a circular disc. Use your fingers to create a hole in the center – this helps the vada cook evenly.
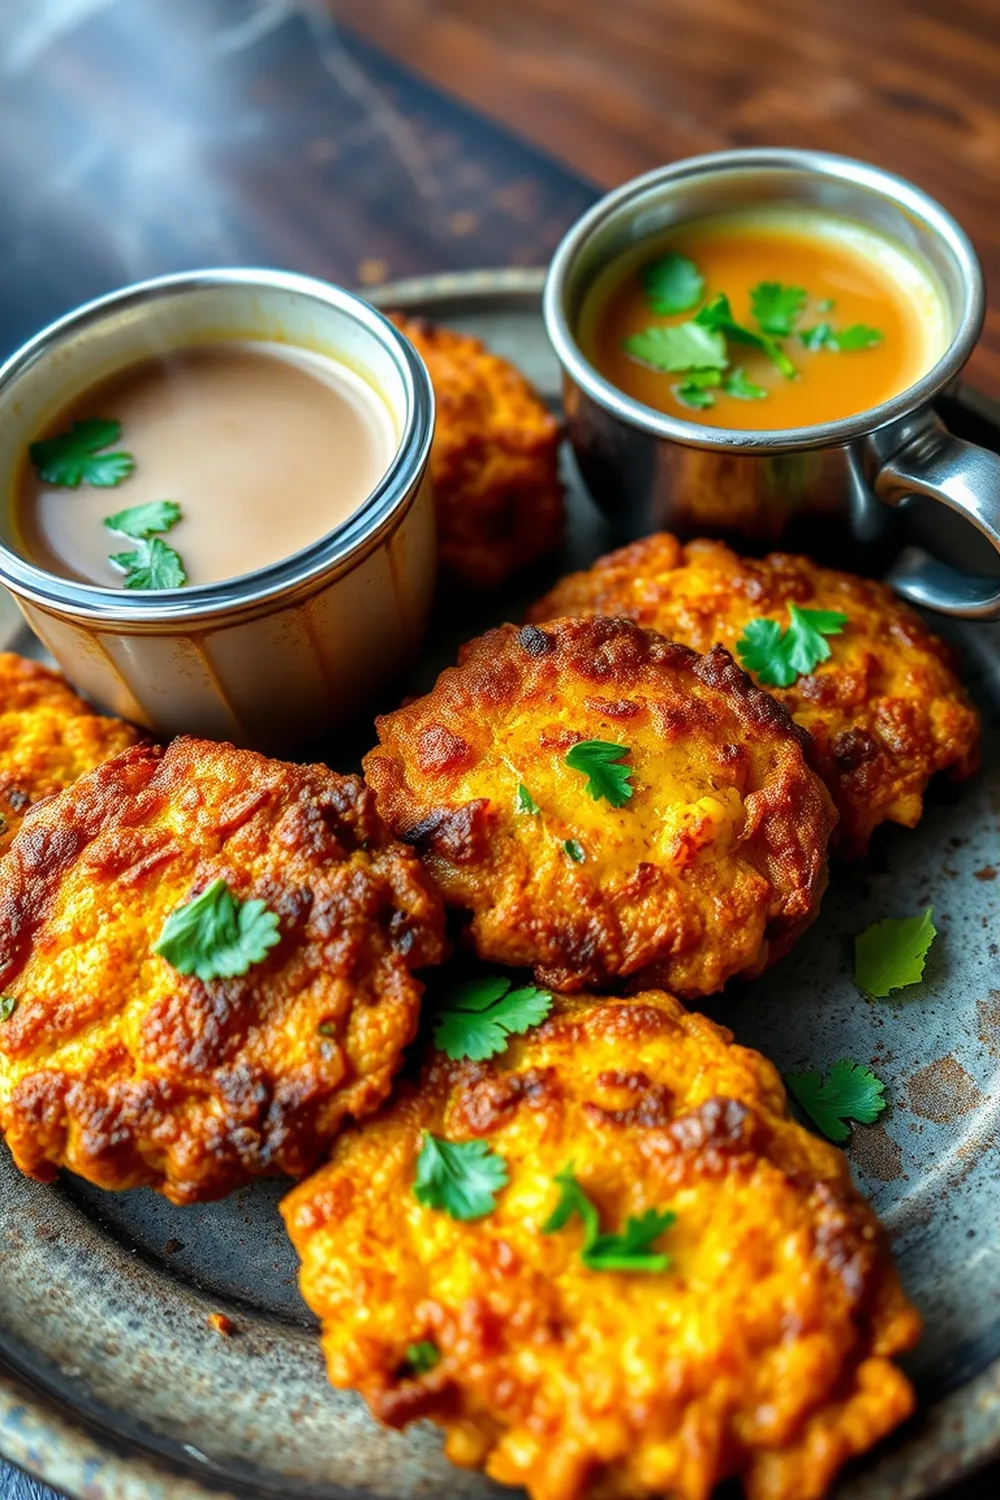
- Fry the vade: Heat oil in a pan over medium heat. Gently slide the shaped vada into the hot oil. Press lightly with a spatula to help it puff up. Fry until golden brown on both sides, flipping carefully.
- Serve hot: Drain the vadas on paper towels to remove excess oil. Serve them immediately with your favourite chutney, homemade butter, or even a spicy chicken gravy!
Expert Tips
A few little things I’ve learned over the years…
- Achieving the Perfect Vada Texture: The key is the dough consistency. If it’s too wet, the vadas will absorb too much oil. If it’s too dry, they won’t puff up.
- Troubleshooting: Vadas Not Puffing Up: This usually means the oil isn’t hot enough, or the dough is too stiff.
- Mastering the Art of Shaping Vadas: Don’t worry if your first few aren’t perfect! Practice makes perfect. Using oiled plastic wrap really helps prevent sticking.
- The Ideal Oil Temperature for Frying: Test the oil by dropping a tiny piece of dough into it. If it sizzles and rises to the surface, it’s ready.
Variations
Let’s get creative!
- Vegan Vada Adaptation: This recipe is naturally vegan! Just ensure your chutney is also vegan-friendly.
- Gluten-Free Confirmation: These vadas are naturally gluten-free, making them a great option for those with dietary restrictions.
- Spice Level Adjustments (Mild, Medium, Hot): Adjust the amount of red chili powder to your liking. I usually go for medium, but my husband prefers a fiery kick!
- Festival Adaptations (Diwali, Ganesh Chaturthi): Vadas are a popular offering during festivals. You can make smaller, bite-sized vadas for easy distribution.
Serving Suggestions
Vadas are incredibly versatile. Here are a few of my favourite ways to enjoy them:
- With coconut chutney – a classic pairing!
- With tomato chutney – for a tangy twist.
- With mint-coriander chutney – refreshing and flavourful.
- As a side dish with sambar and idli.
- Simply enjoyed with a cup of hot chai!
Storage Instructions
Vadas are best enjoyed fresh, but you can store leftovers in an airtight container at room temperature for a day. They will lose some of their crispness, but you can reheat them in a preheated oven or air fryer to restore some of the texture. The vada flour itself can be stored in an airtight container for up to 3 months.
FAQs
Got questions? I’ve got answers!
- What is the best way to grind the vada flour at home? Use a high-powered blender or grinder. Grind in batches to avoid overheating the motor.
- Can I use pre-made vada flour instead of grinding my own? Yes, you can! But the flavour won’t be quite as fresh or vibrant.
- How do I know if the oil is hot enough for frying the vadas? Drop a tiny piece of dough into the oil. If it sizzles and rises to the surface, it’s ready.
- What is the shelf life of the prepared vada flour? Up to 3 months in an airtight container.
- What chutneys pair best with these vadas? Coconut chutney, tomato chutney, and mint-coriander chutney are all fantastic choices!


Neha Deshmukh
Neha holds a B.A. in History with a focus on Indian and world history, including ancient, medieval, and modern periods. At RecipesOfIndia.org — the world’s largest database of Indian recipes — she combines her love for food and history by exploring how India’s past has shaped its culinary traditions.