- Combine all-purpose flour, rice flour, salt, asafoetida, and crushed black pepper in a mixing bowl.
- Add minced ginger, chopped curry leaves, chopped coriander leaves, and green chilies. Mix well.
- Gradually incorporate yogurt to create a thick, smooth batter. Beat for 2 minutes and let it rest for 30-60 minutes.
- Just before frying, mix baking soda into the rested batter.
- Heat oil in a kadai or deep fryer. Test the temperature by dropping a small amount of batter – it should rise to the surface immediately when ready.
- Carefully drop spoonfuls of batter into the hot oil. Fry until golden brown and crispy, turning frequently with a slotted spoon.
- Drain the fried bondas on paper towels to remove excess oil. Serve immediately while they are still crispy.
- Calories:220 kcal25%
- Energy:920 kJ22%
- Protein:4 g28%
- Carbohydrates:30 mg40%
- Sugar:3 mg8%
- Salt:250 g25%
- Fat:10 g20%
Last Updated on 5 months ago by Neha Deshmukh
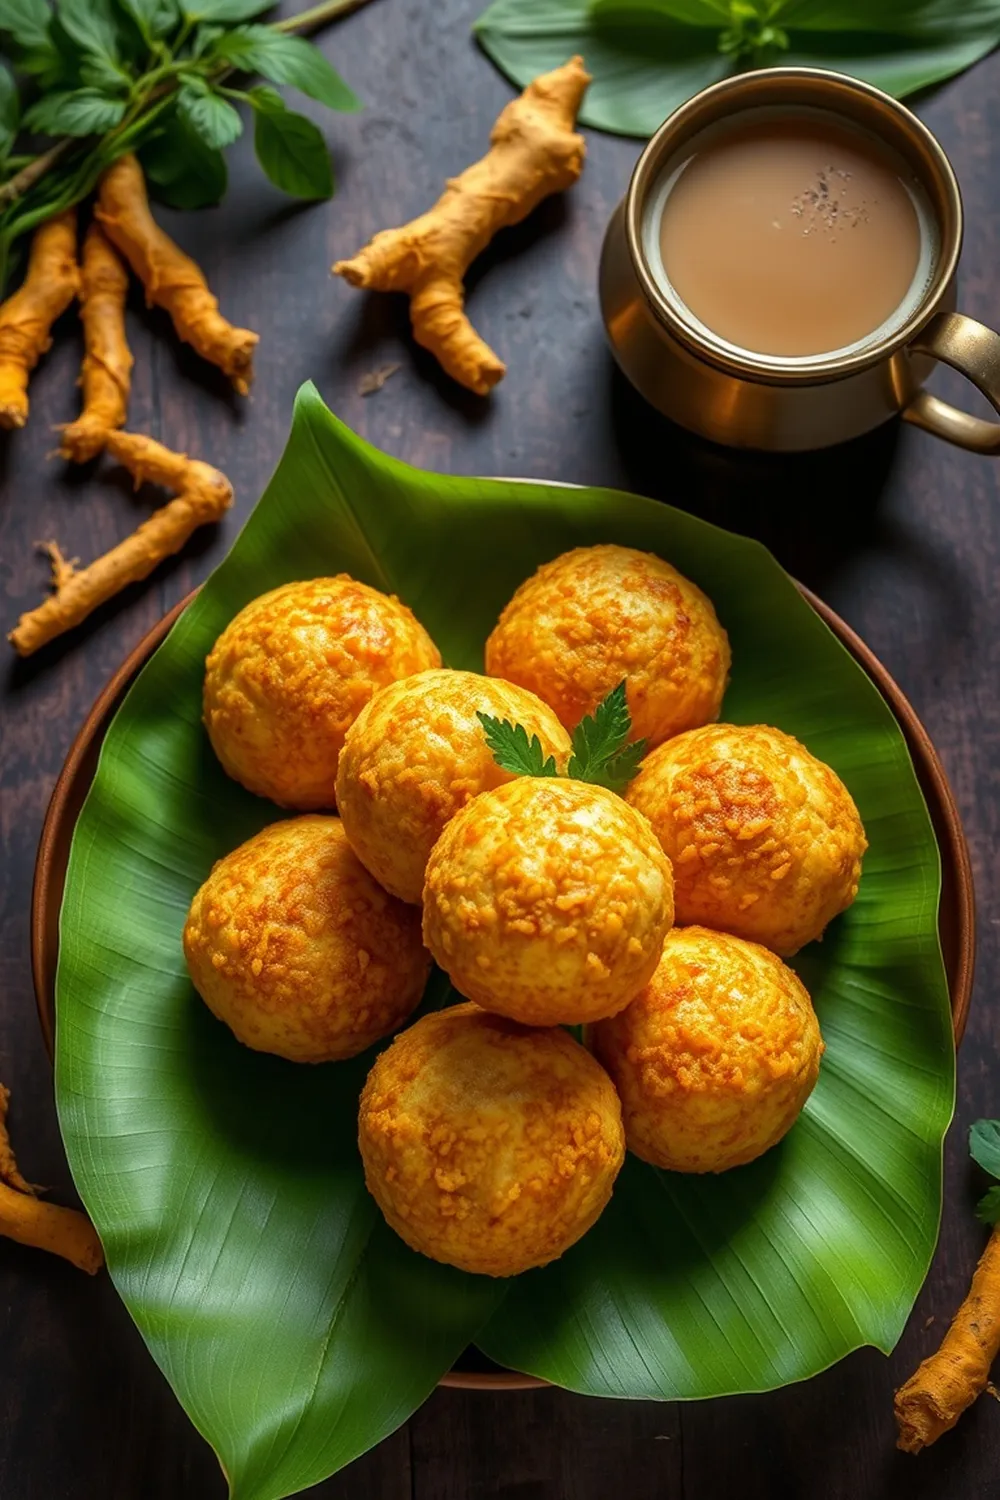
Authentic Vegetable Bonda Recipe – Crispy Indian Snack with Ginger & Curry Leaves
Hey everyone! If you’ve ever wandered through the bustling streets of India, you’ve probably been tempted by the aroma of freshly fried bondas. These little golden spheres of goodness are a classic snack, and honestly, they’re one of my all-time favorites. I first made these with my grandmother, and the memory of her patiently guiding me through each step is something I cherish. Today, I’m sharing her recipe with you – a truly authentic vegetable bonda recipe that’s crispy, flavorful, and surprisingly easy to make!
Why You’ll Love This Recipe
These aren’t just any fried snacks. Vegetable bondas are packed with flavor from ginger, curry leaves, and a hint of spice. They’re wonderfully crispy on the outside and soft and fluffy on the inside. Plus, they’re perfect for a rainy afternoon with a cup of chai, a festive gathering, or just when you need a little something to brighten your day. Trust me, once you try these, you’ll be hooked!
Ingredients
Here’s what you’ll need to create these delightful bondas:
- 1 ½ cups All-purpose flour / Maida (about 190g)
- ¼ cup Rice flour (about 30g)
- 1 teaspoon Salt (about 6g)
- ¼ teaspoon Asafoetida / Hing (about 1g)
- 1 teaspoon Crushed Pepper (about 5g)
- 1 tablespoon finely minced Ginger (from a 1-inch piece, about 8g)
- 2 sprigs Curry leaves (finely chopped, about 10g)
- ¼ cup chopped Coriander leaves (about 10g)
- 2 Green Chillies (finely minced, adjust to taste)
- 1 tablespoon Sugar (about 12g)
- 1 ½ – 2 cups Yogurt (about 360-480ml, plain, full-fat is best)
- ¼ teaspoon Baking Soda (about 1g)
- Oil for deep frying
Ingredient Notes
Let’s talk ingredients for a sec! A few things make this recipe special.
- Asafoetida (Hing): Don’t skip this! It adds a unique savory depth that’s essential to the bonda flavor. It can be a little strong, so a little goes a long way. If you’re not familiar, it smells…interesting, but trust me, it transforms when cooked.
- Flour Blend: The combination of all-purpose flour and rice flour is key. The all-purpose flour gives structure, while the rice flour adds that lovely crispness. You can experiment with a little more rice flour if you prefer an extra-crispy bonda.
- Yogurt: Use a good quality, thick yogurt. It’s what makes the batter light and fluffy. If your yogurt is too thin, the bondas might not puff up properly.
Step-By-Step Instructions
Alright, let’s get cooking!
- First, in a nice big mixing bowl, combine the all-purpose flour, rice flour, salt, asafoetida, and crushed pepper. Give it a good whisk to make sure everything is evenly distributed.
- Now, add in the minced ginger, chopped curry leaves, coriander leaves, green chilies, and sugar. Mix it all up really well – you want those flavors to get acquainted!
- Time for the yogurt. Add it gradually, mixing as you go, until you have a thick, smooth batter. Don’t be afraid to use your hands towards the end to really get everything incorporated. Once it’s smooth, give it a good beat for about 2 minutes. Then, cover it and let it rest for 30-60 minutes. This resting period is important – it allows the flavors to meld and the batter to develop.
- Just before you’re ready to fry, mix in the baking soda. This is what gives the bondas their puffiness, so don’t skip this step!
- Heat up your oil in a kadai or deep frying pan. You’ll want about 2-3 inches of oil. To test if it’s hot enough, drop a tiny bit of batter into the oil – it should float immediately and sizzle.
- Carefully drop spoonfuls of batter into the hot oil. Don’t overcrowd the pan – fry in batches. Use a fork to gently turn the bondas as they fry, ensuring they cook evenly and turn golden brown on all sides. This usually takes about 3-4 minutes per batch.
- Once they’re beautifully golden and crispy, remove the bondas with a slotted spoon and drain them on paper towels.
Serve immediately while they’re still warm and crispy!
Expert Tips
- Oil Temperature is Key: Maintaining the right oil temperature is crucial. Too cold, and the bondas will absorb too much oil. Too hot, and they’ll burn on the outside before cooking through.
- Don’t Overmix: Once you add the baking soda, mix gently. Overmixing can deflate the batter.
- Batch Fry: Frying in batches prevents the oil temperature from dropping too much.
Variations
Want to switch things up? Here are a few ideas:
- Spice Level: Adjust the amount of green chilies to control the heat. My friend Priya likes to add a pinch of red chili powder for an extra kick! (Mild: 1 green chili, Medium: 2 green chilies, Hot: 3+ green chilies)
- Gluten-Free Adaptation: Swap the all-purpose flour for besan (gram flour) for a gluten-free version. You might need to add a little extra water to get the right consistency.
- Festival Adaptations: These are especially popular during Diwali and Ganesh Chaturthi. During Ganesh Chaturthi, some families add small pieces of potato or onion to the batter.
Serving Suggestions
These bondas are fantastic on their own, but they’re even better with a side of:
- Mint-Coriander Chutney
- Tomato Ketchup (a classic!)
- A hot cup of Masala Chai
Storage Instructions
Bondas are best enjoyed fresh, but if you have leftovers, you can store them in an airtight container at room temperature for a day. They will lose some of their crispness, but you can reheat them in a preheated oven at 350°F (175°C) for a few minutes to crisp them up.
FAQs
Let’s answer some common questions:
- What is the best oil for frying bondas? Groundnut oil (peanut oil) or vegetable oil are both good choices. They have a high smoke point and a neutral flavor.
- Can I make the batter ahead of time? Yes, you can make the batter up to a day in advance. Just store it in the refrigerator and add the baking soda right before frying.
- How do I get the bondas extra crispy? Using rice flour in the batter and maintaining the correct oil temperature are key.
- What is asafoetida and can I substitute it? Asafoetida (hing) is a resin with a pungent aroma. It adds a unique savory flavor. If you can’t find it, you can try substituting with a pinch of garlic powder, but it won’t be quite the same.
- Can I add other vegetables to the bonda batter? Absolutely! Finely chopped potatoes, onions, or peas are all great additions. Just make sure they’re well-drained before adding them to the batter.
Enjoy making these delicious bondas! I hope this recipe brings a little bit of Indian sunshine into your kitchen. Let me know how they turn out in the comments below!


Neha Deshmukh
Neha holds a B.A. in History with a focus on Indian and world history, including ancient, medieval, and modern periods. At RecipesOfIndia.org — the world’s largest database of Indian recipes — she combines her love for food and history by exploring how India’s past has shaped its culinary traditions.


