- Combine wheat flour and salt in a mixing bowl. Add oil and mix thoroughly.
- Gradually add water while kneading to form a soft, pliable dough.
- Lightly coat the dough with oil and knead briefly. Cover with a clean cloth and let rest for at least 15 minutes.
- Divide the dough into equal-sized balls. On a lightly floured surface, roll each ball into a thin, round disc.
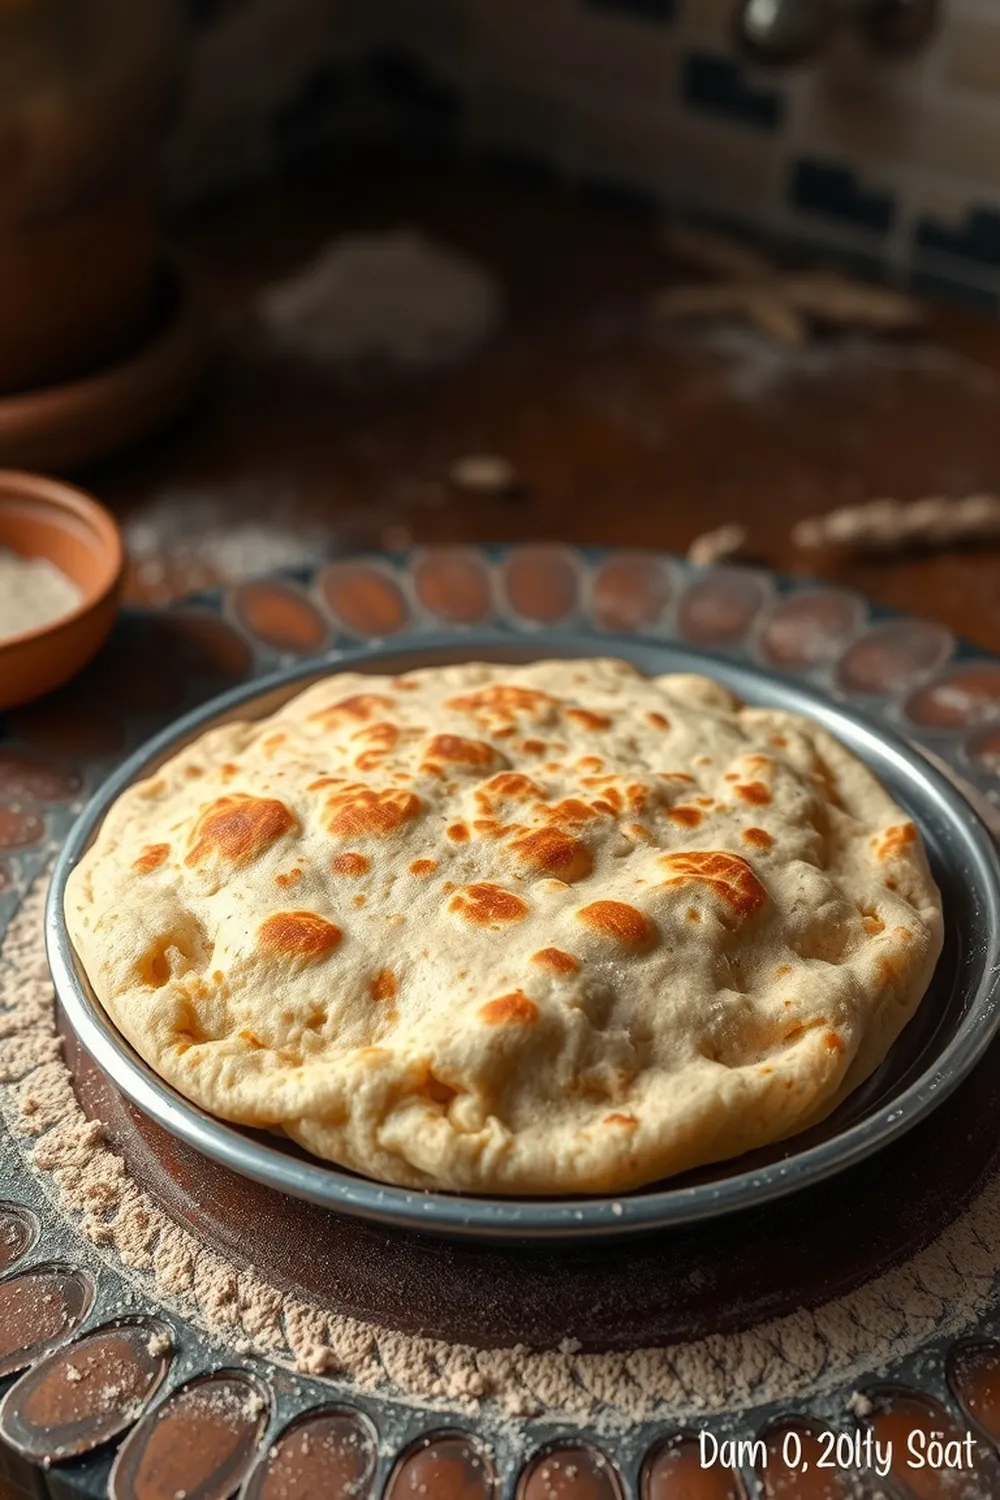
- Heat a tawa (griddle) over medium-high heat. Cook the roti for approximately 30-60 seconds, until small bubbles begin to form.
- Flip and cook the other side for 30-60 seconds. Using tongs, carefully hold the roti directly over an open flame until it puffs up completely.
- Repeat with the remaining dough. Serve warm with curries or vegetables.
- Calories:346 kcal25%
- Energy:1447 kJ22%
- Protein:9.8 g28%
- Carbohydrates:72 mg40%
- Sugar:mg8%
- Salt:150 g25%
- Fat:1.1 g20%
Last Updated on 4 months by Neha Deshmukh
Authentic Wheat Roti Recipe – Soft & Puffy Indian Flatbread
Hey everyone! If you’ve ever craved that warm, comforting taste of freshly made roti, you’re in the right place. This recipe is super close to my heart – I remember learning to make roti with my nani (grandmother) when I was little, and it’s a skill I cherish. It took a few tries (and a lot of slightly misshapen rotis!), but now I can whip up a batch in no time. And trust me, once you get the hang of it, you will too! Let’s dive in and make some seriously delicious, soft, and puffy rotis.
Why You’ll Love This Recipe
This isn’t just a roti recipe, it’s the roti recipe you’ll reach for again and again. It’s simple, uses everyday ingredients, and delivers consistently amazing results. Plus, there’s something incredibly satisfying about making your own flatbread from scratch. It’s a little bit of love baked into every bite! It’s perfect with a simple dal, a flavorful vegetable curry, or even just a dollop of yogurt.
Ingredients
Here’s what you’ll need to make about 4 rotis:
- 2 cups (approximately 250g) wheat flour (atta)
- To taste salt (about ½ teaspoon)
- 2 tablespoons oil (any neutral oil works well)
- 1 glass (approximately 240ml) water
Ingredient Notes
Let’s talk ingredients for a sec, because a few little things can make a big difference!
Wheat Flour Varieties: Exploring Different Types of Atta
There are so many types of atta available! I usually use whole wheat atta for the most authentic flavor and nutritional value. You can find different brands at Indian grocery stores, or even online. Each brand has a slightly different texture, so you might need to adjust the water slightly.
The Role of Oil: Choosing the Right Oil for Roti
Any neutral-flavored oil will work – sunflower, canola, or vegetable oil are all great choices. Some people even like to use a little ghee (clarified butter) for extra flavor, but oil is perfectly fine.
Water Temperature: Impact on Dough Softness
Using lukewarm water helps to create a softer dough. It doesn’t need to be hot, just slightly warmer than room temperature.
Salt: Enhancing Flavor & Dough Structure
Don’t skip the salt! It really enhances the flavor of the roti and also helps to develop the gluten, giving the roti its structure.
Step-By-Step Instructions
Alright, let’s get cooking!
- First, in a large mixing bowl, combine the wheat flour and salt. Give it a good mix.
- Now, add the oil and rub it into the flour with your fingertips. This helps to create a flaky texture.
- Gradually add the water, a little at a time, while kneading the dough. Keep kneading until it comes together into a soft, pliable dough. It should be smooth and not sticky.
- Once the dough is formed, coat it lightly with a little more oil. This prevents it from drying out.
- Knead it again for a minute or two, then cover the bowl with a clean, damp cloth and let it rest for at least 15 minutes. This allows the gluten to relax, making the roti softer.
- After resting, divide the dough into equal-sized balls (about the size of a golf ball).
- On a lightly floured surface, roll each ball into a thin, round disc. Try to keep it as circular as possible, but don’t worry if it’s not perfect!
- Heat a tawa (griddle) or a flat frying pan over medium heat.
- Place the rolled roti on the hot tawa and cook for about 30 seconds, until small bubbles start to form.
- Flip the roti and cook the other side for another 30 seconds.
- Now, here’s the trick! Using tongs, carefully hold the roti directly over an open flame (gas stove) for a few seconds. It should puff up beautifully. If you don’t have a gas stove, see the FAQs section below.
- Repeat with the remaining dough. Serve warm!
Expert Tips
Want to take your roti game to the next level? Here are a few tips I’ve learned over the years:
Achieving the Perfect Dough Consistency
The dough should be soft and pliable, but not sticky. If it’s too sticky, add a little more flour. If it’s too dry, add a little more water.
Mastering the Rolling Technique for Thin Rotis
Practice makes perfect! Start by pressing the dough into a flat disc, then use a rolling pin to roll it out evenly. If the roti sticks to the surface, add a little more flour.
Understanding Heat Levels for Optimal Puffing
The tawa should be hot enough to cook the roti quickly, but not so hot that it burns. Medium heat is usually ideal.
Troubleshooting: What to Do If Your Roti Doesn’t Puff
If your roti doesn’t puff up, it could be because the dough wasn’t kneaded enough, the heat isn’t high enough, or you didn’t hold it over the flame long enough. Don’t worry, it happens! Just keep practicing.
Variations
Roti is a blank canvas for flavor! Here are a few ideas to spice things up:
Whole Wheat vs. Refined Flour Roti
I always prefer whole wheat, but you can use refined flour (maida) for a softer, more delicate roti.
Vegan Roti Adaptation
This recipe is already naturally vegan! Just make sure your oil doesn’t contain any animal products.
Spice Level: Adding Chili Flakes or Green Chilies
Add a pinch of chili flakes or some finely chopped green chilies to the dough for a little heat. My friend loves adding a dash of turmeric too!
Festival Adaptations: Roti for Diwali or Holi
During festivals, some families like to add a little bit of saffron or cardamom to the dough for a special touch.
Gluten-Free Roti (Using Alternative Flours)
You can experiment with gluten-free flours like rice flour or sorghum flour, but the texture will be different.
Serving Suggestions
Roti is incredibly versatile. Here are a few of my favorite ways to serve it:
- With dal (lentil soup)
- With vegetable curry (aloo gobi, palak paneer, etc.)
- With yogurt and a sprinkle of cumin
- Simply with a dollop of ghee and a pinch of salt
Storage Instructions
Leftover roti can be stored in an airtight container at room temperature for up to 2 days, or in the refrigerator for up to 5 days.
FAQs
Let’s answer some common questions!
What type of wheat flour is best for making roti?
Whole wheat atta is the most traditional and nutritious choice.
How do I know when the roti dough is kneaded enough?
The dough should be smooth, pliable, and not sticky. It should spring back when you poke it.
Why is my roti tough and not soft?
It could be because the dough wasn’t kneaded enough, it wasn’t rested long enough, or you used too much flour.
Can I make roti ahead of time and store it?
Yes, you can make the dough ahead of time and store it in the refrigerator for up to 2 days.
What is the best way to reheat roti to maintain its softness?
Sprinkle a little water on the roti and heat it on a tawa or in a microwave for a few seconds.
How can I get roti to puff up if I don’t have a gas stove?
You can try pressing down on the roti with a clean, dry cloth while it’s cooking on the tawa. This can help to create steam and encourage it to puff up. Alternatively, you can briefly hold it under a broiler.


Neha Deshmukh
Neha holds a B.A. in History with a focus on Indian and world history, including ancient, medieval, and modern periods. At RecipesOfIndia.org — the world’s largest database of Indian recipes — she combines her love for food and history by exploring how India’s past has shaped its culinary traditions.


