- Heat a pan with a drop of ghee. Roast basmati rice until lightly golden and aromatic.
- Cool roasted rice completely and pulse briefly in a mixer grinder – do not overgrind; it should be a coarse powder.
- Pour milk into a heavy-bottomed pan or pressure cooker. Add the pulsed rice and a clean spoon to prevent sticking.
- Cover and cook on medium heat. For pressure cooker: After 5 minutes, add the weight and reduce the flame to low after the first whistle. Simmer for 30 minutes.
- After the pressure releases naturally, stir in sugar and saffron strands.
- Simmer in a regular pan until reduced to about 3/4 of the original volume (optional: add 4-5 tablespoons of condensed milk per 1 liter of milk).
- Serve hot or chilled, as preferred.
- Calories:280 kcal25%
- Energy:1171 kJ22%
- Protein:7 g28%
- Carbohydrates:45 mg40%
- Sugar:30 mg8%
- Salt:90 g25%
- Fat:8 g20%
Last Updated on 4 months by Neha Deshmukh
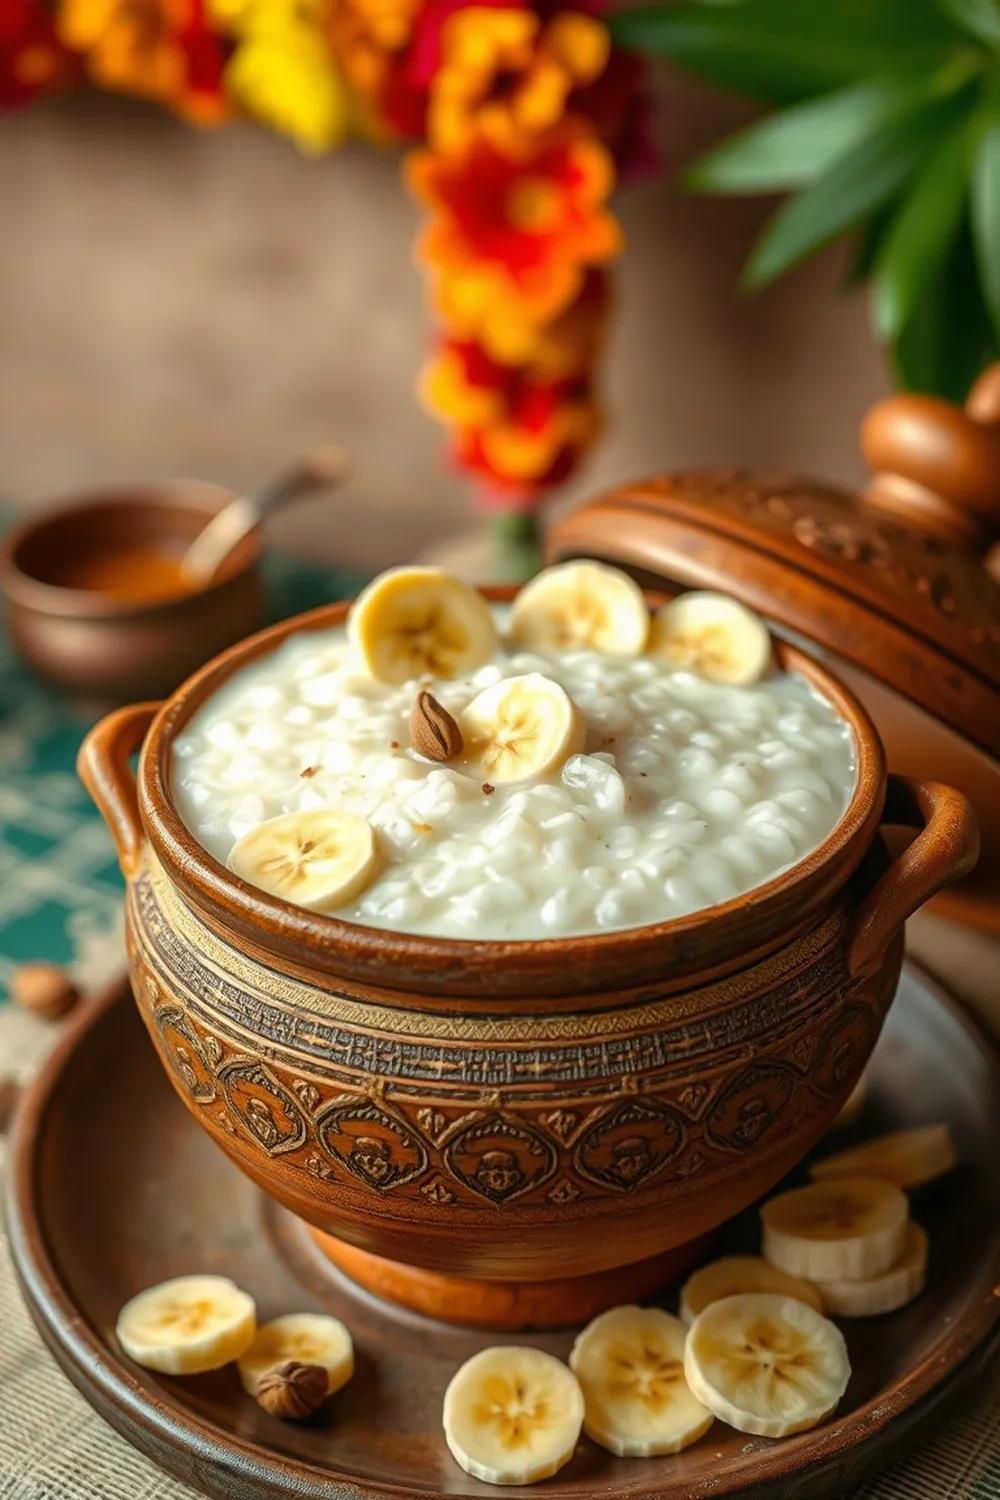
Basmati Rice Kheer Recipe – Authentic Indian Saffron Milk Pudding
Introduction
Kheer. Just the word evokes such warm, comforting memories, doesn’t it? It’s the dessert I grew up with, always present at celebrations, festivals, or just a cozy family dinner. This Basmati Rice Kheer is my go-to recipe – it’s incredibly simple, yet delivers that classic, creamy, and fragrant Indian milk pudding experience. I first made this on my own when I moved away from home, and honestly, it instantly made my little apartment feel a little more like home. I’m so excited to share it with you!
Why You’ll Love This Recipe
This isn’t just any kheer recipe. We’re using basmati rice, which lends a beautiful aroma and delicate texture. The saffron adds a touch of luxury and that gorgeous golden hue. Plus, it’s surprisingly easy to make, even if you’ve never attempted Indian desserts before. It’s perfect for a special occasion or when you just need a little something sweet to brighten your day.
Ingredients
Here’s what you’ll need to create this delightful kheer:
- 1 litre milk
- 3 tbsp basmati rice
- 4-5 tbsp sugar (adjust to taste)
- Few strands saffron
- 1 drop ghee
Ingredient Notes
Let’s talk ingredients – a few little tips can make all the difference!
Basmati Rice: Choosing the Right Grain
Using good quality basmati rice is key. Look for long-grain basmati; it cooks up fluffier and gives the kheer a lovely texture. About 45-50 grams of rice is what 3 tablespoons roughly translates to.
Milk: Full Fat vs. Toned Milk – What’s Best for Kheer?
Full-fat milk definitely gives the richest, creamiest kheer. However, toned milk works too – it just won’t be quite as decadent. If you’re watching your fat intake, toned milk is a perfectly good option.
Saffron: The Queen of Spices – Quality and Usage
Saffron is expensive, I know! But a little goes a long way. Look for vibrant red strands – that’s a sign of good quality. Soaking the saffron in a tablespoon of warm milk for about 15-20 minutes before adding it to the kheer helps release its flavour and colour.
Ghee: The Traditional Fat – Alternatives if Needed
Ghee adds a beautiful nutty flavour. If you don’t have ghee, you can use a teaspoon of butter or even a neutral oil, but ghee really is the traditional choice.
Sugar: Adjusting Sweetness to Your Preference
I like my kheer moderately sweet, but feel free to adjust the sugar to your liking. Start with 4 tablespoons and add more if needed.
Step-By-Step Instructions
Alright, let’s get cooking!
- First, heat a pan with a tiny drop of ghee. Add the basmati rice and roast it on medium heat for a few minutes, until it smells wonderfully fragrant. This step is important – it enhances the flavour of the kheer.
- Let the roasted rice cool completely. Then, pulse it once in a mixer grinder – we don’t want a fine powder, just a slightly broken-down texture.
- Pour the milk into a heavy-bottomed pan or pressure cooker. Add the pulsed rice and a clean spoon (this prevents the milk from sticking to the bottom).
- Now, the cooking begins! If you’re using a regular pan, cook on medium heat, stirring frequently, until the rice is cooked and the kheer has thickened. If you’re using a pressure cooker, cover and cook for 5 minutes. After the first whistle, reduce the flame to low and simmer for another 30 minutes.
- Once the pressure has released naturally (don’t force it!), stir in the sugar and the saffron strands (and the milk they’ve been soaking in, if you soaked them).
- If you’re using a regular pan, continue to simmer until the kheer has reduced to about ¾ of its original volume. At this point, you can add 4-5 tablespoons of condensed milk for extra richness, if you like.
- Serve hot or chilled – it’s delicious either way!
Expert Tips
Here are a few things I’ve learned over the years to make the perfect kheer:
Achieving the Perfect Kheer Consistency
The key is patience! Kheer needs to be cooked slowly to allow the rice to release its starch and create that creamy texture.
Preventing Kheer from Sticking & Burning
Stirring frequently, especially in the beginning, is crucial. Using a heavy-bottomed pan also helps distribute the heat evenly. And remember that spoon we added with the rice? It really does help!
The Importance of Slow Cooking
Slow cooking allows the flavours to meld together beautifully. Don’t rush it!
Using a Pressure Cooker vs. Traditional Pan Method
A pressure cooker is a huge time-saver, but the traditional pan method allows for more control over the consistency. Both work great – choose whichever suits your schedule and preference.
Variations
Want to switch things up? Here are a few ideas:
Vegan Kheer (Using Plant-Based Milk)
My friend, who’s vegan, swears by using cashew milk or almond milk for a delicious vegan kheer. It’s surprisingly good!
Gluten-Free Kheer (Naturally Gluten-Free)
Good news! This recipe is naturally gluten-free.
Spice Level: Adding Cardamom or Nutmeg
A pinch of cardamom or nutmeg adds a lovely warmth and complexity to the flavour.
Festival Adaptations: Kheer for Diwali, Holi, or Weddings
For Diwali, I love adding chopped nuts like almonds and pistachios. For weddings, a generous sprinkle of rose petals makes it extra special.
Serving Suggestions
Kheer is wonderful on its own, but it’s also lovely served with a side of fruit or a sprinkle of chopped nuts. A tiny dusting of cardamom powder on top is always a nice touch.
Storage Instructions
Kheer will keep in the refrigerator for up to 3 days. It might thicken as it cools, so just add a splash of milk when reheating.
FAQs
Let’s answer some common questions:
What is the best type of rice to use for Kheer?
Basmati rice is the best! Its aroma and texture are perfect for kheer.
Can I make Kheer ahead of time? How long will it keep?
Yes, you can! Kheer will keep in the refrigerator for up to 3 days.
How do I prevent a skin from forming on top of the Kheer?
Place a piece of cling film directly on the surface of the kheer while it’s cooling. This will prevent a skin from forming.
What if I don’t have saffron? Can I substitute it?
While saffron is traditional, you can use a pinch of turmeric for colour, but it won’t have the same flavour.
Can I use condensed milk to make Kheer faster? What adjustments should I make?
Yes, you can! Reduce the amount of sugar you add, as condensed milk is already sweet. Start with 2-3 tablespoons of sugar and adjust to taste.


Neha Deshmukh
Neha holds a B.A. in History with a focus on Indian and world history, including ancient, medieval, and modern periods. At RecipesOfIndia.org — the world’s largest database of Indian recipes — she combines her love for food and history by exploring how India’s past has shaped its culinary traditions.