- In a large bowl, combine the yogurt, shredded beets, green chilies, salt, and ground cumin. Mix well until all ingredients are evenly incorporated.
- Heat ghee or oil in a small pan over medium heat. Add cumin seeds and sauté until they sizzle and become aromatic.
- Add chopped cilantro and hing to the pan. Stir quickly for 2-3 seconds to release flavors, then remove from heat.
- Pour half of the tempered spice mixture (vaghar) into the raita and mix thoroughly. Reserve the remaining vaghar for garnishing before serving.
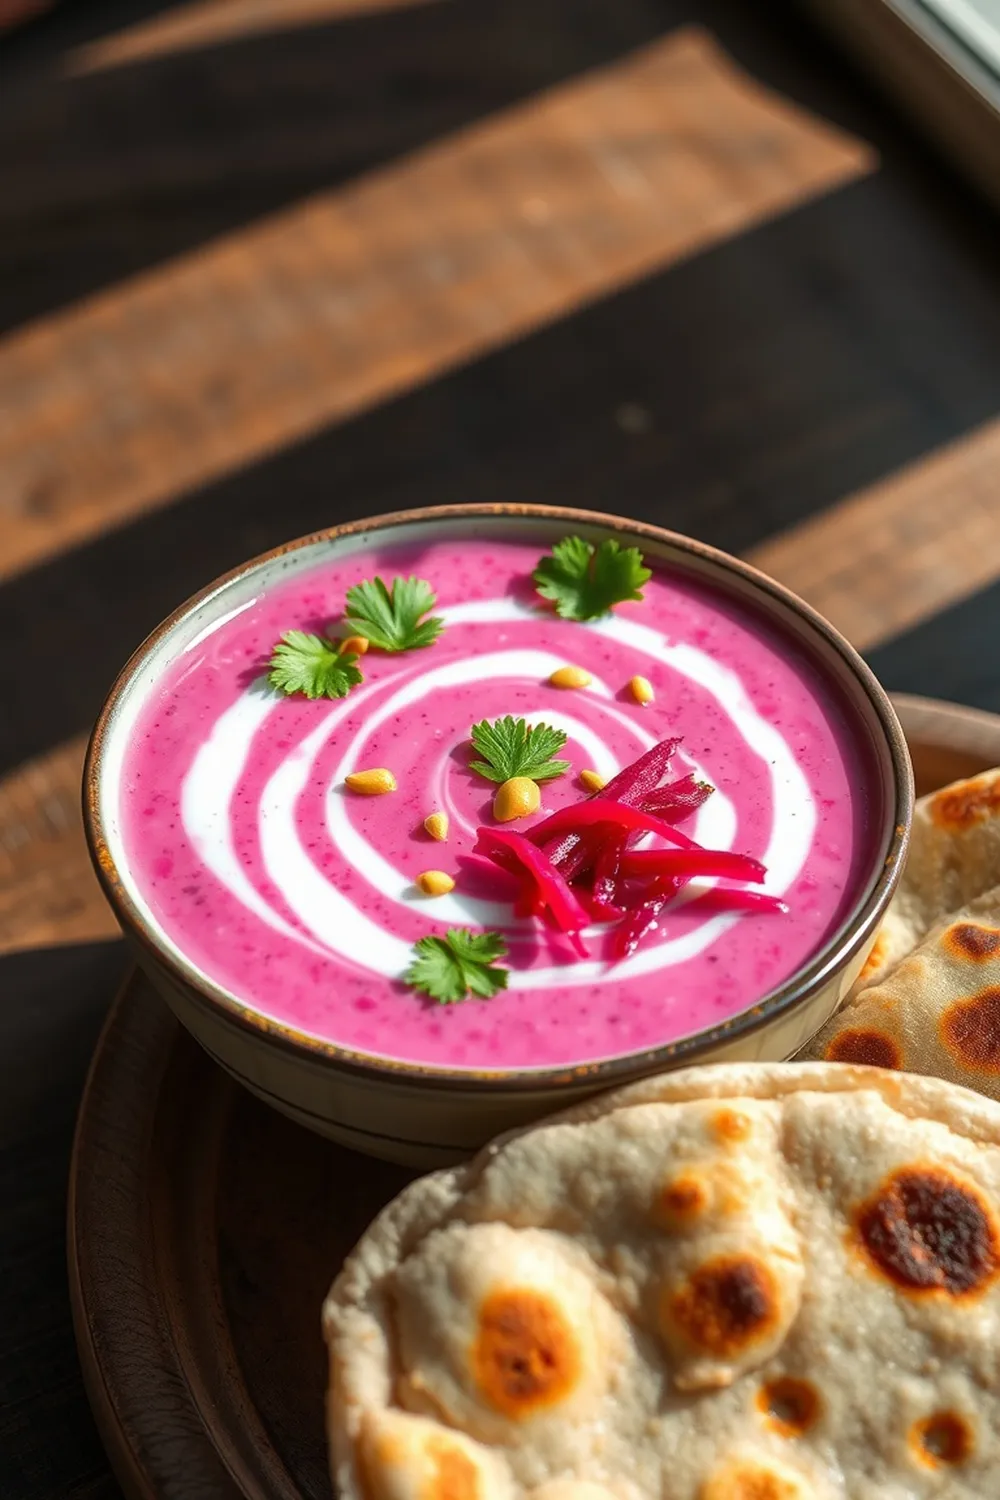
- Chill raita for 30 minutes before serving. Drizzle reserved vaghar on top for visual appeal and extra flavor.
- Calories:48 kcal25%
- Energy:200 kJ22%
- Protein:6 g28%
- Carbohydrates:6 mg40%
- Sugar:4 mg8%
- Salt:355 g25%
- Fat:0.3 g20%
Last Updated on 3 months by Neha Deshmukh
Beet Raita Recipe – Authentic Indian Yogurt Dip with Cumin & Chillies
Hey everyone! If you’re looking for a vibrant, refreshing side dish that’s packed with flavour, you absolutely have to try this Beet Raita. It’s a beautiful rosy pink, wonderfully cooling, and honestly, it’s just a little bit different from your usual raita – in the best way possible! I first made this for a summer barbecue, and it was a total hit. It’s become a regular in my kitchen ever since.
Why You’ll Love This Recipe
This Beet Raita isn’t just pretty to look at; it’s a flavour explosion! The earthy sweetness of the beets pairs beautifully with the tangy yogurt and the warm, aromatic spices. It’s incredibly easy to make, requires minimal cooking, and is perfect for cooling down on a hot day. Plus, it’s a fantastic way to add a little extra goodness to your meal.
Ingredients
Here’s what you’ll need to whip up a batch of this delicious raita:
- 2 cups thick yogurt (Greek style, or strained)
- 2 cups shredded beets
- 1 green chilli
- 1 tsp salt
- 0.25 tsp cumin (toasted and ground)
- 1 Tbsp ghee or neutral oil
- 1 tsp cumin seeds
- 3 Tbsp chopped cilantro
- 1 pinch of hing (asafoetida)
Ingredient Notes
Let’s talk ingredients for a sec, because a few things can really make this raita sing!
- Hing (Asafoetida): Don’t skip this! It adds a really unique, savoury depth. It smells…interesting on its own, but trust me, when it’s tempered in ghee, it’s magic. You can find it at Indian grocery stores or online. A little goes a long way.
- Yogurt Choice: I prefer using Greek yogurt (about 400g) because it’s super thick and creamy. If you’re using traditional dahi, make sure to strain it through a muslin cloth for a few hours to remove excess water. This will give you that perfect, thick consistency.
- Chili Heat: Green chilies vary so much in heat! I usually use a medium-sized green chili, but if you like things spicy, feel free to add more, or use a hotter variety. My friend, Priya, always adds a Serrano pepper for a real kick!
- Toasted Cumin: Toasting the cumin seeds before grinding them is a game-changer. It really brings out their flavour. Just dry roast them in a pan for a couple of minutes until fragrant. (About 5-7 grams of cumin seeds).
Step-By-Step Instructions
Alright, let’s get cooking! It’s seriously simple.
- In a large bowl, combine the yogurt, shredded beets, green chilli, salt, and ground cumin. Mix well until everything is evenly incorporated. Give it a good stir – you want that beautiful pink colour to be consistent throughout.
- Now, let’s make the vaghar (tempering). Heat ghee or oil in a small pan over medium heat. Add the cumin seeds and sauté until they sizzle and become aromatic – this usually takes about 30 seconds.
- Add the chopped cilantro and hing to the pan. Stir quickly for 2-3 seconds to release the flavours, then immediately remove from the heat. You don’t want the hing to burn!
- Pour half of the tempered spice mixture (vaghar) into the raita and mix thoroughly. This is where the magic happens!
- Chill the raita for at least 30 minutes before serving. This allows the flavours to meld together. Drizzle the reserved vaghar on top for visual appeal and extra flavour just before serving.
Expert Tips
- For an extra smooth raita, you can blend a small portion of the beets before adding them to the yogurt.
- Don’t overcook the hing in the tempering – it can become bitter.
- Taste and adjust the seasoning as needed. Everyone’s palate is different!
Variations
Want to switch things up? Here are a few ideas:
- Vegan Adaptation: Use a plant-based yogurt (like coconut or soy yogurt) for a vegan version. It works beautifully!
- Gluten-Free: This recipe is naturally gluten-free.
- Spice Level Adjustments: Add more or less green chili to control the heat. You could also add a pinch of red chili powder.
- Summer Cooling Recipe: Add a few mint leaves for an extra cooling effect.
- Festival Adaptations: This raita is fantastic during festivals like Holi or Navratri, where cooling foods are often preferred.
Serving Suggestions
Beet Raita is incredibly versatile! It’s amazing with:
- Spicy Indian curries
- Biryani or Pulao
- Grilled meats or vegetables
- As a dip with papadums or crackers
- Even on its own as a light snack!
Storage Instructions
You can store leftover Beet Raita in an airtight container in the refrigerator for up to 2 days. The colour might fade slightly over time, but it will still taste delicious.
FAQs
Let’s answer some common questions:
- What type of yogurt is best for Beet Raita? Thick yogurt, like Greek yogurt or strained dahi, is ideal. It gives the raita a lovely creamy texture.
- Can I make Beet Raita ahead of time? Yes, you can! It actually tastes better after it’s had a chance to chill and the flavours have melded.
- What is Hing and where can I find it? Hing (asafoetida) is a resin with a pungent aroma. You can find it at Indian grocery stores or online.
- How can I adjust the spice level of this raita? Simply add more or less green chili, or use a milder or hotter variety.
- Can I use pre-ground cumin seeds, or is toasting essential? While you can use pre-ground cumin, toasting the seeds really elevates the flavour. It’s worth the extra step!


Neha Deshmukh
Neha holds a B.A. in History with a focus on Indian and world history, including ancient, medieval, and modern periods. At RecipesOfIndia.org — the world’s largest database of Indian recipes — she combines her love for food and history by exploring how India’s past has shaped its culinary traditions.


