- Preheat your waffle iron to medium heat.
- Combine coconut milk, almond flour, tapioca flour, beet juice, and cacao powder in a blender. Blend until smooth.
- Pour batter into the preheated waffle iron. Sprinkle chocolate chips on top, if desired. Cook according to appliance instructions (typically 3-5 minutes, or until golden brown and crispy).
- Serve immediately for best texture. To store, cool waffles on a wire rack completely to preserve crispiness.
- For the chocolate sauce: Melt chocolate chips and coconut oil using a double boiler or in the microwave in 30-second intervals, stirring until smooth.
- Drizzle chocolate sauce over waffles and garnish with fresh fruit or powdered sugar, if desired.
- Calories:350 kcal25%
- Energy:1464 kJ22%
- Protein:8 g28%
- Carbohydrates:30 mg40%
- Sugar:10 mg8%
- Salt:150 g25%
- Fat:25 g20%
Last Updated on 6 months ago by Neha Deshmukh
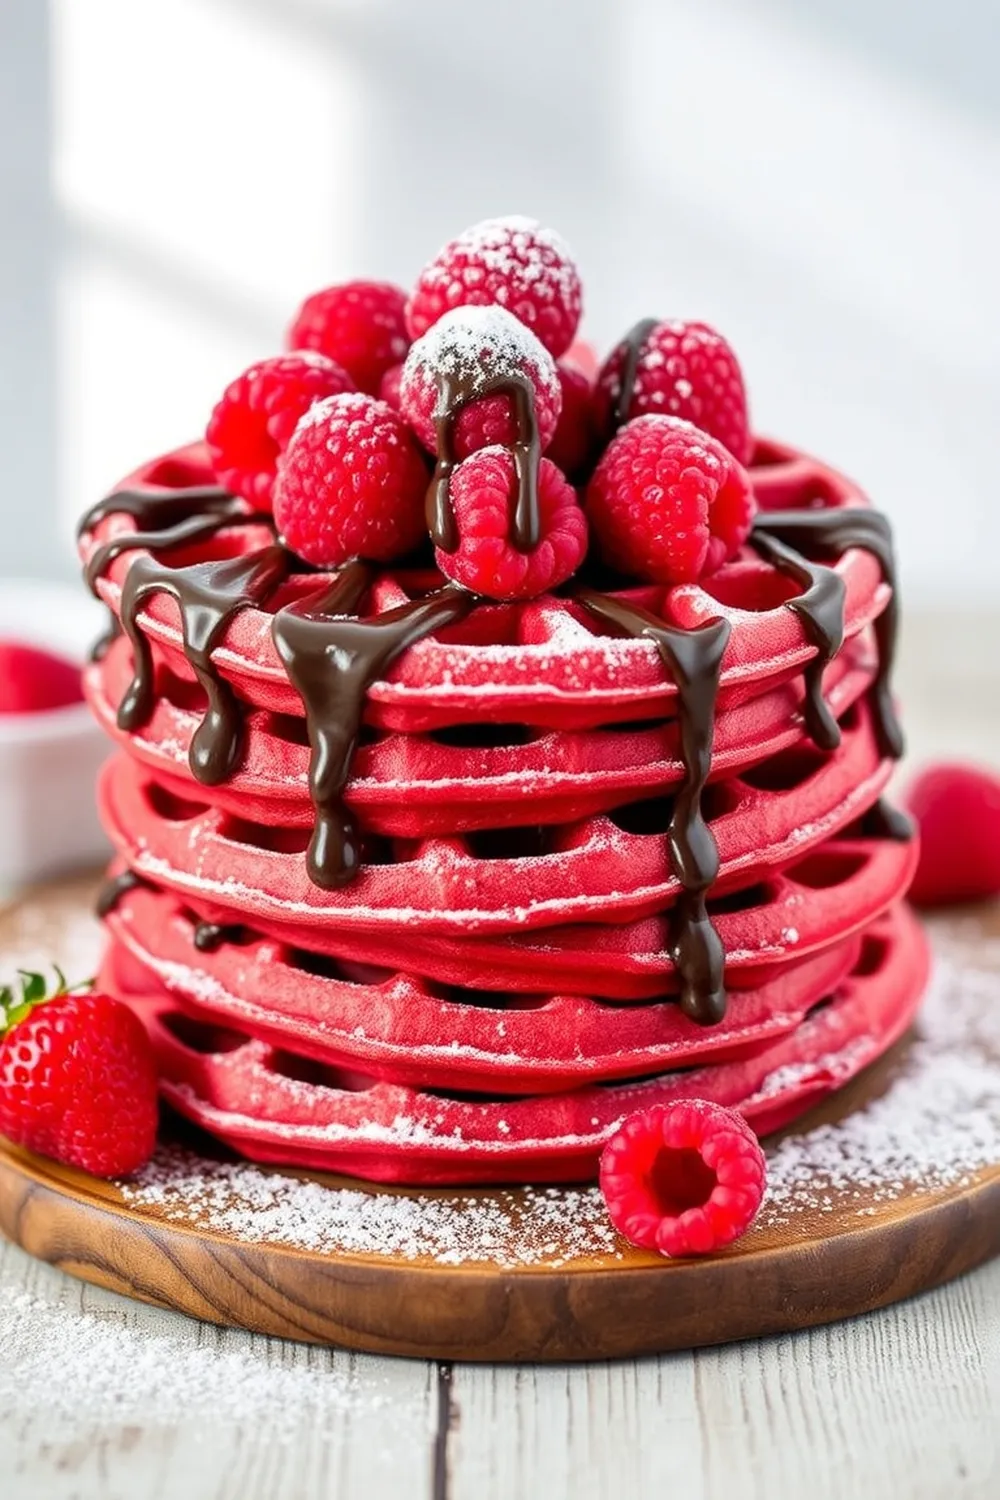
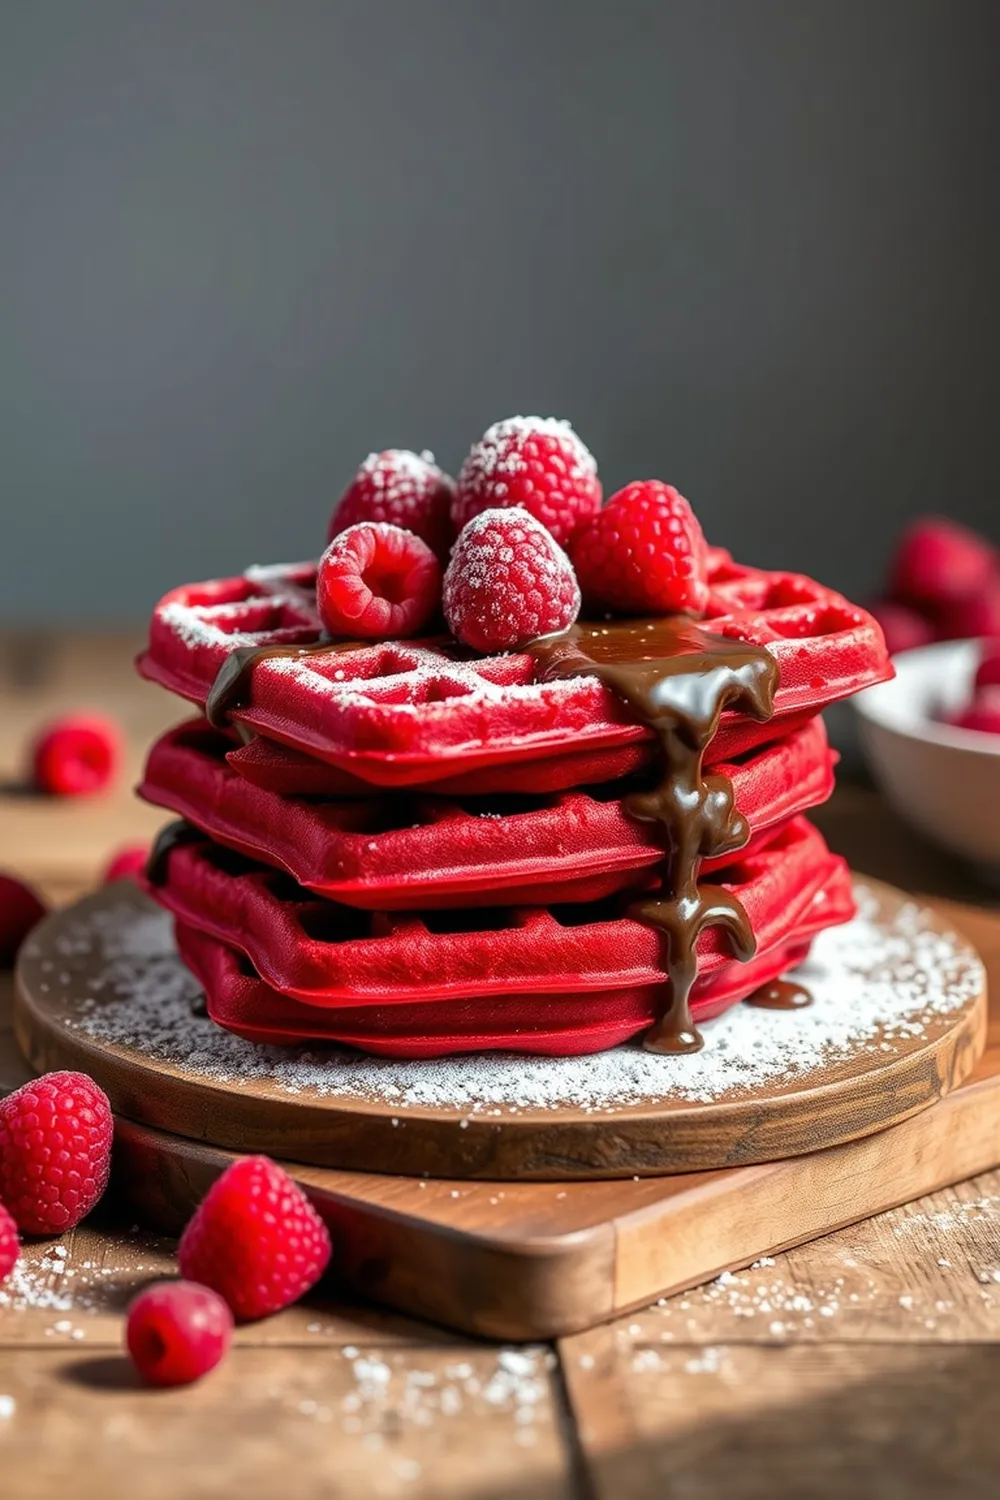
Beetroot Chocolate Waffles Recipe – Gluten-Free & Vegan Delight
Hey everyone! I’m so excited to share this recipe with you – it’s a little unusual, but trust me, these Beetroot Chocolate Waffles are amazing. I stumbled upon this combination a while back, trying to sneak more veggies into my breakfast (don’t tell my kids!), and it’s become a weekend staple. They’re fluffy, chocolatey, and you’d never guess there’s beetroot hiding inside! Plus, they’re naturally gluten-free and vegan, making them perfect for almost everyone.
Why You’ll Love This Recipe
These waffles aren’t just healthy; they’re seriously delicious. The beetroot adds a subtle sweetness and incredible moisture, while the cacao powder gives you that rich chocolate flavor we all crave. They’re surprisingly easy to make, and the vibrant color is just so fun! Honestly, they’re a great way to start the day, or even a special treat for a cozy night in.
Ingredients
Here’s what you’ll need to whip up a batch of these beauties:
- 1 cup full-fat coconut milk (about 240ml)
- ½ – ¾ cup almond flour (about 60-90g) – see notes below for details!
- ¼ cup tapioca flour (about 30g)
- 3 tablespoons beet juice (about 45ml)
- 2 tablespoons raw cacao powder (about 15g)
- Chocolate chips (optional, to taste)
- 2 tablespoons chocolate chips (for the sauce, about 15g)
- 1 tablespoon coconut oil (about 15ml)
Ingredient Notes
Let’s talk ingredients! Getting these right will make all the difference.
Coconut Milk: Choosing Full-Fat vs. Light
Full-fat coconut milk is key here. It provides the richness and moisture needed for fluffy waffles. Light coconut milk will work in a pinch, but your waffles might be a little less tender. I always reach for the canned full-fat variety.
Almond Flour: Blanched vs. Natural & Its Impact on Texture
You can use either blanched or natural almond flour. Blanched almond flour will give you a lighter, fluffier waffle. Natural almond flour (with the skin on) will result in a slightly denser, more rustic texture. I personally prefer blanched for these waffles, but either works!
Tapioca Flour: The Secret to Chewy Gluten-Free Waffles
Don’t skip the tapioca flour! It’s what gives these gluten-free waffles that lovely chewiness. It acts as a binder, mimicking the gluten you’d find in traditional waffles. You can find it in most health food stores or online.
Beet Juice: Benefits & Flavor Profile in Sweet Recipes
Beet juice adds a subtle sweetness and beautiful color. Don’t worry, you won’t taste the beetroot strongly! It just enhances the chocolate flavor. You can use pre-made beet juice, or juice your own beets.
Raw Cacao Powder: Difference Between Cacao & Cocoa
Raw cacao powder is less processed than regular cocoa powder, meaning it retains more of its nutrients and has a slightly more intense chocolate flavor. You can definitely use cocoa powder if that’s what you have on hand, but cacao powder really elevates the chocolate experience.
Step-By-Step Instructions
Alright, let’s get cooking!
- First, preheat your waffle iron to medium-high heat. This is important for getting those crispy edges.
- Now, into your blender goes the coconut milk, almond flour, tapioca flour, beet juice, and cacao powder. Blend it all up until it’s super smooth – no lumps allowed!
- Pour the batter into your preheated waffle iron. If you’re feeling fancy, sprinkle some chocolate chips on top.
- Cook according to your waffle iron’s instructions. Usually, it takes about 10-15 minutes to get them nice and crispy.
- While the waffles are cooking, let’s make the chocolate sauce. Melt the chocolate chips and coconut oil together using a double boiler or in the microwave, stirring until smooth and glossy.
- Once the waffles are golden brown and crispy, serve them immediately! Drizzle generously with the chocolate sauce and garnish with fresh fruit or a dusting of powdered sugar, if you like.
Expert Tips
- Don’t overmix the batter: Overmixing can develop the tapioca flour too much, resulting in tough waffles.
- Crispy waffles are the best waffles: For extra crispiness, cool the waffles on a wire rack after cooking. This allows air to circulate and prevents them from getting soggy.
Variations
- Berry Bliss: My daughter loves these with a handful of fresh raspberries or blueberries mixed into the batter.
- Nutty Delight: Add a tablespoon of almond butter to the batter for a richer, nuttier flavor.
- Spiced Waffles: A pinch of cinnamon or nutmeg adds a warm, cozy touch.
Vegan Adaptations (already vegan!)
Woohoo! This recipe is already 100% vegan, so no need for any substitutions.
Gluten-Free Considerations (already gluten-free!)
Yep, you guessed it – these waffles are naturally gluten-free thanks to the almond and tapioca flour.
Spice Level (Not Applicable)
These waffles are all about sweetness and chocolate, so no spice here!
Festival Adaptations (Valentine’s Day, Easter)
These are perfect for Valentine’s Day – the beetroot gives them a lovely pink hue! For Easter, you could add some pastel sprinkles or shape the waffles like bunnies (if you have a fun waffle iron!).
Adjusting Sweetness Levels
If you prefer a less sweet waffle, reduce the amount of chocolate chips in the sauce. You can also add a squeeze of lemon juice to the batter to balance the sweetness.
Serving Suggestions
These waffles are amazing with:
- Fresh fruit (berries, bananas, peaches)
- A dollop of vegan yogurt
- A sprinkle of chopped nuts
- A drizzle of maple syrup (if you want extra sweetness)
Storage Instructions
Leftover waffles can be stored in an airtight container in the refrigerator for up to 3 days. To reheat, pop them in the toaster or oven until crispy.
FAQs
Can I make the waffle batter ahead of time?
You can! Just store it in an airtight container in the refrigerator for up to 24 hours. You might need to add a splash of coconut milk to thin it out slightly before cooking.
What if I don’t have a waffle iron? Can I make these as pancakes?
Absolutely! Just cook the batter like regular pancakes on a lightly oiled griddle. They won’t have the same waffle texture, but they’ll still be delicious.
Can I use a different type of plant-based milk?
Yes, you can! Almond milk, soy milk, or oat milk will all work. Just keep in mind that the flavor and texture might vary slightly.
How can I make the waffles more chocolatey?
Add an extra tablespoon of cacao powder to the batter, or use dark chocolate chips in the sauce.
Is beetroot flavor noticeable in the final waffles?
Not really! The chocolate flavor is dominant, and the beetroot just adds a subtle sweetness and moisture.
What’s the best way to reheat leftover waffles?
The toaster or oven works best for reheating. This will help them regain their crispiness. Avoid the microwave, as it can make them soggy.
Neha Deshmukh
Neha holds a B.A. in History with a focus on Indian and world history, including ancient, medieval, and modern periods. At RecipesOfIndia.org — the world’s largest database of Indian recipes — she combines her love for food and history by exploring how India’s past has shaped its culinary traditions.