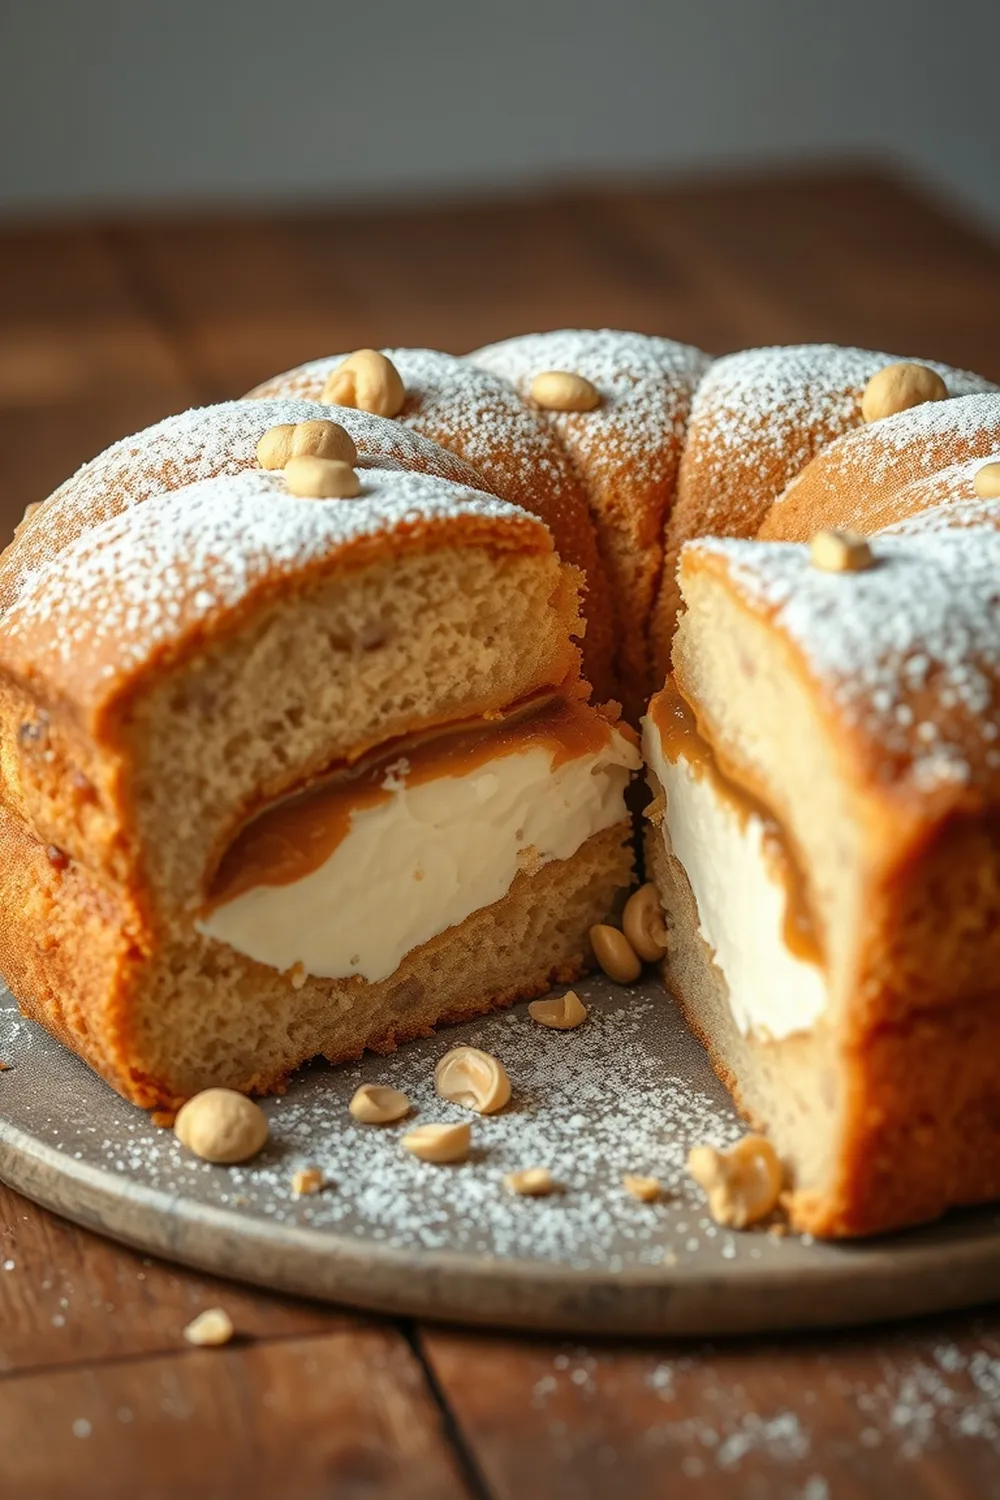
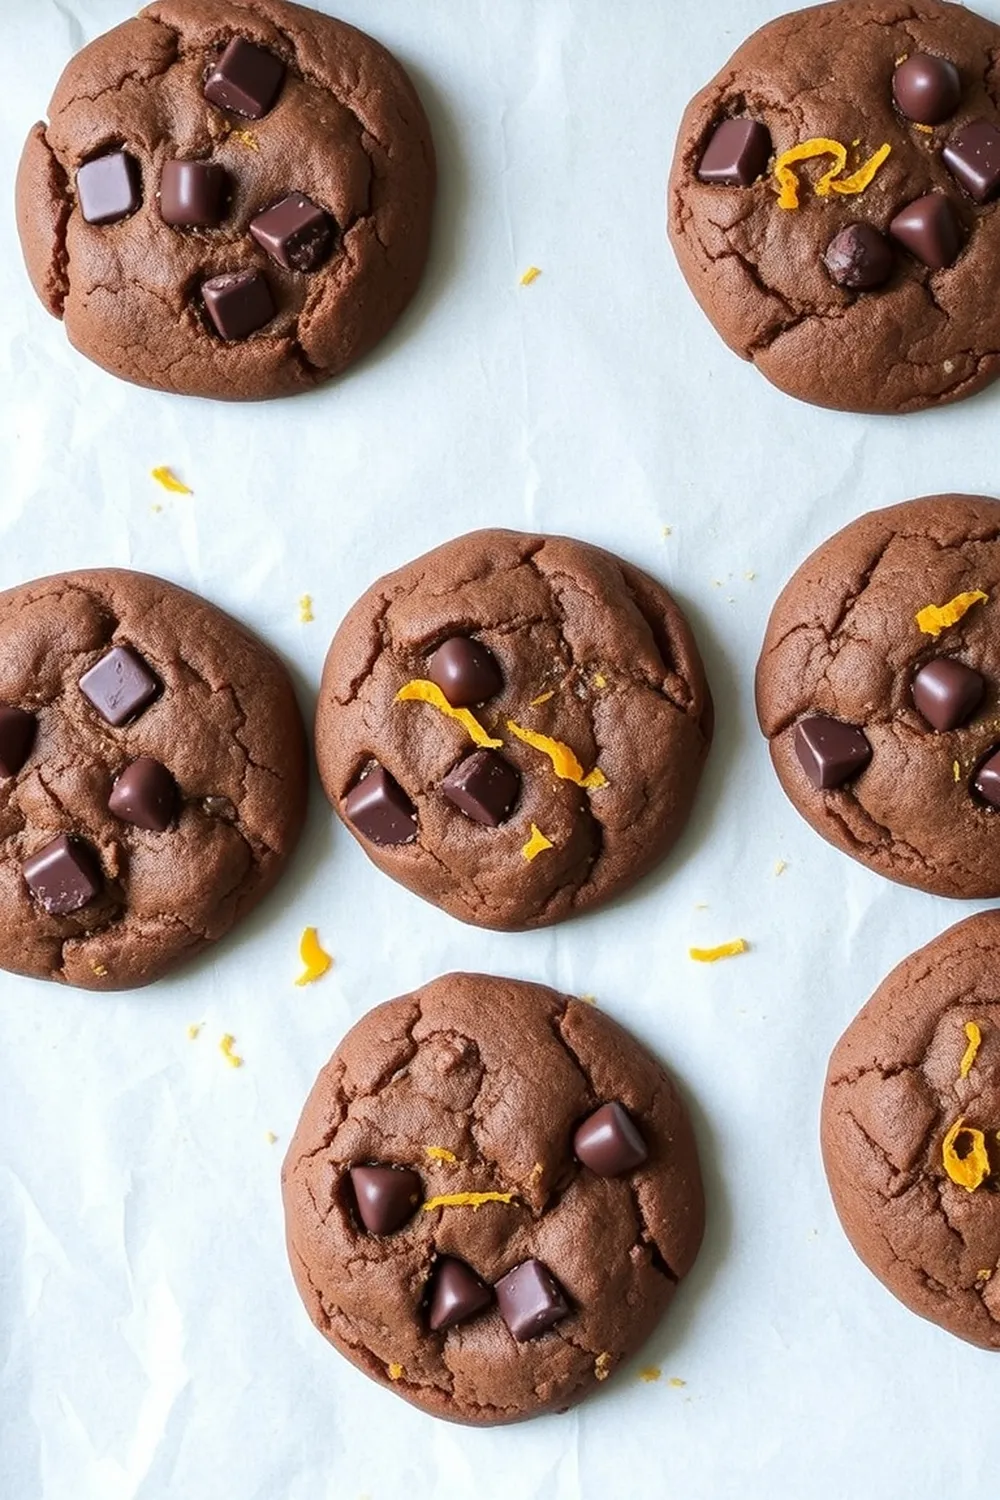
- Preheat the oven to 180°C (350°F) and line an 8x8-inch baking pan with parchment paper.
- Brown the butter in a saucepan over medium heat until nutty and golden, then transfer to a mixing bowl to cool slightly.
- Whisk together flour, baking powder, and salt in a separate bowl.
- Combine the browned butter with brown sugar and granulated sugar using a hand mixer. Add eggs and vanilla, mixing until light and fluffy.
- Gradually fold in the dry ingredients until just combined, then stir in chopped nuts.
- Pour the batter into the prepared pan and bake for 35-40 minutes, or until a toothpick inserted into the center comes out clean.
- Cool completely before slicing into squares. Serve plain or drizzle with melted white chocolate for extra indulgence.
- Calories:350 kcal25%
- Energy:1464 kJ22%
- Protein:5 g28%
- Carbohydrates:40 mg40%
- Sugar:25 mg8%
- Salt:150 g25%
- Fat:25 g20%
Last Updated on 4 months by Neha Deshmukh
Brown Butter Blondies Recipe – Walnuts & Easy Baking Guide
Hey everyone! If you’re anything like me, you’re always on the lookout for a bake that’s comforting, satisfying, and doesn’t require a ton of fuss. Well, look no further! These brown butter blondies are exactly that. I first stumbled upon a similar recipe years ago, and honestly, the nutty, caramel-like flavour of browned butter just elevates everything. They’re seriously addictive – be warned!
Why You’ll Love This Recipe
These aren’t your average blondies. Browning the butter takes them to a whole new level of deliciousness. They’re chewy, fudgy, and packed with flavour. Plus, they’re surprisingly easy to make, even if you’re not a seasoned baker. Perfect for a weekend treat, a potluck, or even a little self-care baking session. And who doesn’t love a good blondie?
Ingredients
Here’s what you’ll need to whip up a batch of these beauties:
- ½ cup (113g) Unsalted butter
- 1 cup (120g) Plain flour (Maida)
- ¾ tsp Baking powder
- ½ tsp Salt
- 1 cup (200g) Light brown sugar
- ¼ cup (50g) Sugar
- 2 large Eggs
- 1 tsp Vanilla extract
- ¾ cup (85g) chopped walnuts or cashews
Ingredient Notes
Let’s talk ingredients for a sec! Getting these right makes all the difference.
- Brown Butter: This is the star! Don’t skip browning the butter – it adds a depth of flavour you just can’t get any other way. We’ll get into how to do it perfectly in the instructions.
- Maida Flour: I’ve used plain flour (maida) in this recipe for that classic blondie texture. It gives a lovely soft crumb.
- Nuts: Walnuts and cashews are my go-to, but feel free to experiment! Walnuts give a slightly more rustic flavour, while cashews are a bit sweeter and softer. My family actually prefers cashews in these – they say it makes them extra special!
Step-By-Step Instructions
Alright, let’s get baking!
- First, preheat your oven to 180°C (350°F) and line an 8×8-inch baking pan with parchment paper. This is super important for easy removal later. Trust me!
- Now for the magic: melt the butter in a saucepan over medium heat. Keep a close eye on it, and swirl it around constantly. You want it to go from melted to nutty-smelling and golden brown – but not burnt! Once browned, pour it into a mixing bowl to cool slightly.
- In a separate bowl, whisk together the flour, baking powder, and salt. This ensures everything is evenly distributed.
- Add the brown sugar and granulated sugar to the cooled brown butter. Use a hand mixer to cream them together until light and fluffy. Then, beat in the eggs one at a time, followed by the vanilla extract.
- Gradually add the dry ingredients to the wet ingredients, folding gently until just combined. Don’t overmix! Overmixing develops the gluten and can make your blondies tough. Finally, stir in those chopped nuts.
- Pour the batter into your prepared pan and spread it evenly. Bake for 35-40 minutes, or until a toothpick inserted into the centre comes out clean.
- Let the blondies cool completely in the pan before slicing into squares. If you’re feeling fancy, drizzle with melted white chocolate!
Expert Tips
- Don’t walk away from the browning butter! It can go from golden to burnt in seconds.
- Use room temperature eggs. They incorporate more easily and create a lighter batter.
- Don’t overbake! Blondies are meant to be fudgy, not dry.
Variations
Want to switch things up? Here are a few ideas:
- Gluten-Free Adaptation: Swap the maida flour for a good quality gluten-free all-purpose flour blend. I’ve had great results with Bob’s Red Mill 1-to-1 Baking Flour.
- Nut-Free Variation: Omit the nuts altogether, or substitute with sunflower seeds or pumpkin seeds for a lovely crunch.
- Spice Level: Add a pinch of cardamom or nutmeg to the dry ingredients for a warm, aromatic twist. My friend Priya swears by a tiny bit of cardamom – it’s divine!
- Festival Adaptations: These make amazing gifts! Package them up beautifully for Diwali or Christmas – everyone will love them.
Serving Suggestions
These blondies are delicious on their own, but here are a few ideas to take them to the next level:
- Serve with a scoop of vanilla ice cream.
- Enjoy with a cup of chai or coffee.
- Drizzle with melted chocolate (white, milk, or dark!).
Storage Instructions
- Store leftover blondies in an airtight container at room temperature for up to 3 days.
- For longer storage, freeze them for up to 2 months.
FAQs
Q: What is the best way to brown butter without burning it?
A: Low and slow is the key! Use medium heat, and swirl the butter constantly. Watch for a change in colour and a nutty aroma.
Q: Can I use dark brown sugar instead of light brown sugar?
A: Yes, you can! Dark brown sugar will give the blondies a richer, more molasses-like flavour.
Q: Can I make these blondies ahead of time?
A: Absolutely! You can bake them a day or two in advance and store them in an airtight container.
Q: What is the purpose of using parchment paper in the baking pan?
A: It prevents the blondies from sticking and makes it so much easier to remove them from the pan.
Q: Can I freeze these blondies?
A: Yes! Wrap them individually in plastic wrap and then place them in a freezer-safe bag or container.


