- Gather all ingredients: heavy cream, sweetened condensed milk, butterscotch chips, and butterscotch extract.
- In a chilled bowl, beat heavy cream with an electric mixer until soft peaks form.
- Gradually add sweetened condensed milk to the whipped cream and beat until stiff peaks form.
- Stir in butterscotch extract and mix until well combined.
- Pulse butterscotch chips in a food processor until coarsely chopped, then gently fold into the cream mixture.
- Fold the mixture gently with a spatula until just combined. Do not overmix.
- Pour the mixture into a freezer-safe container and cover with a lid.
- Freeze for at least 6-8 hours, or preferably overnight, until firm.
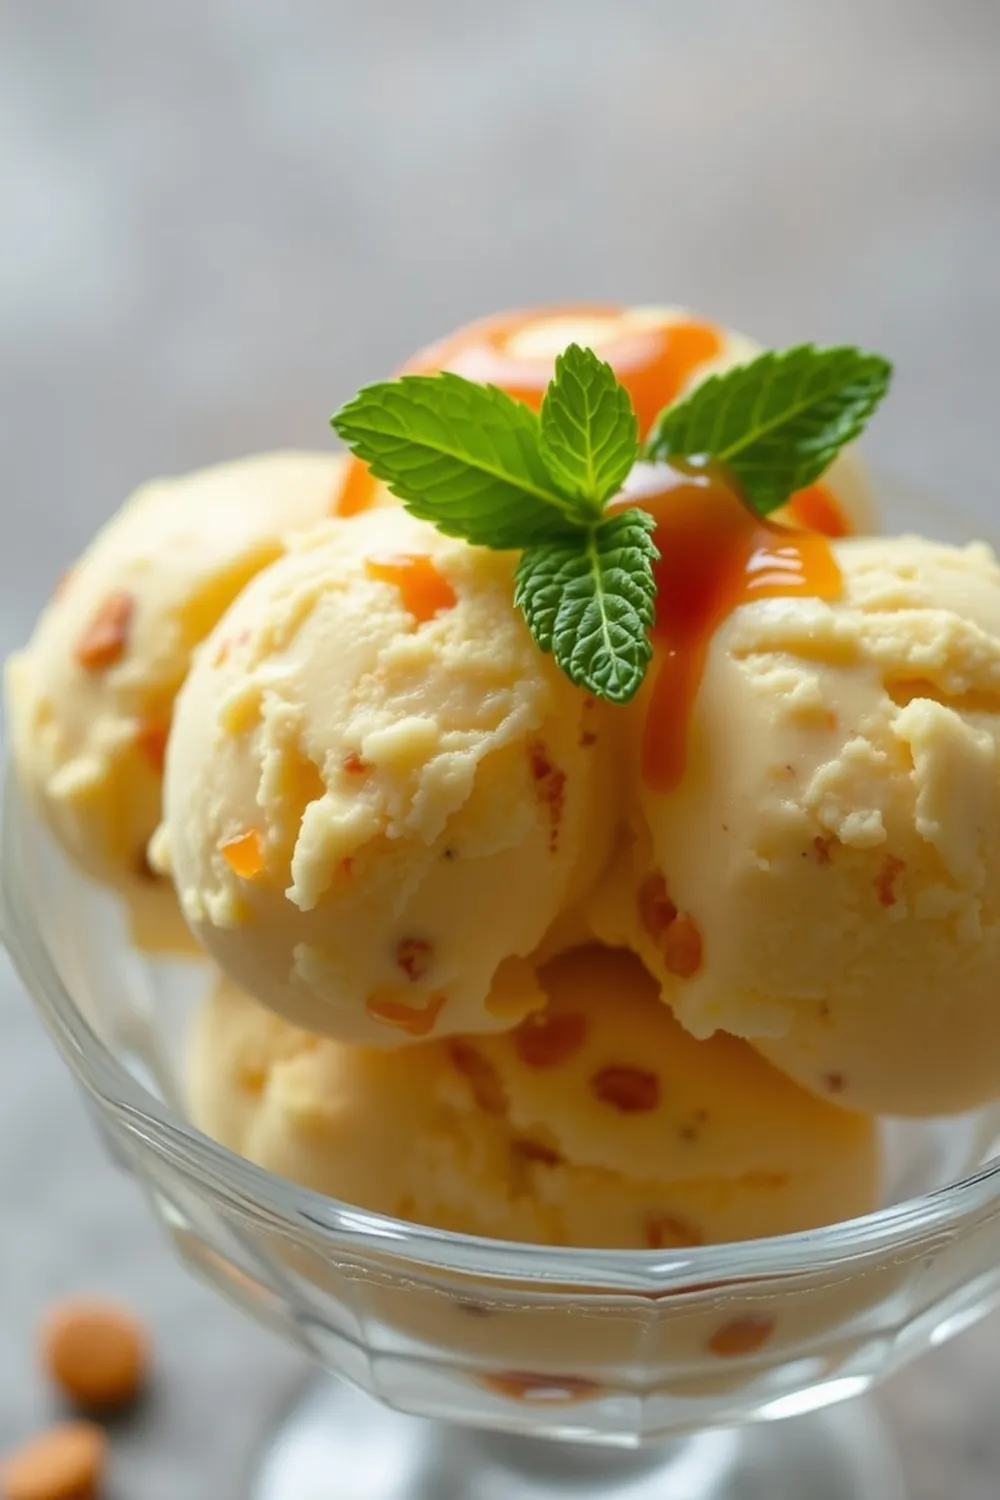
- Scoop and serve chilled. Optionally, garnish with extra butterscotch chips or caramel sauce.
- Calories:512 kcal25%
- Energy:2142 kJ22%
- Protein:6 g28%
- Carbohydrates:48 mg40%
- Sugar:46 mg8%
- Salt:161 g25%
- Fat:34 g20%
Last Updated on 2 months by Neha Deshmukh
Butterscotch Ice Cream Recipe – Easy Homemade Frozen Dessert
Hey everyone! If you’re anything like me, a hot day just begs for a scoop (or three!) of creamy, dreamy ice cream. And honestly, nothing beats homemade. I first made this butterscotch ice cream a few summers ago, and it’s been a family favourite ever since. It’s surprisingly easy, requires no ice cream maker, and tastes a million times better than anything you’ll find in the store. Let’s get scooping!
Why You’ll Love This Recipe
This butterscotch ice cream is the perfect treat for any occasion. It’s incredibly simple to make with just a handful of ingredients. Plus, the rich butterscotch flavour is seriously addictive! It’s a guaranteed crowd-pleaser, and honestly, it’s just so satisfying to enjoy something you’ve made from scratch.
Ingredients
Here’s what you’ll need to whip up a batch of this deliciousness:
- 1 cup fresh cream
- ½ cup condensed milk
- ⅓ cup butterscotch chips
- ¼ teaspoon butterscotch essence
Ingredient Notes
Let’s talk ingredients for a sec, because quality makes a difference!
- Fresh Cream: I always use heavy cream (around 35% milkfat) for the richest, creamiest texture. You can use whipping cream, but the result won’t be quite as decadent. (1 cup = 240ml)
- Condensed Milk: You can use regular sweetened condensed milk, or even a slightly reduced-fat version if you prefer. Just keep in mind that reduced-fat might affect the final texture.
- Butterscotch Chips: These come in different sizes and qualities. I like to use a good quality brand for a more intense butterscotch flavour. You can also find different types – some are more brittle, others are softer.
- Butterscotch Essence: A little goes a long way! You can find this at most baking supply stores. If you’re feeling ambitious, you can even try making your own butterscotch from scratch – though store-bought works perfectly well for this recipe.
Step-By-Step Instructions
Alright, let’s make some ice cream! It’s easier than you think.
- First, gather all your ingredients. Having everything prepped and ready to go makes the process so much smoother.
- In a bowl, beat the fresh cream for about a minute until it’s frothy and holds soft peaks. You can use a hand mixer or a stand mixer – whatever you have!
- Now, pour in the condensed milk and beat again for another minute. This is where the magic starts to happen!
- Add the butterscotch essence and blend it in thoroughly. Don’t skip this step – it’s what gives the ice cream that signature butterscotch flavour.
- Next, grind the butterscotch chips into a coarse powder using a mixer. Don’t overdo it – you want some texture! Then, gently fold the powdered chips into the cream mixture.
- Using a spatula, gently fold everything together until it’s well combined. Be careful not to overmix, or you’ll lose the airiness of the cream.
- Pour the mixture into a freezer-safe container. I like to use a metal loaf pan or a plastic container with a tight-fitting lid.
- Seal the container and freeze for at least 6-8 hours, or preferably overnight, until it’s firm. Patience is key here!
- Finally, scoop and serve chilled. I love to garnish with a few extra butterscotch chips or a drizzle of caramel sauce for an extra touch of indulgence.
Expert Tips
Here are a few things I’ve learned over the years to make this recipe even better:
- Make sure your cream is really cold before you start whipping. It will whip up much faster and hold its shape better.
- Don’t be afraid to taste as you go! Adjust the amount of butterscotch essence to your liking.
- For an extra smooth texture, chill the bowl and beaters in the freezer for about 15 minutes before whipping the cream.
Variations
Want to switch things up? Here are a few ideas:
- Vegan Adaptation: Swap the fresh cream for full-fat coconut cream (the thick part from a chilled can). It creates a wonderfully creamy vegan ice cream!
- Gluten-Free: This recipe is naturally gluten-free, so you don’t need to worry about any substitutions.
- Spice Level: N/A – Butterscotch is perfect as is!
- Festival Adaptations: This ice cream is perfect for summer celebrations like Holi or birthdays. It’s a refreshing and delicious treat that everyone will love. My friend, Priya, always makes a huge batch for her family’s summer picnics.
Serving Suggestions
This butterscotch ice cream is delicious on its own, but it’s even better with:
- Warm chocolate brownies
- Fresh fruit like strawberries or bananas
- A sprinkle of chopped nuts
- A dollop of whipped cream (because why not?)
Storage Instructions
Store leftover ice cream in an airtight container in the freezer for up to 2 weeks. It might get a little icy after that, but it will still be delicious!
FAQs
Let’s answer some common questions:
1. Can I make this butterscotch ice cream without an ice cream maker?
Absolutely! This recipe is designed to be made without an ice cream maker. The freezing process is all you need.
2. What is the best way to prevent ice crystals from forming?
Using high-fat cream and ensuring the mixture is well-combined helps. Also, storing it in an airtight container is crucial.
3. Can I adjust the sweetness level of the ice cream?
Yes, you can! Reduce the amount of condensed milk slightly if you prefer a less sweet ice cream.
4. What substitutions can I make for butterscotch essence?
You could try a tiny pinch of brown sugar and a dash of vanilla extract, but the flavour won’t be quite the same.
5. How long can I store homemade butterscotch ice cream?
Up to 2 weeks in an airtight container in the freezer.


Neha Deshmukh
Neha holds a B.A. in History with a focus on Indian and world history, including ancient, medieval, and modern periods. At RecipesOfIndia.org — the world’s largest database of Indian recipes — she combines her love for food and history by exploring how India’s past has shaped its culinary traditions.


