- Combine all ingredients in a blender or food processor.
- Blend until smooth and creamy, scraping down the sides as needed.
- Refrigerate for at least 4 hours, or preferably overnight, to allow flavors to meld.
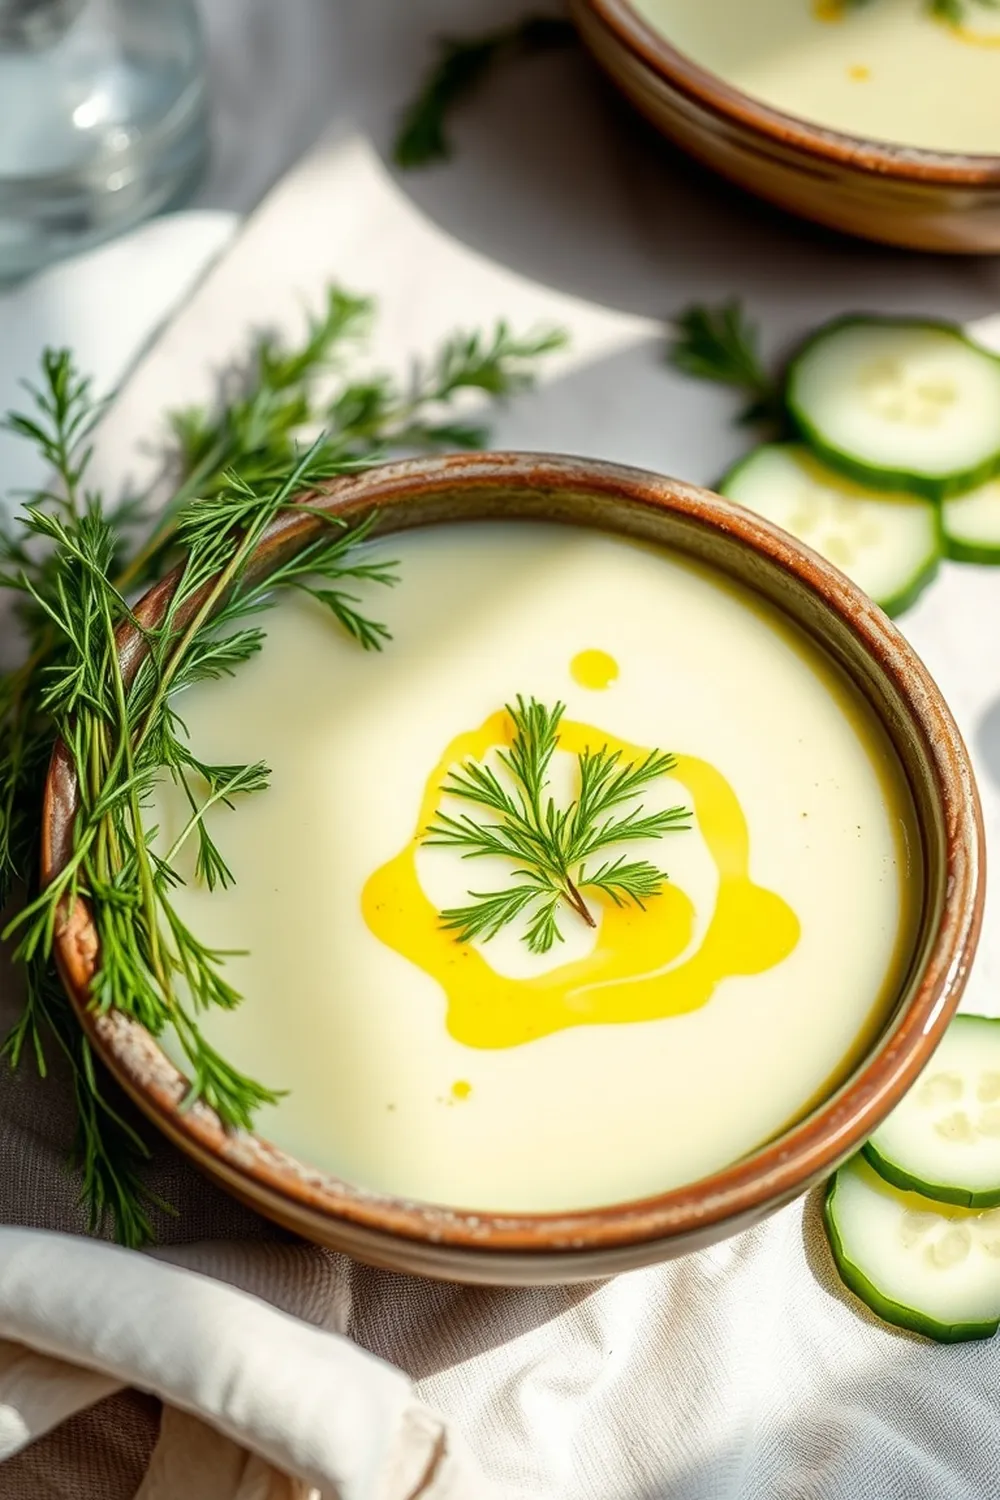
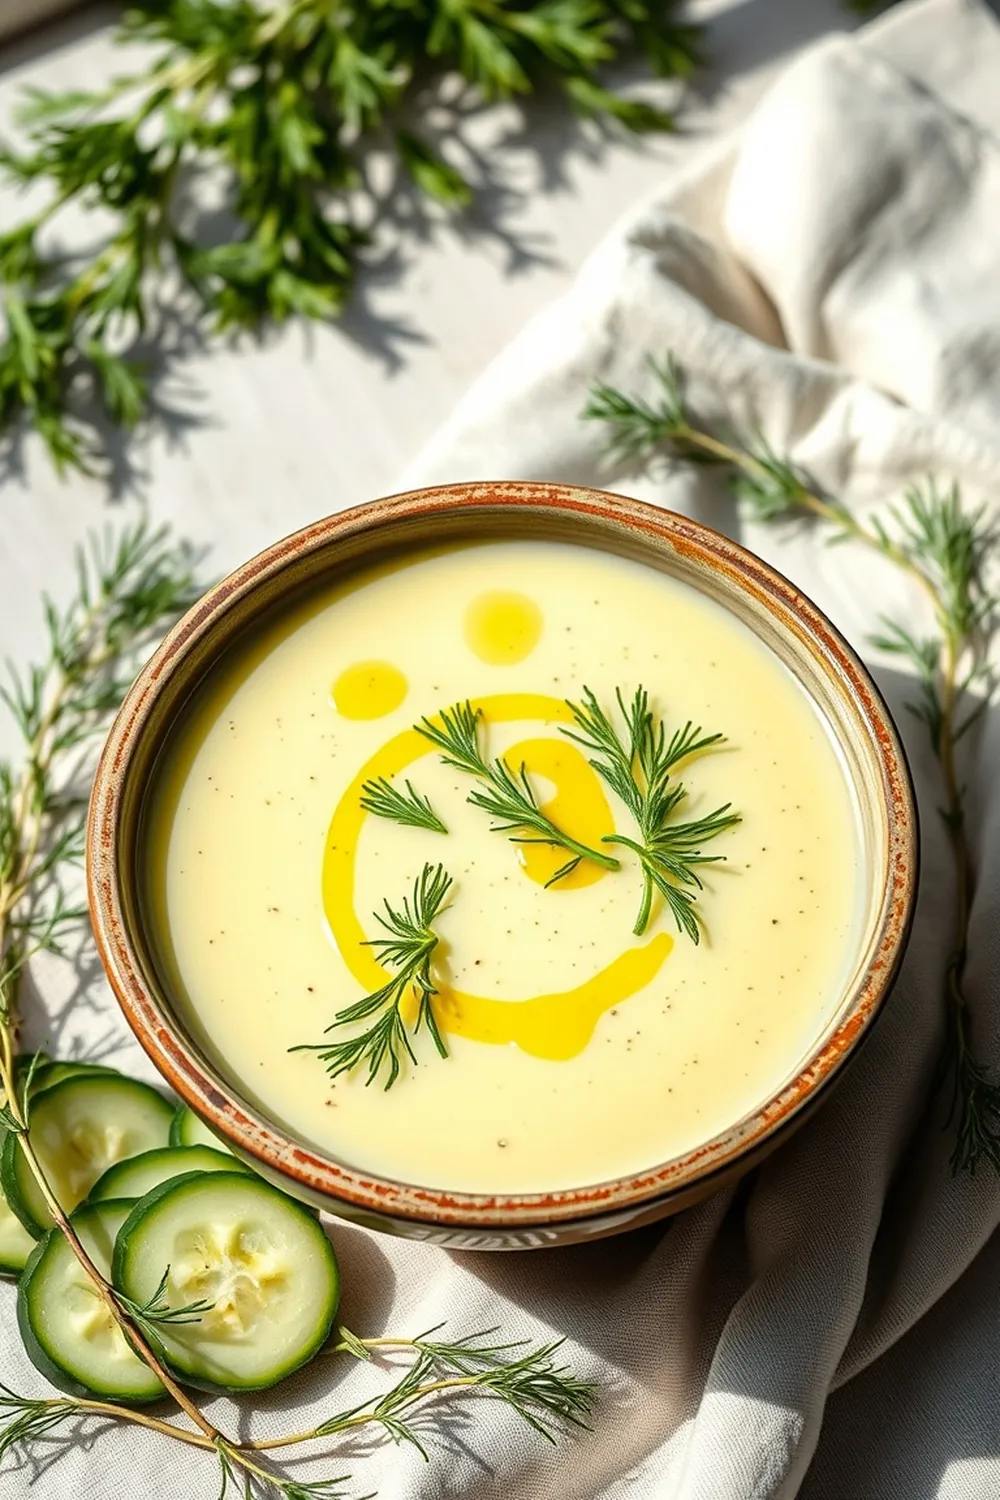
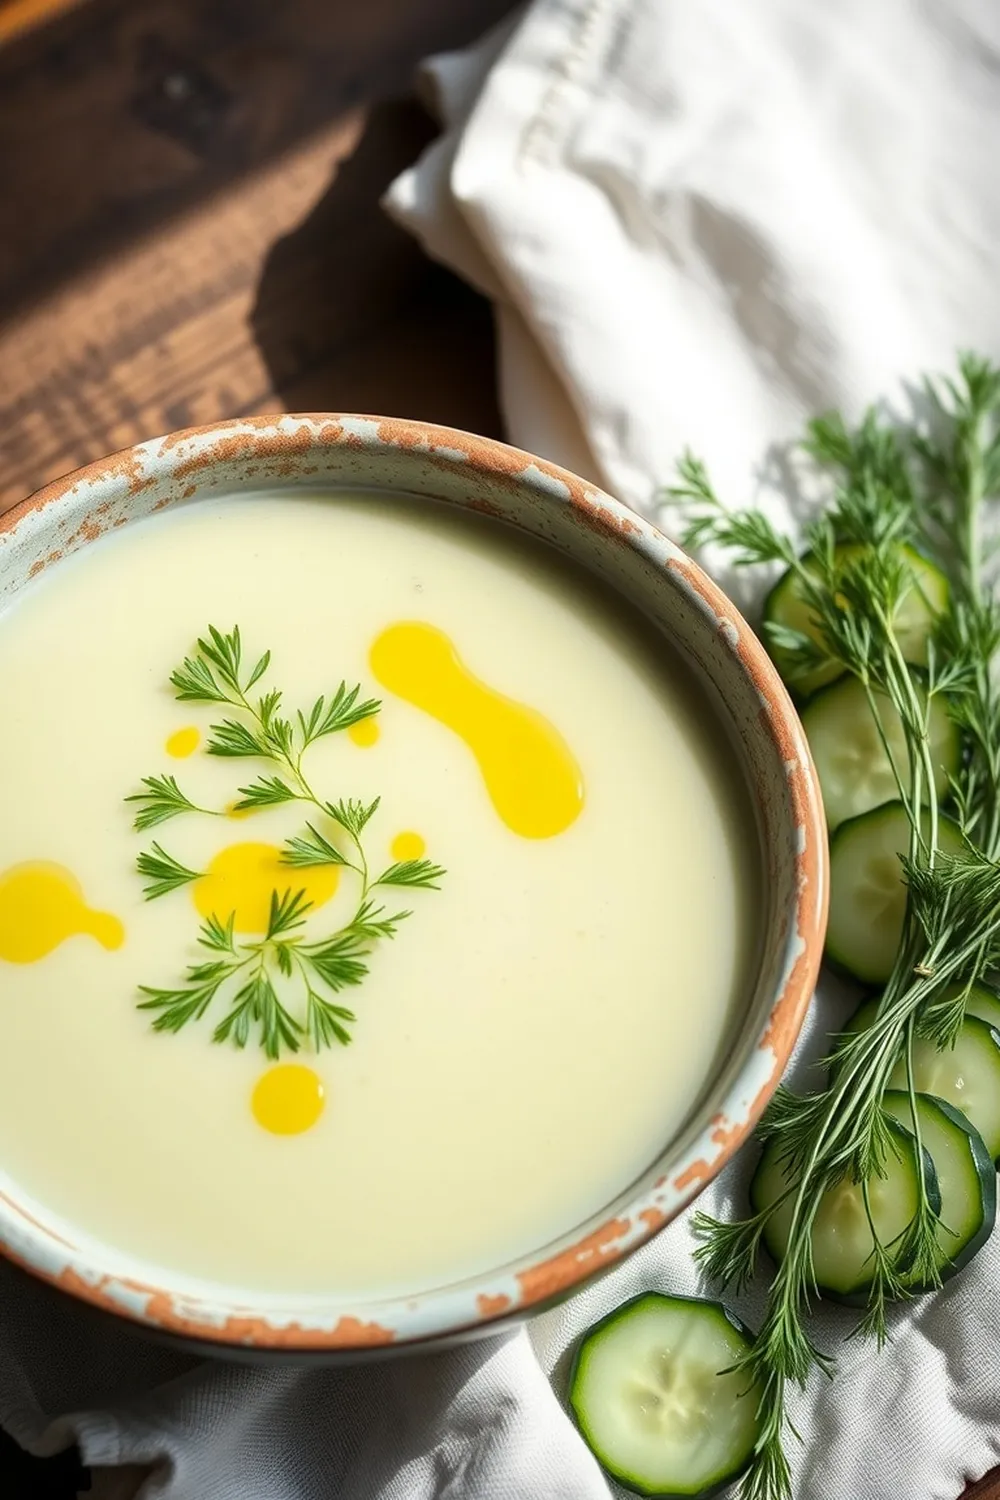
- Stir well before serving. Garnish with fresh herbs, if desired.
- Serve chilled in bowls or shot glasses for an elegant presentation.
- Calories:120 kcal25%
- Energy:502 kJ22%
- Protein:4 g28%
- Carbohydrates:10 mg40%
- Sugar:5 mg8%
- Salt:200 g25%
- Fat:8 g20%
Last Updated on 4 months by Neha Deshmukh
Cool Cucumber Raita Recipe – Dill, Mint & Yogurt Dip
Hey everyone! If you’re anything like me, a hot Indian meal just needs a cooling sidekick. And honestly, nothing beats a refreshing raita. I first made this particular version for a summer barbecue with friends, and it was a total hit – even those who aren’t usually big on Indian food were asking for seconds! It’s super simple, bursting with fresh flavors, and the perfect way to balance out spicy dishes. Let’s get into it!
Why You’ll Love This Recipe
This cool cucumber raita isn’t just a side dish; it’s a little slice of summer in a bowl. It’s incredibly quick to whip up – seriously, the prep time is only about 5 minutes! – and the flavors just get better as it sits. The combination of creamy yogurt, crisp cucumber, and vibrant herbs is seriously addictive. Plus, it’s a fantastic way to use up any extra cucumbers and herbs you have hanging around.
Ingredients
Here’s what you’ll need to make this delightful raita:
- 3 medium cucumbers
- 1 cup thick yogurt
- 1 clove garlic
- 1 shallot (pearl onion)
- ¼ cup dill leaves
- ¼ cup parsley leaves
- 2 tbsp mint leaves
- 1 lime
- ½ tsp white pepper
- Salt to taste
- 2 tbsp olive oil
Ingredient Notes
Let’s talk ingredients for a sec! Getting these right makes all the difference.
- Thick Yogurt: This is key. You want a really thick, strained yogurt (like Greek yogurt) so your raita doesn’t become watery. If your yogurt isn’t super thick, you can strain it through cheesecloth for a couple of hours.
- Fresh Dill & Parsley: Seriously, don’t skimp on the fresh herbs! They add so much brightness. I love the slightly anise-like flavor of dill with the freshness of parsley.
- Mint & Lime Balance: The mint and lime juice provide a lovely zing. Don’t go overboard with the lime though – you want it to complement the other flavors, not overpower them. A little goes a long way!
- Cucumber Choice: English cucumbers are great because they have fewer seeds, but any cucumber will work. Just peel and deseed if needed.
Step-By-Step Instructions
Alright, let’s make some raita! It’s so easy, you’ll be enjoying this in under 30 minutes (plus chilling time, of course).
- First, roughly chop your cucumbers, shallot, and garlic.
- Now, add everything – cucumbers, yogurt, garlic, shallot, dill, parsley, mint, lime juice, white pepper, salt, and olive oil – into a blender or food processor.
- Blend it all up until it’s beautifully smooth and creamy. Don’t overblend, though, or it might get too warm.
- Pour your raita into an airtight container and pop it in the fridge for at least 4 hours, or even better, overnight. This allows all those lovely flavors to meld together.
- Before serving, give it a good stir. Taste and adjust the salt and lime juice if needed. Garnish with a few extra sprigs of fresh dill or mint if you’re feeling fancy!
Expert Tips
Here are a few little things I’ve learned over the years that’ll help you make the best raita:
- Chill Time is Your Friend: Seriously, don’t skip the chilling step. It makes a huge difference in the flavor.
- Don’t Be Afraid to Adjust: Raita is very forgiving. Feel free to add more or less of any ingredient to suit your taste.
- Olive Oil Secret: A little olive oil adds a lovely richness and helps the flavors blend.
Variations
Want to switch things up? Here are a few ideas:
- Vegan Adaptation: Swap the yogurt for a thick coconut yogurt for a delicious dairy-free version. It adds a subtle sweetness that works really well!
- Spice Level: If you like a little heat, add a finely chopped green chili (Serrano or jalapeño) to the blender. My friend Priya adds one every time – she loves the kick!
- Festival Adaptation: This raita is amazing served alongside snacks during festivals like Eid or Diwali. It’s a welcome relief from all the rich sweets and savory treats.
Serving Suggestions
This raita is incredibly versatile! Here are a few ways to enjoy it:
- Alongside your favorite Indian curries (it’s especially good with spicy dishes!).
- As a dip for vegetable sticks or pita bread.
- Served in small bowls or shot glasses as an elegant appetizer.
- With grilled meats or fish.
Storage Instructions
Leftover raita will keep in an airtight container in the refrigerator for up to 3 days. It might thicken slightly as it sits, so just give it a good stir before serving.
FAQs
Got questions? I’ve got answers!
- What type of yogurt works best for raita? Thick, strained yogurt (like Greek yogurt) is ideal. It prevents the raita from becoming watery.
- Can I make raita ahead of time? Absolutely! In fact, it’s better if you make it ahead of time to allow the flavors to develop.
- How do I prevent the raita from becoming watery? Use thick yogurt and avoid overblending. If your cucumber is very watery, you can squeeze out some of the excess liquid after chopping it.
- What herbs can I substitute if I don’t have dill or parsley? Cilantro (coriander) is a great substitute for parsley. You could also use mint as a substitute for dill, but it will change the flavor profile.
- Is raita a good option for people with lactose intolerance? It depends on the severity of the intolerance. Using a lactose-free yogurt or the coconut yogurt alternative mentioned above would be a good option.
Neha Deshmukh
Neha holds a B.A. in History with a focus on Indian and world history, including ancient, medieval, and modern periods. At RecipesOfIndia.org — the world’s largest database of Indian recipes — she combines her love for food and history by exploring how India’s past has shaped its culinary traditions.


