- Separate the eggs into yolks and whites.
- In a bowl, combine flour, egg yolks, sugar, oil, baking powder, and milk. Whisk until smooth.
- In a separate bowl, whip the egg whites until stiff peaks form.
- Gently fold the whipped egg whites into the batter.
- Add cacao nibs and fold gently to incorporate.
- Preheat the waffle iron and lightly brush with melted butter.
- Pour 1/3 cup of batter onto the hot iron, spread evenly, and cook until golden and crispy.
- Repeat with remaining batter, brushing the iron with butter as needed.
- Serve hot with additional butter and maple syrup.
- Calories:280 kcal25%
- Energy:1171 kJ22%
- Protein:8 g28%
- Carbohydrates:35 mg40%
- Sugar:10 mg8%
- Salt:200 g25%
- Fat:12 g20%
Last Updated on 4 months by Neha Deshmukh
Easy Cacao Nib Waffle Recipe – Crispy & Golden Indian-Style
Hey everyone! I’m so excited to share this waffle recipe with you. It’s become a weekend staple in my house – quick, easy, and so satisfying. Honestly, nothing beats a warm, crispy waffle on a lazy Sunday morning, right? This one has a little something extra with the cacao nibs, giving it a lovely chocolatey crunch without being overly sweet. Let’s get cooking!
Why You’ll Love This Recipe
These aren’t your average waffles. They’re light, fluffy on the inside, and beautifully golden and crispy on the outside. The cacao nibs add a delightful texture and a subtle chocolate flavour that’s way more interesting than plain chocolate chips. Plus, they’re packed with antioxidants – a little guilt-free indulgence! It’s a super simple recipe, perfect for beginners, and takes just a few minutes to whip up.
Ingredients
Here’s what you’ll need to make these delicious cacao nib waffles:
- 1 cup plain flour (about 120g)
- 2 tsp baking powder
- 0.25 tsp salt
- 2 tbsp sugar
- 1 egg, separated
- 0.25 cup vegetable oil or melted butter (60ml)
- 1 cup milk (240ml)
- 0.25 cup raw cacao nibs (30g)
- 2 tbsp butter, melted (for greasing)
Ingredient Notes
Let’s talk ingredients for a sec!
- Flour Power: You can use all-purpose flour (maida) for a lighter waffle, or switch it up with whole wheat flour for a slightly nuttier flavour and extra fibre. I sometimes even do half and half!
- Cacao Nibs – The Star: These little guys are amazing. They’re basically crushed cacao beans, so they have a really intense chocolate flavour without all the sugar of chocolate chips. You can find them in most health food stores or online.
- Oil or Butter? Both work beautifully! Butter adds a richer flavour, but vegetable oil keeps things nice and light.
- Milk Matters: Any kind of milk will do – cow’s milk, almond milk, soy milk, whatever you prefer!
Step-By-Step Instructions
Alright, let’s get to the fun part!
- First things first, gently separate your egg. You want the yolk in one bowl and the white in another. Don’t worry if a little bit of yolk gets into the white – it’s not the end of the world!
- In a large bowl, combine the flour, baking powder, salt, sugar, egg yolk, oil (or melted butter), and milk. Whisk everything together until you have a smooth batter. Don’t overmix it, though – a few little lumps are okay.
- Now, in that separate bowl with the egg white, whip it up until you get soft peaks. This means when you lift the whisk, the peak of the egg white should gently flop over.
- Gently fold the whipped egg white into the batter. Be careful not to deflate the egg white too much – that’s what gives the waffles their fluffiness!
- Add the cacao nibs and fold them in gently. You want them evenly distributed throughout the batter.
- Preheat your waffle iron. This is important! And lightly brush it with some of that melted butter. This helps prevent sticking and gives the waffles a lovely golden colour.
- Pour about 1/3 cup of batter onto the hot waffle iron, spread it evenly, and cook until golden brown and crispy. Cooking time will vary depending on your waffle iron, but usually around 3-5 minutes.
- Repeat with the remaining batter, brushing the iron with butter as needed.
Expert Tips
Want to take your waffles to the next level? Here are a few of my go-to tips:
- Crispy Perfection: For extra crispy waffles, make sure your waffle iron is really hot before you start cooking.
- Sticking Struggles: Don’t skip the butter! It’s your best friend when it comes to preventing sticking.
- Batter Consistency: The batter should be thick enough to hold its shape but still pourable. If it’s too thick, add a splash more milk. If it’s too thin, add a tablespoon of flour.
Variations
This recipe is a great base for experimenting! Here are a few ideas:
- Vegan Adaptation: Swap the egg for a flax egg (1 tbsp flaxseed meal + 3 tbsp water, let sit for 5 minutes) and use plant-based milk. My friend Priya swears by this!
- Gluten-Free Adaptation: Use a gluten-free flour blend. I recommend one that’s specifically designed for baking.
- Spice It Up: Add a pinch of cardamom or cinnamon to the batter for a warm, fragrant twist. My grandmother always added a touch of cardamom to her pancakes, and it’s lovely in waffles too.
- Festival Flair: During festivals like Diwali or Holi, these waffles make a fun and festive breakfast treat!
Serving Suggestions
Okay, the waffles are ready… now for the best part – toppings!
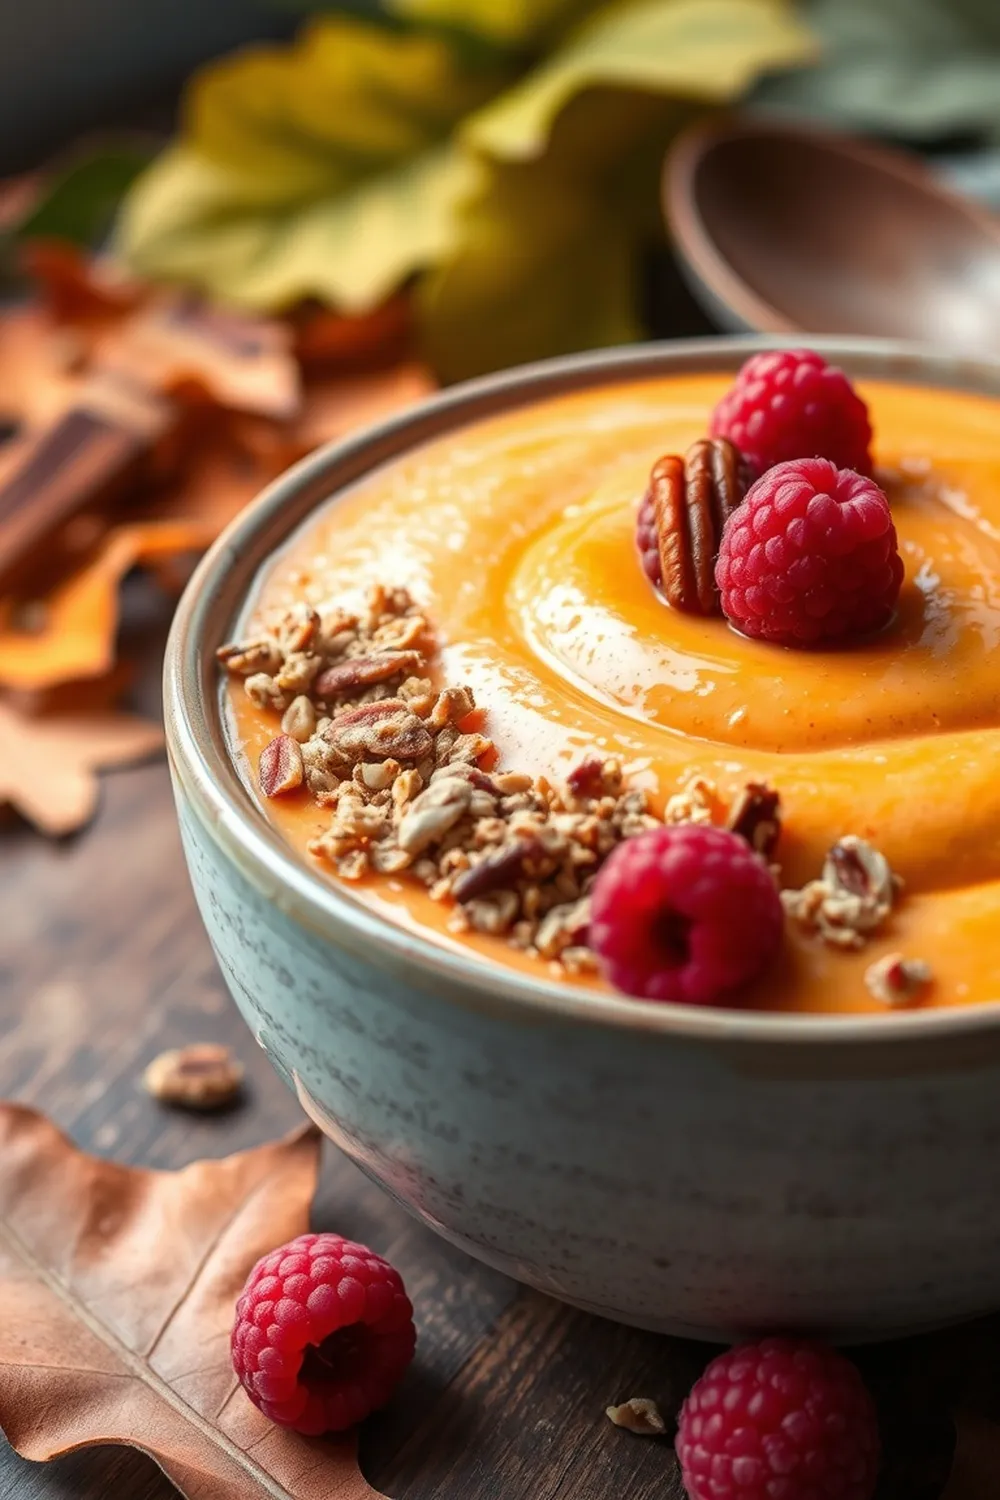
- Classic Combos: Fresh fruit (berries, bananas, peaches), a dollop of yogurt, a drizzle of honey, and a sprinkle of nuts are always winners.
- Indian-Inspired: Get creative! Try serving with a spoonful of rabri (thickened sweetened milk), a sprinkle of jaggery (unrefined cane sugar), or a side of mango chutney.
Storage Instructions
Got leftovers? No problem!
- Room Temperature: Store cooled waffles in an airtight container for up to 2 days.
- Freezing: For longer storage, freeze the waffles. Wrap them individually in plastic wrap and then place them in a freezer bag. They’ll keep for up to 2 months. Reheat in a toaster or oven.
FAQs
Let’s answer some common questions:
1. Can I make the waffle batter ahead of time?
Yes, you can! Just store it in an airtight container in the fridge for up to 24 hours. You might need to whisk it again before using, as it may separate slightly.
2. What is the best way to prevent the waffles from sticking to the iron?
Butter, butter, butter! Seriously, a good brushing of melted butter before each waffle is key.
3. Can I use a different type of oil besides vegetable oil?
Absolutely! Coconut oil, canola oil, or even melted ghee will work just fine.
4. What are cacao nibs and where can I find them?
Cacao nibs are crushed cacao beans – they have a rich, chocolatey flavour. You can find them in health food stores, online, or sometimes in the baking aisle of your supermarket.
5. Can I freeze leftover waffles?
Definitely! They freeze really well.
6. How do I adjust the sweetness level in this recipe?
Feel free to adjust the amount of sugar to your liking. You can also add a touch of maple syrup or honey to the batter.
Enjoy your waffles! I hope this recipe brings a little bit of joy to your kitchen. Let me know how they turn out in the comments below!


Neha Deshmukh
Neha holds a B.A. in History with a focus on Indian and world history, including ancient, medieval, and modern periods. At RecipesOfIndia.org — the world’s largest database of Indian recipes — she combines her love for food and history by exploring how India’s past has shaped its culinary traditions.