- Pop the popcorn kernels in a heavy-bottomed pan. Once popped, transfer to a large bowl.
- In the same pan, melt sugar and butter over medium-low heat, stirring constantly, until golden brown.
- Remove from heat and quickly stir in vanilla extract and baking soda until frothy.
- Quickly toss the popcorn in the caramel syrup to coat evenly.
- Spread the coated popcorn onto a sheet of parchment paper or a silicone baking mat to cool. Separate clumps while still warm and pliable.
- Store in an airtight container for up to 3 days.
- Calories:180 kcal25%
- Energy:753 kJ22%
- Protein:1 g28%
- Carbohydrates:30 mg40%
- Sugar:25 mg8%
- Salt:100 g25%
- Fat:5 g20%
Last Updated on 6 months ago by Neha Deshmukh
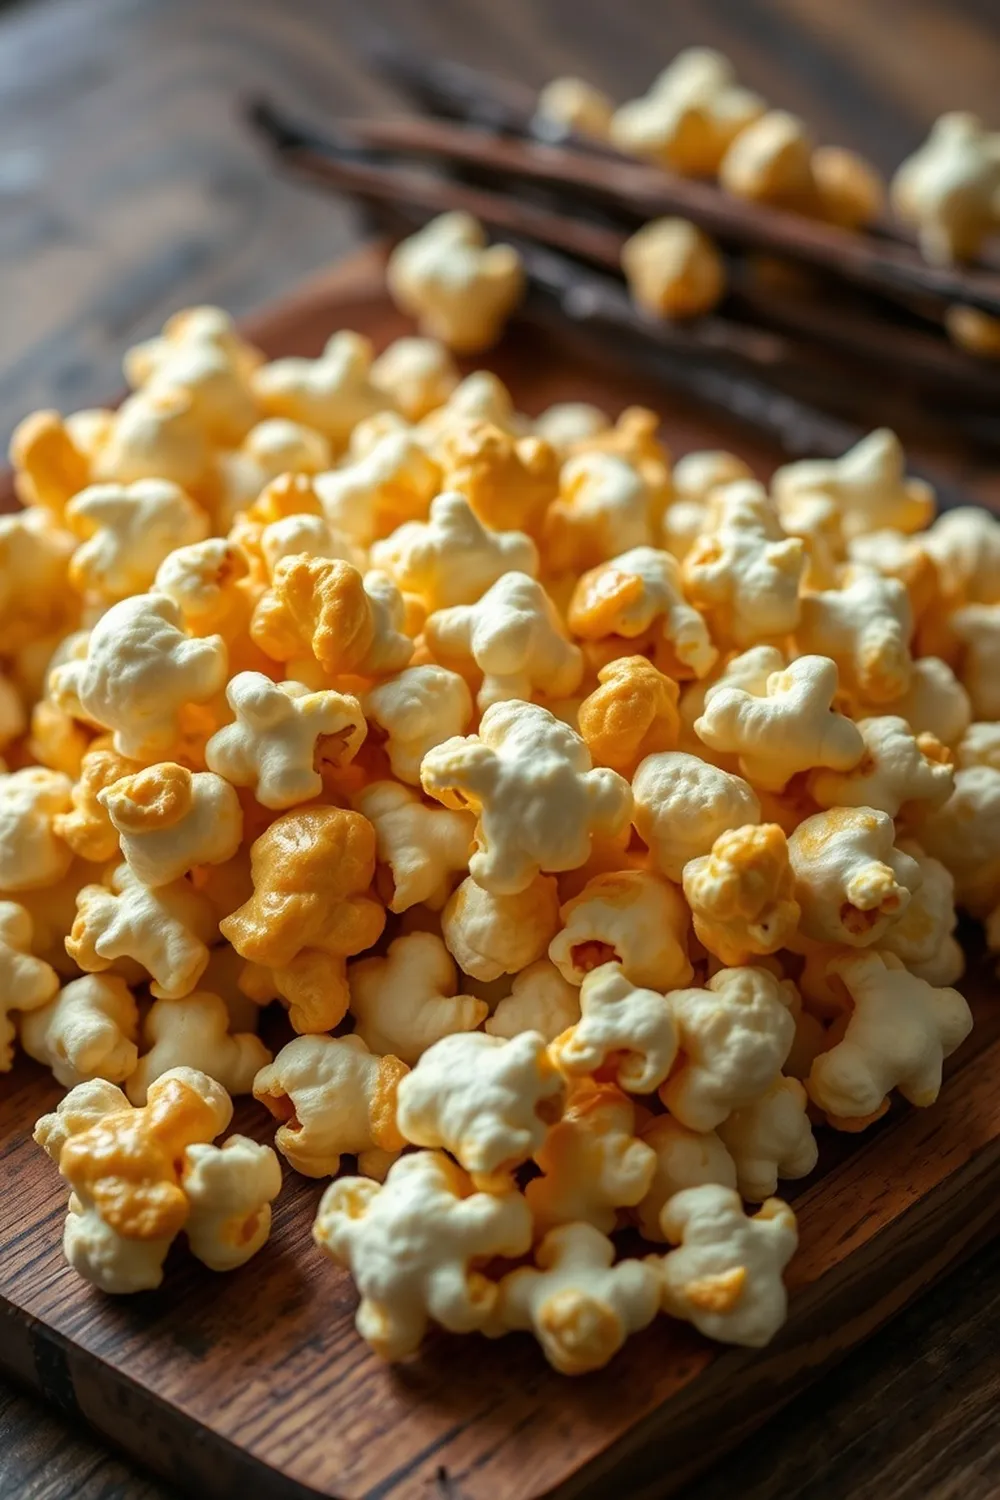
Easy Caramel Popcorn Recipe – Homemade Butterscotch Snack
Hey everyone! If you’re anything like me, you have a serious weakness for a good, crunchy, sweet snack. And honestly, is there anything more comforting than a big bowl of caramel popcorn? I first made this recipe years ago for a movie night with friends, and it’s been a hit ever since. It’s surprisingly easy to make at home, and so much better than anything you can buy in the store. Let’s get popping!
Why You’ll Love This Recipe
This caramel popcorn isn’t just delicious; it’s a little slice of happiness. It’s perfect for movie nights, parties, or just a cozy evening in. Plus, making it yourself means you control the ingredients – no weird preservatives or artificial flavors here! It’s a quick win in the kitchen, ready in under 30 minutes, and the aroma while it’s cooking is simply divine.
Ingredients
Here’s what you’ll need to whip up a batch of this golden goodness:
- ¼ cup popcorn kernels (about 25g)
- ½ cup white sugar (about 100g)
- 1 tbsp unsalted butter (about 14g)
- ½ tsp vanilla essence (about 2.5ml)
- Few drops of water (literally, 2-3 drops!)
- ⅛ tsp baking soda (a tiny pinch!)
Ingredient Notes
Let’s talk ingredients for a sec, because a few little things can make a big difference:
- Popcorn Kernels: Freshness is key! Older kernels don’t pop as well, leaving you with a lot of unpopped bits. I always check the date on the package.
- White Sugar: We’re going for a classic caramel flavor here, and white sugar delivers that perfectly. Don’t substitute with brown sugar, as it will change the color and taste.
- Butter: Good quality butter really shines through. I prefer using unsalted so I can control the overall saltiness.
- Vanilla Essence: You can use natural or artificial vanilla essence – it’s really down to personal preference. I tend to use natural vanilla for a richer flavor, but artificial works just fine in a pinch!
Step-By-Step Instructions
Alright, let’s get cooking!
- Pop the Popcorn: Pop those kernels in a heavy-bottomed pan. You can use a little oil if you like, but I usually just use the pan dry. Keep shaking the pan constantly to prevent burning. Once they’re all popped, transfer the popcorn to a large plate – we need space for coating!
- Make the Caramel: In the same pan (less washing up – yay!), melt the sugar and butter over low heat. Stir constantly until the sugar dissolves and turns a beautiful golden brown. This takes patience, so don’t rush it!
- The Magic Happens: Remove the pan from the heat. This is important! Quickly stir in the vanilla essence and baking soda. It will bubble up and get frothy – that’s exactly what we want.
- Coat the Popcorn: Now, quickly toss the popped popcorn into the caramel syrup. Use a spatula or your hands (carefully!) to coat everything evenly. Work fast, as the caramel will start to set.
- Cool & Break: Spread the caramel-coated popcorn onto a sheet of butter paper. This prevents it from sticking. Let it cool completely – about 15-20 minutes. Once it’s cooled, gently break up any clumps.
- Store & Enjoy: Store your delicious caramel popcorn in an airtight container for up to 3 days (if it lasts that long!).
Expert Tips
Here are a few things I’ve learned over the years:
- Low and Slow: Don’t crank up the heat when making the caramel. Low and slow is the way to go to prevent burning.
- Work Quickly: Once you add the baking soda, you need to move fast! The caramel sets quickly.
- Don’t Overcrowd: Make sure you have enough space on your butter paper to spread the popcorn in a single layer.
Variations
Want to get creative? Here are a few ideas:
- Vegan Adaptation: Swap the butter for a good quality vegan butter and double-check that your sugar is vegan-friendly (some white sugar is processed with bone char).
- Spice Level: Add a tiny pinch of cinnamon or cayenne pepper to the caramel for a little kick. My friend, Priya, loves adding a dash of cardamom!
- Festival Adaptations: Package this up in pretty jars or boxes – it makes a fantastic Diwali or Christmas gift!
- Adjusting Sweetness: If you prefer a less sweet popcorn, reduce the sugar to ¼ cup.
Serving Suggestions
Honestly, this caramel popcorn is amazing all on its own. But if you’re feeling fancy, try serving it with:
- A scoop of vanilla ice cream
- Hot chocolate on a cold evening
- As part of a movie night snack board
Storage Instructions
Keep your caramel popcorn fresh by storing it in an airtight container at room temperature for up to 3 days. It tends to get a little sticky after that, so it’s best enjoyed fresh!
FAQs
Let’s tackle some common questions:
- Is it better to use oil or butter to pop the popcorn? You can use either! Oil gives a cleaner flavor, while butter adds a little extra richness.
- Can I make this ahead of time? Yes, but it’s best enjoyed fresh. The caramel can get a little sticky if it sits for too long.
- How do I prevent the caramel from getting sticky? Make sure to cool the popcorn completely on butter paper and store it in an airtight container.
- What if my caramel hardens too quickly? You likely cooked it for too long. Next time, remove it from the heat a little earlier.
- Can I add nuts or other toppings to the caramel popcorn? Absolutely! Toss in some chopped nuts, chocolate chips, or sprinkles after coating the popcorn in caramel.
Enjoy your homemade caramel popcorn! I hope this recipe brings a little sweetness to your day. Let me know in the comments if you try it, and how it turns out!
Neha Deshmukh
Neha holds a B.A. in History with a focus on Indian and world history, including ancient, medieval, and modern periods. At RecipesOfIndia.org — the world’s largest database of Indian recipes — she combines her love for food and history by exploring how India’s past has shaped its culinary traditions.


