- Chill evaporated milk in the refrigerator overnight.
- Refrigerate the mixing bowl and beaters for at least 2 hours before use.
- Pour chilled evaporated milk into the cold bowl and whip for 15-20 minutes until it resembles whipped cream.
- Add powdered sugar and continue beating until fully incorporated and thickened.
- Transfer the mixture to a freezer-safe container and freeze for 2-3 hours.
- Remove from freezer, gently fold in broken chocolate pieces, and return to freezer.
- Beat the ice cream every 30-60 minutes (4-6 times total) to break up ice crystals.
- Scoop and serve once fully set, typically after at least 4 hours of freezing.
- Calories:280 kcal25%
- Energy:1171 kJ22%
- Protein:6 g28%
- Carbohydrates:25 mg40%
- Sugar:20 mg8%
- Salt:75 g25%
- Fat:18 g20%
Last Updated on 6 months ago by Neha Deshmukh
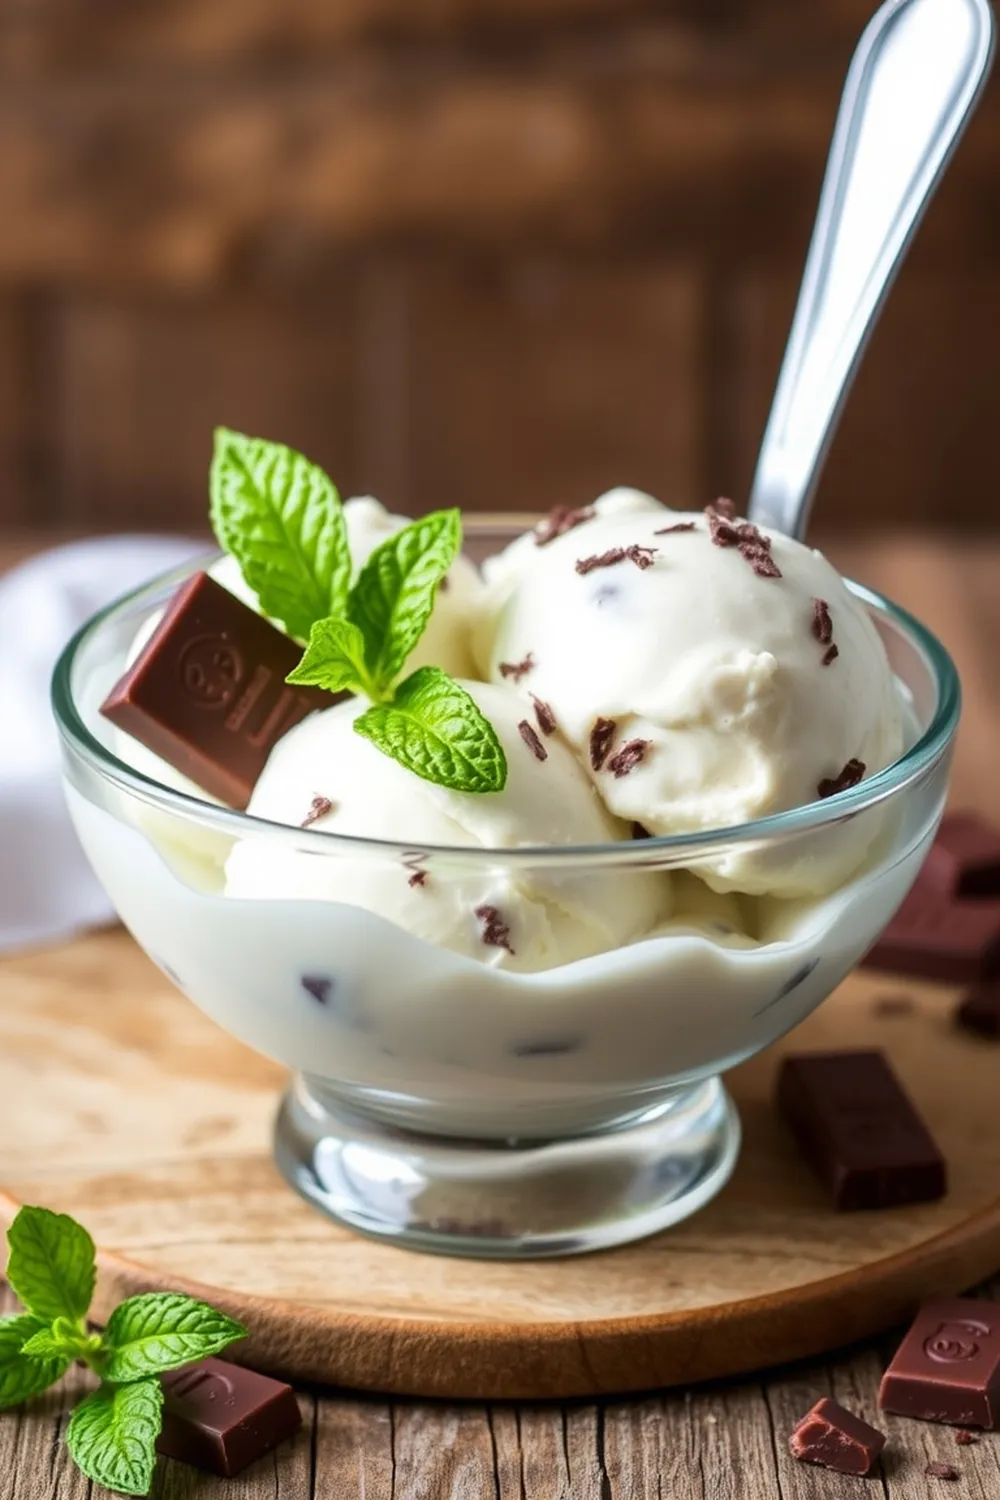
Easy Chocolate Ice Cream Recipe – No Machine Needed
Hey everyone! If you’re anything like me, you love a good scoop of ice cream, especially on a warm day. But honestly, sometimes the thought of hauling out a fancy ice cream maker just feels…much. That’s why I’m so excited to share this incredibly easy chocolate ice cream recipe with you – and the best part? You don’t need a machine! I first stumbled upon a version of this years ago, and it’s become a family favorite ever since. It’s seriously foolproof and tastes just as good (if not better!) than store-bought.
Why You’ll Love This Recipe
This recipe is a game-changer for a few reasons. First, it’s unbelievably simple. Seriously, if you can whip (pun intended!) some ingredients together, you can make this. Second, it requires minimal equipment. No ice cream maker? No problem! Just a bowl, beaters, and a freezer will do. And finally, it’s totally customizable. Want to add nuts, sprinkles, or a swirl of caramel? Go for it!
Ingredients
Here’s what you’ll need to make this dreamy chocolate ice cream:
- 1 can (approximately 397g) evaporated milk
- 1 cup (approximately 120g) powdered sugar
- 3 tbsp (approximately 42g) broken chocolate pieces (or chocolate chips!)
Ingredient Notes
Let’s talk ingredients for a sec. Evaporated milk is the secret weapon here. It creates a wonderfully creamy texture without needing a ton of fat. Don’t confuse it with condensed milk, though – they’re totally different!
As for the chocolate, feel free to get creative. I usually use a mix of dark and milk chocolate for a balanced flavor. You could also use all dark for a richer, more intense chocolate experience, or all milk for something a little sweeter. About 42-60g of your favourite chocolate works beautifully. Chocolate chips are also a great option if you don’t have a chocolate bar on hand.
Step-By-Step Instructions
Okay, let’s get to the fun part!
- First things first, chill that evaporated milk overnight. This is crucial for getting the right texture.
- Pop your mixing bowl and beaters in the fridge for at least 2 hours. Cold is key!
- Now, pour the chilled evaporated milk into the cold bowl and whip it like you mean it! You’ll want to whip for about 20 minutes, until it looks and feels like whipped cream. A stand mixer makes this easier, but a hand mixer works too (just be prepared for a bit of an arm workout!).
- Gradually add the powdered sugar while continuing to beat. Make sure it’s fully incorporated – no grainy bits allowed!
- Transfer the mixture to a freezer-safe container. I like to use a metal loaf pan or a plastic container with a tight-fitting lid.
- Freeze for 1.5 hours.
- Remove from the freezer and gently mix in the broken chocolate pieces. Then, back into the freezer it goes!
- Here’s the slightly unusual but very important part: every 1.5 hours for the next 6 hours (that’s 4 times total!), take the ice cream out and give it a good mix. This breaks up the ice crystals and keeps the texture super smooth.
- Finally, once it’s fully set (usually after about 8-10 hours, or overnight), scoop and enjoy!
Expert Tips
Want to make sure your ice cream turns out perfectly? Here are a few tips:
- Chilling is non-negotiable. Seriously, don’t skip it! The colder everything is, the better the texture will be.
- Beating time matters. 20 minutes is a good starting point, but you want to whip until stiff peaks form.
- Don’t skip the mixing intervals! This is what prevents those annoying ice crystals from forming. It might seem like a pain, but trust me, it’s worth it.
- How do you know when it’s fully set? It should be firm enough to scoop easily, but still slightly soft. If it’s rock solid, it’s been frozen for too long!
Variations
This recipe is a blank canvas for your creativity! Here are a few ideas to get you started:
- Vegan Adaptation: Swap the evaporated milk for full-fat coconut milk. It will give the ice cream a subtle coconut flavor, which is delicious with chocolate! My friend, Priya, swears by this version.
- Spice Level: Add a pinch of cinnamon or even a tiny dash of chili powder for a little kick.
- Chocolate Variations: Experiment with different types of chocolate – white chocolate, hazelnut chocolate, even a swirl of Nutella! My kids love when I add mini chocolate chips.
Serving Suggestions
This ice cream is amazing on its own, but it’s even better with…well, everything!
- Serve it in a cone or a bowl.
- Top it with hot fudge sauce, whipped cream, and sprinkles.
- Use it to make ice cream sandwiches.
- Pair it with warm brownies or cookies.
Storage Instructions
Store leftover ice cream in an airtight container in the freezer for up to 2 weeks. It might get a little icy after that, but it will still be delicious!
FAQs
Let’s answer some common questions:
- What is the best way to chill the evaporated milk? Simply place the unopened can in the refrigerator overnight.
- Can I use a hand mixer instead of a stand mixer? Yes, you can! It will just take a little more effort.
- Why is it important to beat the ice cream while it’s freezing? It breaks up ice crystals and creates a smoother, creamier texture.
- How long does this ice cream last in the freezer? Up to 2 weeks for the best quality.
- Can I add other flavors like vanilla or nuts? Absolutely! Feel free to experiment with your favorite additions. A teaspoon of vanilla extract or a handful of chopped nuts would be lovely.
Enjoy making (and eating!) this easy chocolate ice cream. Let me know in the comments how it turns out for you!

Neha Deshmukh
Neha holds a B.A. in History with a focus on Indian and world history, including ancient, medieval, and modern periods. At RecipesOfIndia.org — the world’s largest database of Indian recipes — she combines her love for food and history by exploring how India’s past has shaped its culinary traditions.


