- In a mixing bowl, blend softened cream cheese, 3 tablespoons sugar, cocoa powder, 1 teaspoon vanilla extract, and dissolved instant coffee (made with hot water) until smooth and fluffy.
- In a separate bowl, whip heavy whipping cream with the remaining 3 tablespoons sugar and 1 teaspoon vanilla extract until stiff peaks form.
- Gently fold the whipped cream into the cream cheese mixture until fully combined.
- Divide the mixture into individual serving dishes and refrigerate for at least 1 hour to set.
- Garnish with additional whipped cream or chocolate shavings before serving.
- Calories:250 kcal25%
- Energy:1046 kJ22%
- Protein:3 g28%
- Carbohydrates:20 mg40%
- Sugar:15 mg8%
- Salt:50 g25%
- Fat:20 g20%
Last Updated on 4 months by Neha Deshmukh
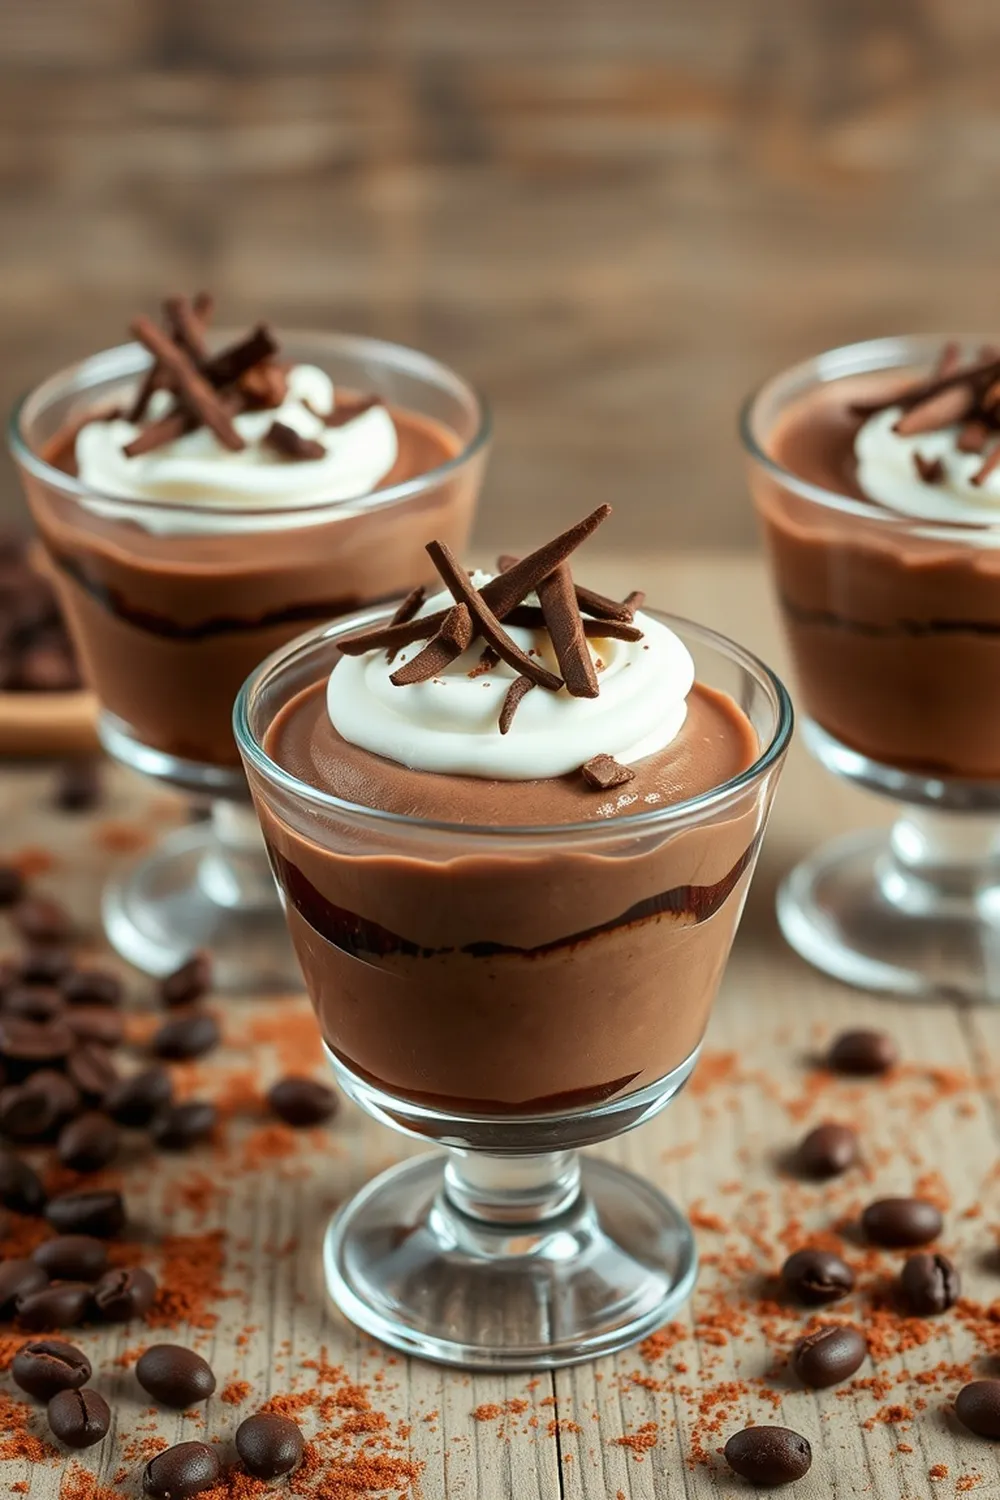
Easy Coffee Cocoa Dessert Recipe – Cream Cheese Mousse Cups
Hey everyone! If you’re anything like me, you’re always on the lookout for a dessert that’s both incredibly delicious and doesn’t require hours in the kitchen. Well, look no further! These Coffee Cocoa Mousse Cups are seriously a game-changer. I first made these for a small get-together with friends, and they were gone in minutes. They’re creamy, dreamy, and have just the right amount of coffee kick. Let’s get into it!
Why You’ll Love This Recipe
This mousse is the perfect little treat for so many reasons. It’s unbelievably easy to make – seriously, minimal effort involved. The combination of coffee and cocoa is just divine, and the cream cheese base makes it extra rich and smooth. Plus, it’s a fantastic make-ahead dessert, which is always a win in my book! It’s a delightful little pick-me-up, perfect after a spicy Indian meal, or just as a sweet treat with your evening chai.
Ingredients
Here’s what you’ll need to whip up these delightful mousse cups:
- 4 oz (113g) Cream Cheese
- 6 Tbsp (90ml) Sugar
- 2 Tbsp (10g) Cocoa Powder
- 1 Tbsp (15ml) Instant Coffee
- 1 Tbsp (15ml) Hot Water
- 2 tsp (10ml) Vanilla Extract
- 1 cup (240ml) Heavy Whipping Cream
Ingredient Notes
Let’s talk ingredients for a sec! A few little things can make all the difference.
- Cocoa Powder: I prefer using Dutch-processed cocoa powder for a smoother, less acidic flavor. It really deepens the chocolatey goodness.
- Instant Coffee: Any instant coffee will work, but I find a good quality one gives a richer coffee flavor. It’s a quick shortcut that doesn’t compromise on taste!
- Cream Cheese: This is not the time for low-fat cream cheese! Full-fat cream cheese is essential for that lovely, thick, and creamy texture. It’s what makes this mousse so special.
Step-By-Step Instructions
Alright, let’s get cooking! It’s super simple, I promise.
- First, let’s get that coffee ready. Dissolve the instant coffee in the hot water and set it aside to cool slightly.
- In a mixing bowl, beat the softened cream cheese with 3 tablespoons of sugar, cocoa powder, vanilla extract, and the dissolved coffee until everything is beautifully smooth and fluffy. Don’t overbeat, just until it’s nicely combined.
- Now, in a separate bowl, whip the heavy whipping cream with the remaining 3 tablespoons of sugar and 1 teaspoon of vanilla extract until stiff peaks form. This is where a little elbow grease (or a good electric mixer!) comes in handy.
- Gently fold the whipped cream into the cream cheese mixture. Be gentle! You want to keep all that lovely airiness. Fold until just combined – don’t overmix.
- Divide the mousse mixture into individual serving dishes. I like to use small glasses or ramekins.
- Pop them in the fridge for at least an hour to set. This is the hardest part – waiting!
Expert Tips
A few little things I’ve learned over the years:
- Make sure your cream cheese is properly softened. It makes all the difference in getting a smooth, lump-free mousse.
- Don’t be afraid to taste as you go! Adjust the sugar or coffee to your liking.
- For an extra smooth texture, chill your mixing bowl and whisk attachment before whipping the cream.
Variations
This recipe is a great base for experimenting! Here are a few ideas:
- Chocolate Intensity: Add a tablespoon of melted dark chocolate for a richer, more intense chocolate flavor. My brother loves this!
- Sugar Level: Reduce the sugar to 4 tablespoons if you prefer a less sweet dessert.
- Coffee Flavor – Strong vs. Mild: Use 1.5 tablespoons of instant coffee for a stronger coffee kick, or just ½ tablespoon for a more subtle flavor.
- Dairy-Free Adaptation: Use a plant-based cream cheese and coconut whipping cream for a delicious dairy-free version. It won’t be exactly the same, but still incredibly tasty!
Serving Suggestions
These mousse cups are lovely on their own, but a little garnish never hurts!
- A dollop of whipped cream.
- Chocolate shavings.
- A sprinkle of cocoa powder.
- A few coffee beans.
- A fresh raspberry or strawberry.
They pair beautifully with a cup of masala chai or a glass of cold milk.
Storage Instructions
Leftover mousse (if there is any!) can be stored in an airtight container in the refrigerator for up to 3 days.
FAQs
Let’s answer some common questions:
- Can this mousse be made ahead of time? Absolutely! You can make it up to 2 days in advance. Just keep it covered in the fridge.
- What is the best type of cocoa powder to use? Dutch-processed cocoa powder is my go-to for a smooth, rich flavor, but natural cocoa powder will also work.
- Can I use brewed coffee instead of instant coffee? You can, but you’ll need to reduce the amount to about 1 teaspoon of strong brewed coffee to avoid making the mousse too liquidy.
- How can I prevent the mousse from being grainy? Make sure your cream cheese is fully softened and beat it well with the other ingredients. Don’t overbeat the whipped cream, and fold gently.
- What are some creative garnish ideas? Get creative! Crushed biscuits, a drizzle of chocolate sauce, or even a sprinkle of chopped nuts would be lovely.
Enjoy! I hope you love this recipe as much as I do. Let me know in the comments if you try it, and how it turns out!


Neha Deshmukh
Neha holds a B.A. in History with a focus on Indian and world history, including ancient, medieval, and modern periods. At RecipesOfIndia.org — the world’s largest database of Indian recipes — she combines her love for food and history by exploring how India’s past has shaped its culinary traditions.