- Preheat the oven to 160°C (320°F). Line a 6-cup muffin pan with liners or place silicone liners on a baking sheet.
- Using a hand mixer, beat the cream cheese until smooth and creamy.
- Gradually add the sugar, followed by the egg and vanilla extract, mixing until fully incorporated.
- Evenly distribute the batter into the prepared liners. Bake for 20-25 minutes or until a toothpick inserted into the center comes out clean.
- Let the cupcakes cool completely on a wire rack.
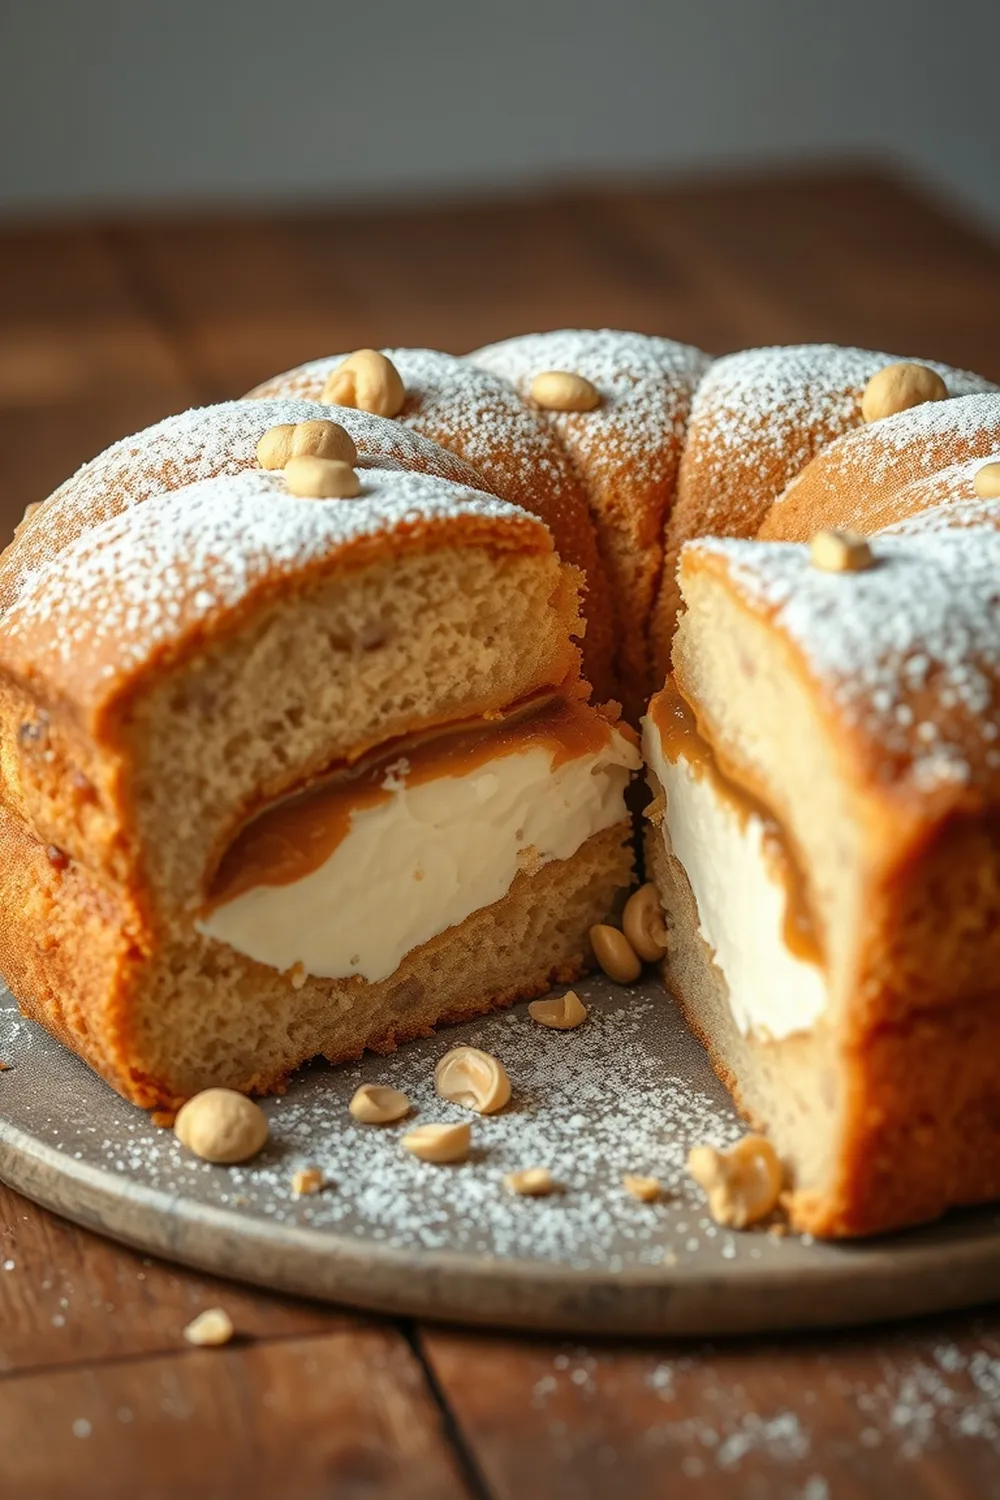
- Top each cupcake with a dollop of dulce de leche before serving.
- Calories:320 kcal25%
- Energy:1338 kJ22%
- Protein:5 g28%
- Carbohydrates:30 mg40%
- Sugar:20 mg8%
- Salt:150 g25%
- Fat:20 g20%
Last Updated on 2 months by Neha Deshmukh
Easy Dulce de Leche Cupcake Recipe – Cream Cheese & Vanilla Delight
Hey everyone! If you’re anything like me, you’re always on the lookout for a simple yet utterly delicious treat. And let me tell you, these Dulce de Leche Cupcakes are it. They’re wonderfully moist, thanks to the cream cheese, and that dulce de leche topping? Pure heaven. I first made these for a friend’s birthday, and they were a huge hit – I’ve been making them ever since!
Why You’ll Love This Recipe
These cupcakes are seriously easy to whip up, even if you’re not a seasoned baker. They come together quickly, and the combination of creamy vanilla cupcake and rich dulce de leche is just irresistible. Plus, they look beautiful with minimal effort! Perfect for a quick dessert, a party treat, or just a little something special for yourself.
Ingredients
Here’s what you’ll need to make these delightful cupcakes:
- 1 package (200 gm) Philadelphia Light cheese
- 1/3 cup sugar
- 1 egg
- 1/2 tsp vanilla extract
- Dulce de leche (for topping)
Ingredient Notes
Let’s talk ingredients! A few little things can make a big difference:
- Philadelphia Light Cream Cheese: I love using Philadelphia Light because it gives a lovely, light texture without sacrificing that classic cream cheese tang. Full-fat works beautifully too, if you prefer a richer cupcake!
- Dulce de Leche: This caramel-like spread is the star of the show! Dulce de leche originated in South America, and you can find it in most well-stocked supermarkets these days. There are variations – some are smoother, some have a slightly grainier texture. Experiment and find your favourite! You can even make your own if you’re feeling ambitious.
- Vanilla Extract: Don’t skimp on the vanilla! A good quality vanilla extract really enhances the flavour. I prefer using pure vanilla extract over imitation for the best results.
Step-By-Step Instructions
Alright, let’s get baking! It’s easier than you think.
- Preheat the oven to 160°C (320°F). Line a 6-cup muffin pan with liners or place silicone liners on a baking sheet.
- In a mixing bowl, beat the cream cheese with a hand mixer until it’s beautifully smooth and creamy. No lumps allowed!
- Gradually add the sugar, mixing until combined. Then, add the egg and vanilla extract, and mix until everything is fully incorporated. Don’t overmix – just until it’s all blended.
- Evenly distribute the batter into the prepared liners. You should get about 6 cupcakes.
- Bake for 20 minutes, or until the cupcakes are set and a toothpick inserted into the centre comes out clean.
- Let the cupcakes cool completely at room temperature before adding the dulce de leche. Trust me, this is important!
Expert Tips
Here are a few things I’ve learned along the way:
- Don’t open the oven door while the cupcakes are baking! It can cause them to sink.
- Make sure your cream cheese is at room temperature for a smoother batter.
- For a perfectly even bake, rotate the muffin pan halfway through.
Variations
Want to switch things up? Here are a few ideas:
- Spice Level: My friend Priya loves adding a pinch of cinnamon to the batter for a warm, cozy flavour. About 1/4 teaspoon is perfect.
- Gluten-Free: If you’re gluten-free, simply use your favourite gluten-free flour blend. I’ve had great results with a 1:1 replacement.
- Vegan: For a vegan version, use vegan cream cheese and an egg replacer. There are some fantastic options available now!
- Festival Adaptations: For Diwali, add some colourful sprinkles! Or for a birthday, use themed sprinkles to match the party. My kids love this!
Serving Suggestions
These cupcakes are delicious on their own, but here are a few ideas to take them to the next level:
- Serve with a cup of chai for the perfect afternoon treat.
- Pair with a scoop of vanilla ice cream for an extra indulgent dessert.
- Arrange them on a pretty platter for a party or gathering.
Storage Instructions
Got leftovers? No problem!
- Store leftover cupcakes in an airtight container at room temperature for up to 2 days.
- You can also store them in the refrigerator for up to 5 days.
FAQs
Let’s answer some common questions:
- What is the best way to store leftover cupcakes? An airtight container is your best friend! This keeps them moist and prevents them from drying out.
- Can I make these cupcakes ahead of time? Absolutely! You can bake them a day or two in advance and store them in an airtight container. Add the dulce de leche topping just before serving.
- What can I substitute for vanilla extract? If you don’t have vanilla extract, you can use vanilla bean paste or a teaspoon of vanilla powder.
- What is Dulce de Leche and where can I find it? Dulce de leche is a caramel-like spread made by slowly heating sweetened milk. You can find it in the international aisle of most supermarkets, or online.
- Can I freeze these cupcakes? Yes, you can! Freeze them without the dulce de leche topping. Wrap them individually in plastic wrap and then place them in a freezer-safe bag. They’ll keep for up to 2 months. Thaw completely before adding the topping.


