- In a mixing bowl, combine CMC and GMS. Add milk powder and corn flour, and mix well.
- Add 1/4 cup milk to the dry ingredients and whisk until smooth, ensuring no lumps remain.
- In a saucepan, combine the remaining milk and sugar. Bring to a boil, then reduce heat and simmer for 5 minutes.
- Gradually add the corn flour mixture to the simmering milk while stirring continuously to prevent lumps from forming.
- Cook for 1-2 minutes, stirring constantly, until thickened. Remove from heat, add vanilla extract, and let cool completely.
- Strain the mixture into a shallow, freezer-safe container. Freeze for 3-4 hours, or until partially frozen.
- Remove the partially frozen mixture and blend with fresh cream using an electric beater for 5-6 minutes, until light and frothy.
- Return to the freezer for another 3-4 hours, then repeat the blending process.
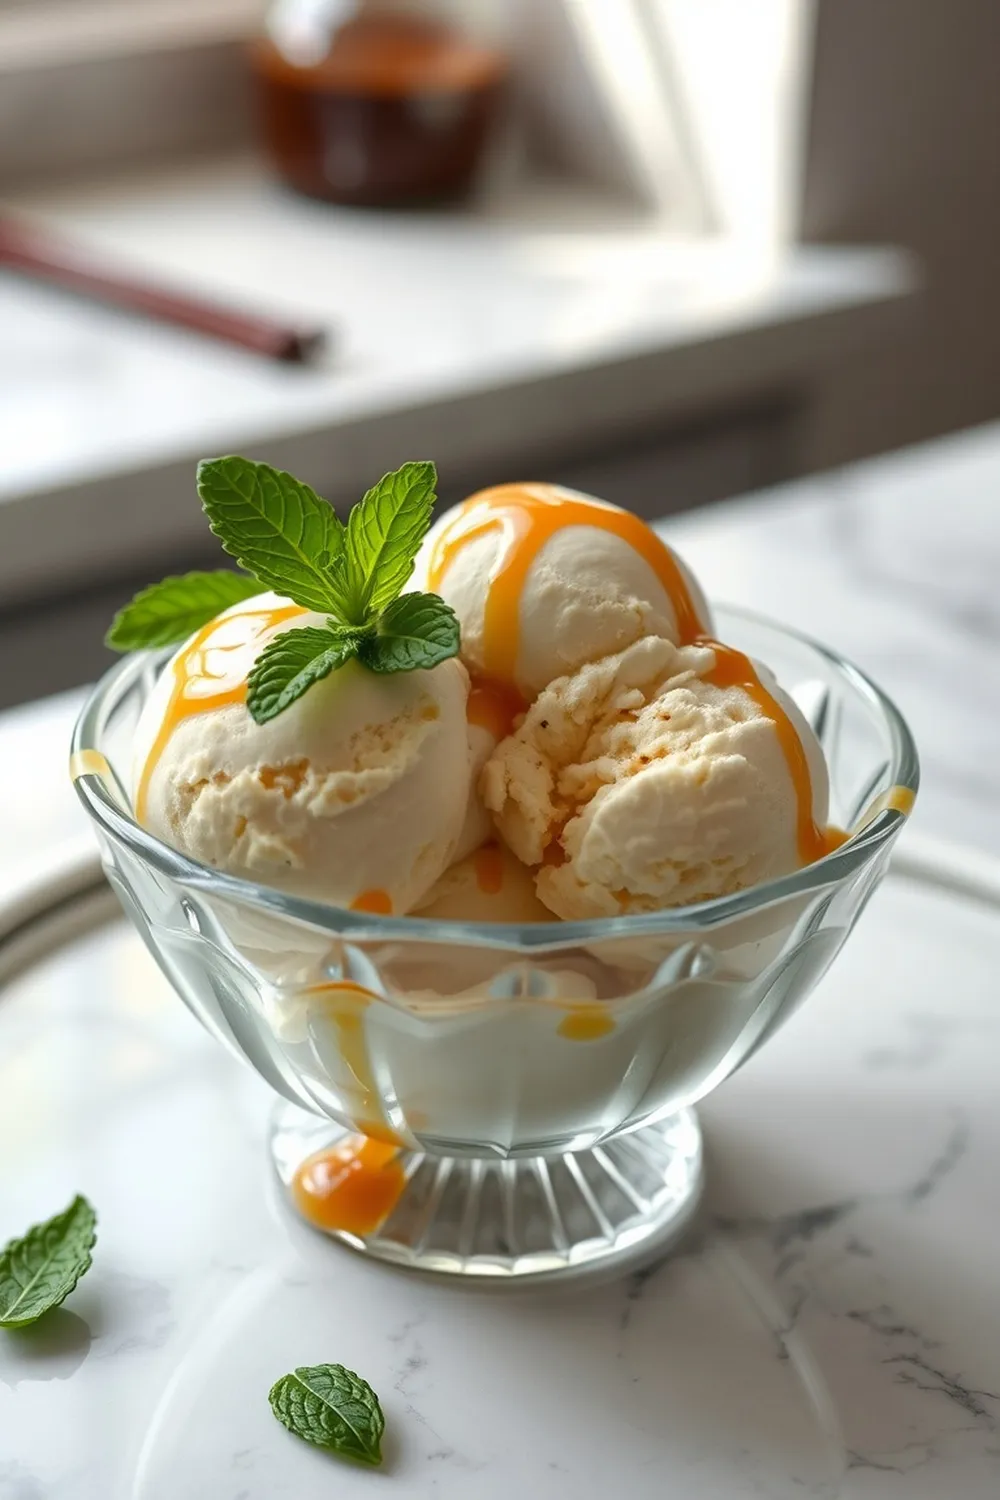
- Transfer to airtight containers and freeze overnight. Let sit at room temperature for 5-10 minutes before scooping.
- Calories:561 kcal25%
- Energy:2347 kJ22%
- Protein:11 g28%
- Carbohydrates:80 mg40%
- Sugar:71 mg8%
- Salt:177 g25%
- Fat:22 g20%
Last Updated on 6 months ago by Neha Deshmukh
Easy Homemade Ice Cream Recipe – Milk Powder & Vanilla Delight
Hey everyone! If you’re anything like me, the thought of a hot summer day just begs for a scoop (or three!) of creamy, dreamy ice cream. But store-bought can be pricey, and honestly, nothing beats the satisfaction of making something delicious from scratch. This easy homemade ice cream recipe, using milk powder and a touch of vanilla, is a family favourite – and I’m so excited to share it with you! I first made this when my niece was visiting, and we had so much fun churning it together. It’s surprisingly simple, and the results are unbelievably good.
Why You’ll Love This Recipe
This isn’t your typical complicated ice cream recipe. It skips the ice cream maker and relies on a little freezer time and some good old-fashioned blending. It’s perfect for when you’re craving something sweet but don’t want to spend hours in the kitchen. Plus, the milk powder gives it a lovely, rich texture that you won’t believe! It’s a guaranteed crowd-pleaser, and honestly, it’s just fun to make.
Ingredients
Here’s what you’ll need to whip up a batch of this delightful ice cream:
- 2 cups full fat milk (approximately 475ml)
- 1/2 heaped cup sugar (approximately 100g)
- 1/4 teaspoon CMC (Carboxymethyl Cellulose)
- 1.5 tablespoon GMS (Glycerol Monostearate)
- 2 tablespoon milk powder (approximately 15g)
- 1.5 tablespoon corn flour (approximately 18g)
- 1/4 cup fresh cream (approximately 60ml)
- 0.75 tablespoon vanilla essence (approximately 11ml)
Ingredient Notes
Let’s talk ingredients! A few of these might be new to you, so here’s the lowdown:
- CMC: This is a stabilizer that helps prevent ice crystals from forming, giving you a smoother ice cream. If you can’t find it, you can try substituting with 1/2 tablespoon of guar gum, but the texture might be slightly different.
- GMS: Another stabilizer! GMS helps create a creamy texture and prevents the ice cream from becoming icy. It can be a little tricky to find, but it really makes a difference. You can skip it, but your ice cream might be a bit icier.
- Milk Powder: Don’t underestimate the power of milk powder! It adds richness and a lovely flavour to the ice cream. I always use full-fat milk powder for the best results.
- Milk: Full-fat milk is best for a creamy texture, but you can experiment with lower-fat options if you prefer.
- Vanilla Essence: Use a good quality vanilla essence for the best flavour. A little goes a long way!
Step-By-Step Instructions
Alright, let’s get cooking!
- In a mixing bowl, combine the CMC, GMS, milk powder, and corn flour. Give it a good mix to make sure everything is evenly distributed.
- Add 1/4 cup of milk to the dry ingredients and whisk until you have a smooth paste. No lumps allowed!
- In a saucepan, combine the remaining milk and sugar. Bring it to a boil over medium heat, then reduce the heat and simmer for about 5 minutes, stirring occasionally.
- Now, here’s the important part: gradually add the corn flour mixture to the simmering milk while stirring constantly. This prevents lumps from forming. Keep stirring until it starts to thicken.
- Cook for another 1-2 minutes until it’s nicely thickened. Remove the saucepan from the heat and stir in the vanilla essence. Let it cool completely.
- Pour the mixture into a shallow, freezer-safe container. Cover it and freeze for 3-4 hours, or until it’s partially frozen – think slushy consistency.
- Remove the partially frozen mixture and blend it with the fresh cream using an electric beater for 5-6 minutes. You want it to become light and frothy. This is where the magic happens!
- Return the mixture to the freezer for another 3-4 hours. Then, repeat the blending process one more time. This double-churning is key to a super smooth texture.
- Finally, transfer the ice cream to airtight containers and freeze overnight. Before scooping, let it sit at room temperature for 2 minutes to soften slightly.
Expert Tips
- Don’t skip the blending! The blending process is what incorporates air into the ice cream, making it light and fluffy.
- Freeze in stages: Freezing in stages and re-blending is the secret to a smooth, creamy texture without an ice cream maker.
- Airtight containers are your friend: They prevent freezer burn and keep your ice cream tasting fresh.
Variations
Want to get creative? Here are a few ideas:
- Vegan Adaptation: Swap the full-fat milk for your favourite plant-based milk (almond, soy, or coconut work well) and use a plant-based cream alternative.
- Gluten-Free: This recipe is naturally gluten-free, so you’re good to go!
- Spice Level: Vanilla is lovely and mild, but if you’re feeling adventurous, try adding a pinch of cardamom or a few strands of saffron for a fragrant twist. My grandmother always added a tiny bit of cardamom – it’s divine!
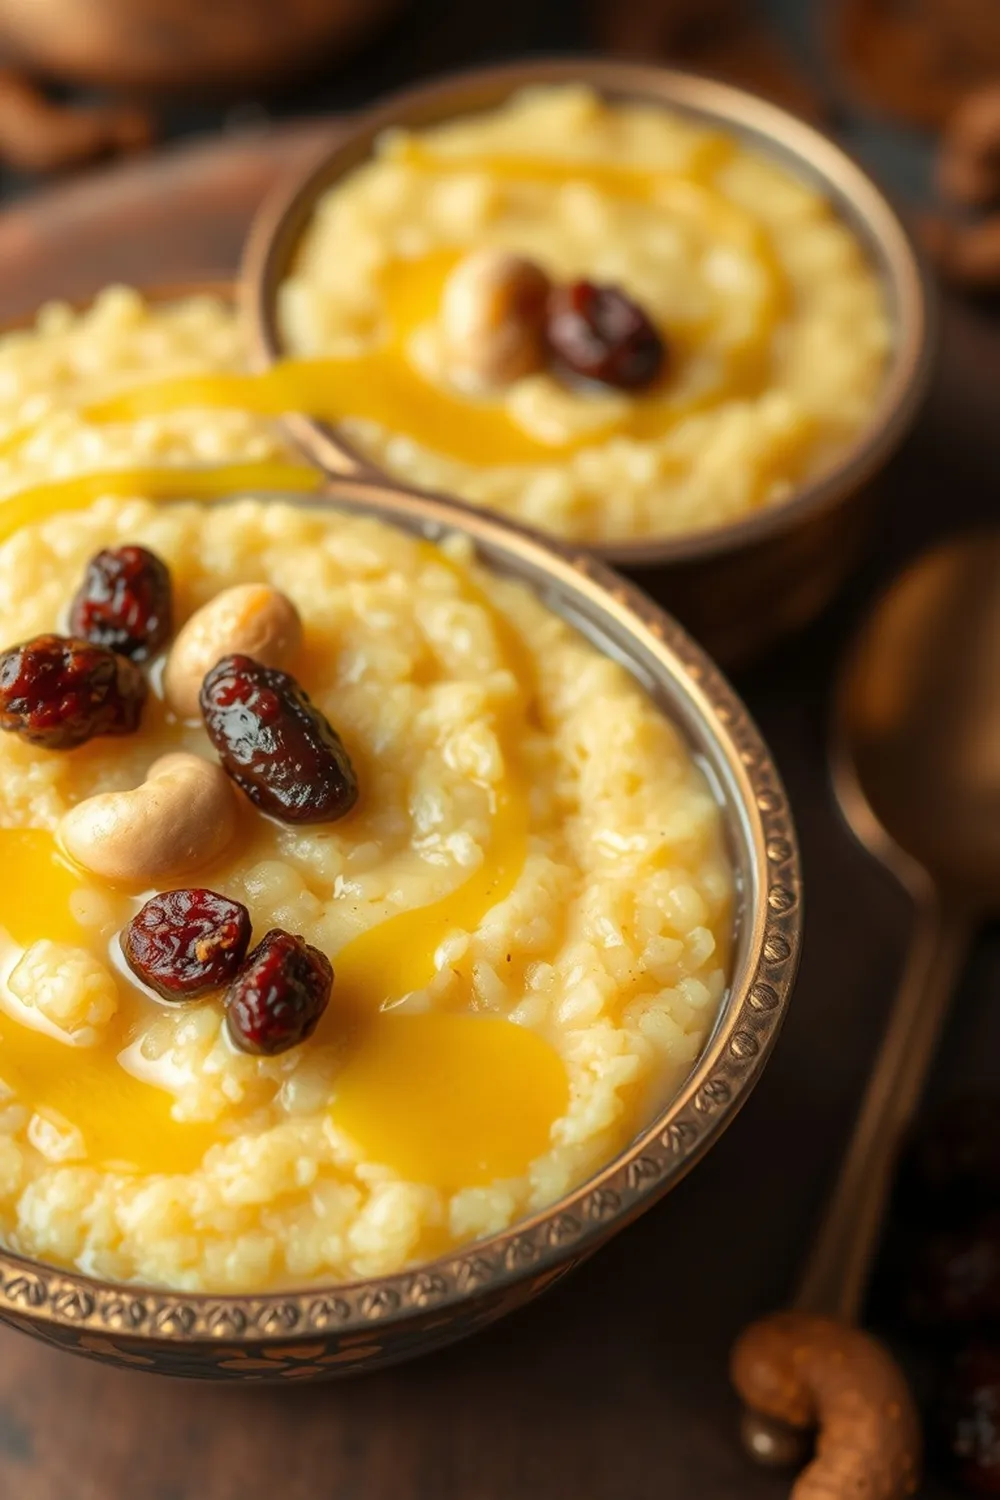
- Festival Adaptations: During Holi, you could swirl in some rose syrup. For Diwali, a sprinkle of chopped nuts would be perfect.
Serving Suggestions
This ice cream is delicious on its own, but it’s even better with…
- A sprinkle of chopped nuts
- A drizzle of chocolate sauce
- Fresh fruit like berries or mangoes
- Crumbled biscuits or cookies
Storage Instructions
Store your homemade ice cream in an airtight container in the freezer for up to 2 weeks. It’s best enjoyed fresh, but it will keep well for a little while.
FAQs
Let’s answer some common questions:
- What is CMC and GMS and are they essential? They’re stabilizers that help with texture. While not essential, they really improve the final product.
- Can I make this ice cream without an electric beater? You can, but it will be a lot more work! You’ll need to whisk vigorously for a longer time to incorporate enough air.
- How can I adjust the sweetness level? Feel free to adjust the amount of sugar to your liking. Start with 1/2 cup and add more if needed.
- What type of milk works best for this recipe? Full-fat milk gives the creamiest results, but you can use lower-fat options if you prefer.
- Can I add fruit or chocolate to this ice cream? Absolutely! Add chopped fruit or chocolate chips during the second blending stage.
Enjoy making (and eating!) this delicious homemade ice cream. I hope it brings a little sweetness to your day! Let me know in the comments how it turns out for you.


Neha Deshmukh
Neha holds a B.A. in History with a focus on Indian and world history, including ancient, medieval, and modern periods. At RecipesOfIndia.org — the world’s largest database of Indian recipes — she combines her love for food and history by exploring how India’s past has shaped its culinary traditions.