- In a large mixing bowl, combine 2 cups all-purpose flour (maida), 2 tablespoons sugar, 1 tablespoon baking powder, 1/2 teaspoon baking soda, and a pinch of salt. Mix well.
- Add 2 tablespoons melted butter and 1 cup milk. Whisk until smooth.
- Gradually add 1/4 cup more milk to achieve a flowing batter consistency.
- Heat a nonstick pan and grease lightly with butter. Pour a ladleful of batter onto the pan without spreading it.
- Cook on low heat for 2-3 minutes or until bubbles form on the surface.
- Flip the pancake and cook for another 1-2 minutes until golden brown.
- Serve warm with a dollop of butter and a drizzle of honey or maple syrup.
- Calories:220 kcal25%
- Energy:920 kJ22%
- Protein:6 g28%
- Carbohydrates:32 mg40%
- Sugar:8 mg8%
- Salt:250 g25%
- Fat:7 g20%
Last Updated on 4 months by Neha Deshmukh
Easy Maida Pancake Recipe – Butter & Honey Indian Breakfast
Hey everyone! If you’re anything like me, sometimes you just crave a simple, comforting breakfast. And honestly, nothing beats a fluffy pancake, especially when drizzled with honey and a generous knob of butter. This maida pancake recipe is a family favourite – I first made it when I was trying to recreate the pancakes from my favourite childhood cafe, and it’s been a hit ever since! It’s super easy, comes together in minutes, and is perfect for a lazy weekend brunch.
Why You’ll Love This Recipe
These aren’t your average pancakes. They’re light, airy, and have a subtle sweetness that makes them incredibly moreish. Plus, they’re incredibly versatile – you can dress them up with all sorts of toppings! They’re a fantastic way to use up milk that’s nearing its expiry date, and honestly, who doesn’t love a good excuse for pancakes?
Ingredients
Here’s what you’ll need to whip up a batch of these delicious maida pancakes:
- 2 cup maida / plain flour / refined flour
- 2 tbsp sugar
- 1 tbsp baking powder
- 0.5 tsp baking soda
- 1 pinch salt
- 2 tbsp butter (melted)
- 1.5 cup milk
- Butter for serving
- Honey for serving
Ingredient Notes
Let’s talk ingredients! A few little tips can make all the difference.
Maida (Plain Flour/Refined Flour) – Understanding its properties
Maida, or refined flour, is what gives these pancakes their lovely soft texture. It has a lower protein content than whole wheat flour, resulting in a more tender crumb. You can use approximately 120g of maida per cup.
Baking Powder & Baking Soda – The Leavening Agents
These are the dynamic duo that makes our pancakes fluffy! Baking powder is a complete leavening agent, while baking soda needs an acid (like the buttermilk some recipes use – we’re getting our acid from the reaction with the milk) to activate. Don’t skip either one!
Butter – Salted vs. Unsalted & its role in flavour
I prefer using unsalted butter in baking so I can control the salt levels. But if you only have salted, that’s totally fine – just reduce the pinch of salt in the recipe slightly. The butter also adds a lovely richness to the pancakes.
Milk – Full Fat vs. Low Fat & impact on texture
Full-fat milk will give you a richer, more tender pancake, but low-fat milk works just fine too! I usually use whatever I have in the fridge. Using around 240ml of milk for 1.5 cups is a good guide.
Step-By-Step Instructions
Alright, let’s get cooking!
- In a large mixing bowl, combine the maida, sugar, baking powder, baking soda, and salt. Give it a good whisk to make sure everything is evenly distributed.
- Add the melted butter and 1 cup of milk. Whisk until you have a smooth batter – don’t worry about a few little lumps at this stage.
- Now, gradually add the remaining ½ cup of milk, whisking as you go. You want to achieve a batter that’s flowing and easily pourable, but not too thin. Think of the consistency of slightly thickened cream.
- Heat a nonstick pan or tawa over low heat. Lightly grease it with a little butter. This is key to preventing sticking!
- Pour a ladleful of batter onto the hot pan. Don’t spread it – let it spread naturally.
- Cook for about 2 minutes, or until you see bubbles forming all over the surface of the pancake.
- Gently flip the pancake and cook for another 1-2 minutes, until it’s golden brown and cooked through.
- Serve immediately with a generous dollop of butter and a drizzle of honey or maple syrup.
Expert Tips
Want to take your pancake game to the next level? Here are a few of my go-to tips:
Achieving the Perfect Pancake Thickness
The batter consistency is crucial. If it’s too thick, your pancakes will be dense. Too thin, and they’ll be flimsy. Add milk a tablespoon at a time until you get it just right.
Preventing Sticking – Pan Temperature & Greasing
Low and slow is the way to go! A pan that’s too hot will cause the pancakes to burn before they cook through. And don’t skimp on the butter or oil for greasing.
Recognizing When to Flip
Those bubbles are your cue! When bubbles start to appear all over the surface and the edges look set, it’s time to flip.
Ensuring Even Cooking
Don’t overcrowd the pan. Cook the pancakes in batches to ensure they cook evenly.
Variations
Pancakes are a blank canvas for creativity! Here are a few ideas to get you started:
Vegan Pancakes – Milk & Butter Substitutions
Easily make these vegan by swapping the milk for almond milk or soy milk, and the butter for a vegan butter alternative.
Gluten-Free Pancakes – Alternative Flour Options
For a gluten-free version, try using a gluten-free all-purpose flour blend. You might need to add a little extra liquid to achieve the right consistency.
Spice Level – Adding Cardamom or Cinnamon
My friend, Priya, loves adding a pinch of cardamom powder to the batter for a warm, fragrant flavour. A dash of cinnamon is also delicious!
Festival Adaptations – Adapting for Makar Sankranti or Lohri
During Makar Sankranti, we sometimes add a little grated coconut and jaggery to the batter for a festive touch. For Lohri, a sprinkle of sesame seeds is a lovely addition.
Serving Suggestions
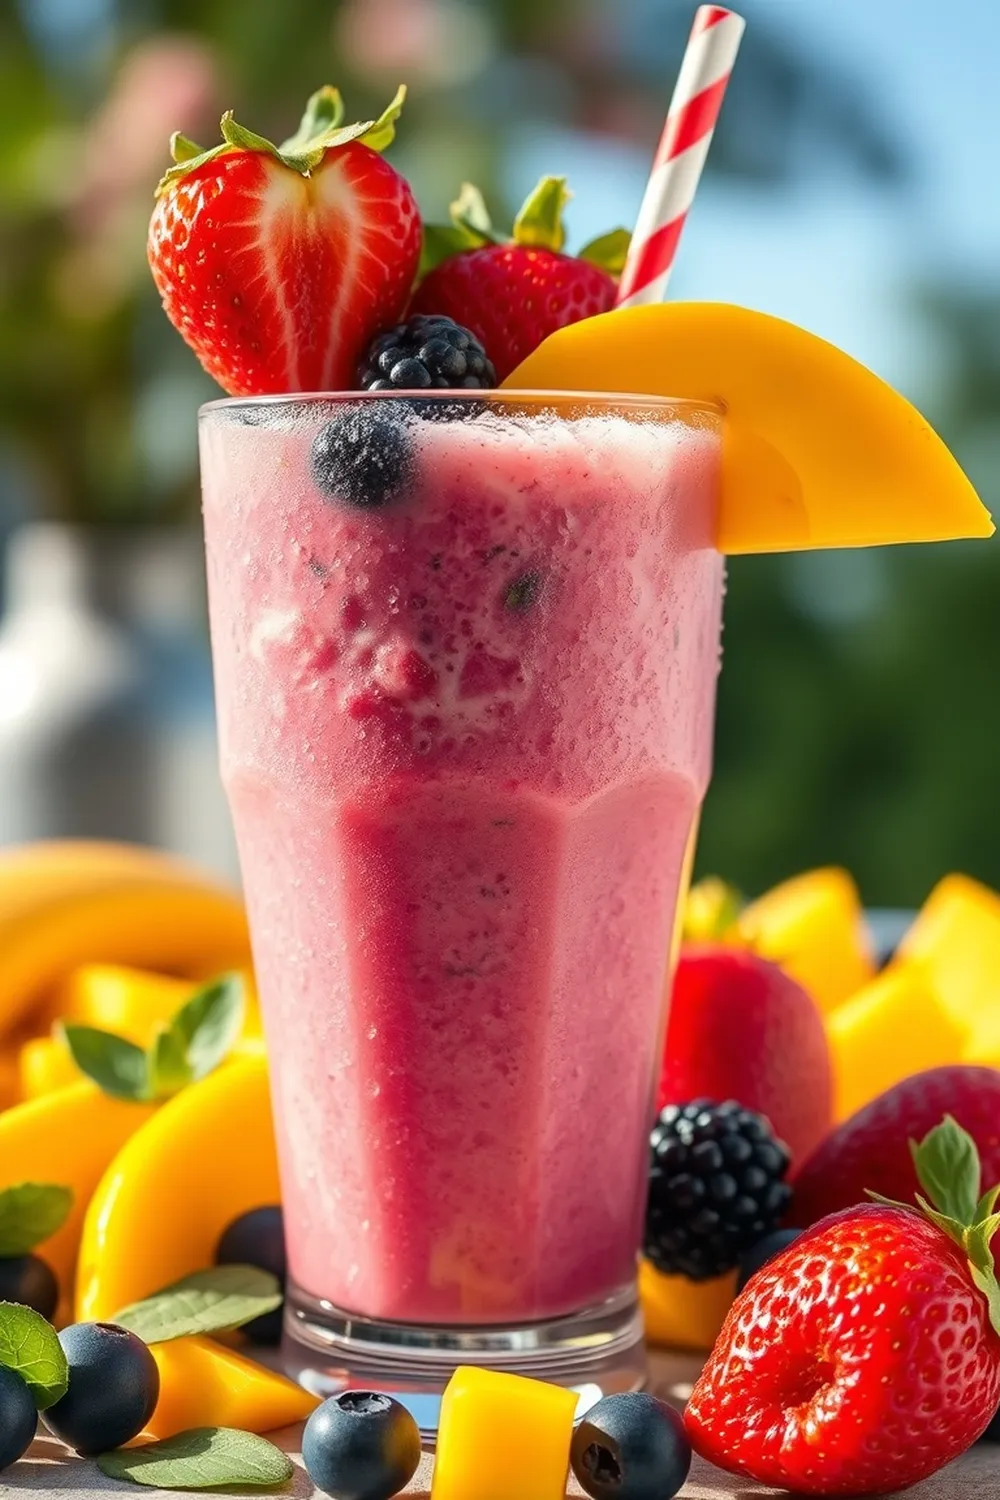
These pancakes are amazing on their own, but feel free to get creative with toppings! Fresh berries, sliced bananas, chocolate chips, whipped cream… the possibilities are endless. A side of fruit salad or a glass of lassi makes a perfect accompaniment.
Storage Instructions
Leftover pancakes can be stored in an airtight container in the refrigerator for up to 2 days. Reheat them gently in a pan or microwave. They’re also freezer-friendly! Wrap them individually in plastic wrap and store them in a freezer bag for up to a month.
FAQs
Got questions? I’ve got answers!
What is Maida and can I substitute it?
Maida is a refined wheat flour commonly used in Indian cooking. If you don’t have maida, you can try using all-purpose flour, but the texture might be slightly different.
How do I know if my batter is the right consistency?
It should be flowing and easily pourable, like slightly thickened cream. If it’s too thick, add a little more milk. If it’s too thin, add a tablespoon of flour.
Can I make the pancake batter ahead of time?
Yes, you can! Just store it in an airtight container in the refrigerator for up to 24 hours. You might need to whisk it again before using, as it may separate slightly.
What’s the best way to prevent pancakes from becoming rubbery?
Don’t overmix the batter! Overmixing develops the gluten in the flour, resulting in tough pancakes.
Can I use a griddle instead of a pan?
Absolutely! A griddle works perfectly well. Just make sure it’s properly heated and greased.
Enjoy your pancakes! I hope this recipe brings a little bit of joy to your kitchen. Let me know in the comments how they turn out!


Neha Deshmukh
Neha holds a B.A. in History with a focus on Indian and world history, including ancient, medieval, and modern periods. At RecipesOfIndia.org — the world’s largest database of Indian recipes — she combines her love for food and history by exploring how India’s past has shaped its culinary traditions.