- Wash and soak rice and moong dal for 20-30 minutes.
- Heat oil in a pressure cooker. Sauté minced ginger and garlic for 1 minute.
- Add chopped onions and sauté until softened.
- Mix in green chilies, tomatoes, salt, red chili powder, and turmeric. Cook until tomatoes soften.
- Add mixed vegetables and 3 cups of water. Stir in the drained rice and dal.
- Pressure cook for 5 whistles. Let the pressure release naturally.
- Adjust consistency with hot water if needed.
- For tempering: Heat ghee. Fry cumin seeds, garlic slices, shallots, and curry leaves until golden brown.
- Pour the tempering over the khichdi and mix gently.
- Serve hot with papad or an omelette.
- Calories:350 kcal25%
- Energy:1464 kJ22%
- Protein:15 g28%
- Carbohydrates:55 mg40%
- Sugar:5 mg8%
- Salt:450 g25%
- Fat:12 g20%
Last Updated on 2 months by Neha Deshmukh
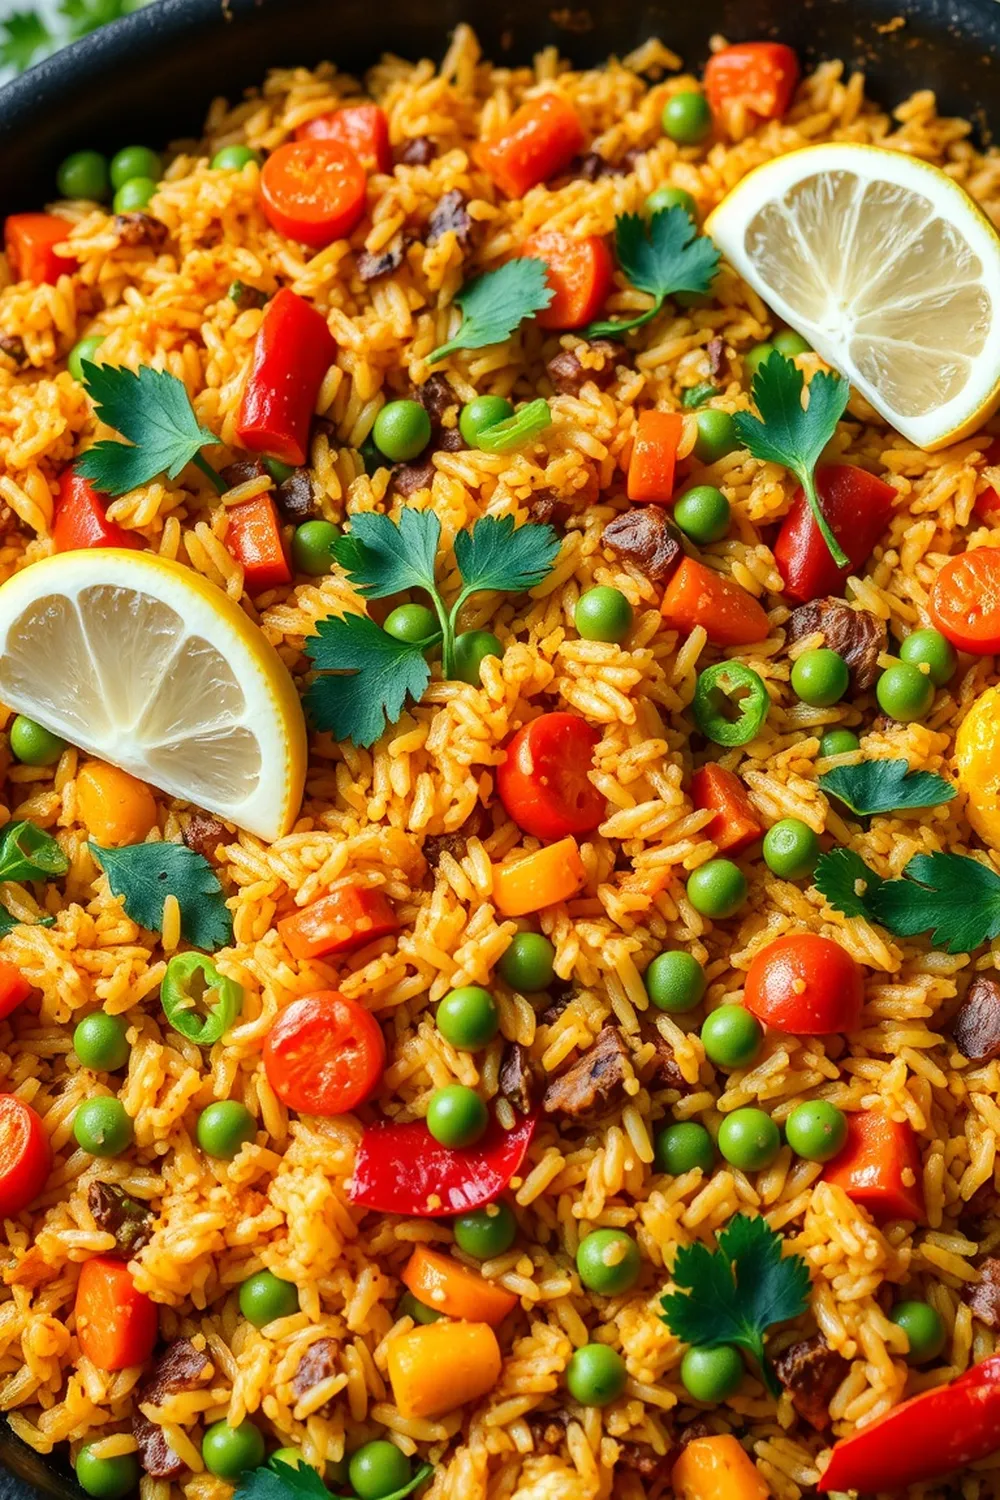
Easy Moong Dal Khichdi Recipe – Rice & Vegetable One-Pot Meal
Introduction
Khichdi. Just the name feels like a warm hug, doesn’t it? It’s the ultimate comfort food, and honestly, a lifesaver on busy weeknights or when you’re just not feeling up to a complicated meal. I remember my grandmother making a huge pot of khichdi whenever anyone was under the weather – it’s that nourishing! This easy moong dal khichdi recipe is my go-to, and I’m so excited to share it with you. It’s a simple, one-pot meal packed with flavour and goodness.
Why You’ll Love This Recipe
This khichdi is seriously easy to make – perfect for beginner cooks or anyone short on time. It’s incredibly versatile; you can easily swap out the vegetables to use what you have on hand. Plus, it’s a complete meal in itself, offering a good balance of carbs, protein, and veggies. It’s light yet filling, and just…well, happy food!
Ingredients
Here’s what you’ll need to make this comforting khichdi:
- ½ cup basmati rice
- ½ cup split yellow moong dal
- 1.5 tablespoons peanut oil
- 4 garlic cloves
- 1 inch ginger
- ½ cup chopped onion
- 2 green chillies
- 2 tomatoes
- 1 teaspoon salt (or to taste)
- ¼ teaspoon red chilli powder
- ¼ teaspoon turmeric powder
- 3 cups mixed vegetables (carrots, peas, beans, potatoes work well!)
- 3 cups water
- 2 teaspoons ghee
- ¼ teaspoon cumin seeds
- 2 garlic cloves
- 5 Indian shallots (or 1 small onion, finely chopped)
- 1 sprig curry leaves
Ingredient Notes
Let’s talk ingredients! Using basmati rice is key for that lovely fluffy texture. But you can use other short-grain rice if that’s what you have. Moong dal is super easy to digest, making this dish perfect for all ages.
As for the veggies, feel free to get creative! Traditionally, khichdi uses seasonal vegetables. In my family, we love adding cauliflower and spinach in the winter. The tempering (the final ghee-based step) is where you can really customize things. Some people add a pinch of asafoetida (hing) for extra flavour, or even a dried red chilli. Don’t be afraid to experiment!
Step-By-Step Instructions
Alright, let’s get cooking!
- First, wash the rice and moong dal together under cold water. Soak them for about 20-30 minutes – this helps them cook evenly.
- Heat the peanut oil in a pressure cooker over medium heat. Add the minced ginger and garlic and sauté for about a minute until fragrant.
- Now, toss in the chopped onions and sauté until they turn soft and golden brown.
- Add the chopped green chillies, tomatoes, salt, red chilli powder, and turmeric powder. Cook for a few minutes until the tomatoes soften and become mushy.
- Add your mixed vegetables and 3 cups of water. Give everything a good stir, then add the drained rice and dal.
- Close the pressure cooker lid and cook for 5 whistles on medium heat. Once done, let the pressure release naturally. Don’t rush this part!
- Once the pressure has released, open the cooker and check the consistency. If it’s too thick, add a little hot water to reach your desired consistency.
- Now for the best part – the tempering! Heat the ghee in a small pan. Add the cumin seeds and let them splutter. Then, add the garlic slices, shallots, and curry leaves. Fry until golden brown and fragrant.
- Pour this beautiful tempering over the khichdi and mix gently.
Expert Tips
- Don’t skip the soaking step! It really does make a difference in the texture.
- Adjust the amount of green chillies and red chilli powder to suit your spice preference.
- If you’re using a lot of hard vegetables like potatoes, you might need to add an extra cup of water.
- For a richer flavour, use homemade ghee.
Variations
- Vegan Khichdi: Simply substitute the ghee with a plant-based oil like coconut oil for the tempering.
- Gluten-Free: This recipe is naturally gluten-free!
- Spice Level Adjustments: Reduce or omit the green chillies and red chilli powder for a milder flavour. Add a pinch of garam masala for extra warmth.
- Monsoon/Rainy Day Adaptation: My mom always added a tiny bit of asafoetida (hing) to the khichdi during the monsoon season, believing it aids digestion. It’s a lovely addition!
Serving Suggestions
Khichdi is delicious on its own, but it’s even better with some accompaniments! I love serving it hot with a crispy papad, a dollop of yogurt, or a simple omelette. A side of pickle adds a lovely tangy kick.
Storage Instructions
Leftover khichdi can be stored in an airtight container in the refrigerator for up to 3 days. Reheat gently on the stovetop or in the microwave. You might need to add a splash of water to loosen it up.
FAQs
- What is the best type of rice to use for Khichdi? Basmati rice is ideal for its fluffy texture, but you can use other short-grain rice varieties.
- Can I make Khichdi without a pressure cooker? Yes! You can cook it in a regular pot, but it will take longer – about 45-60 minutes, or until the rice and dal are tender.
- How do I adjust the consistency of the Khichdi? Add hot water, a little at a time, until you reach your desired consistency.
- What vegetables are traditionally used in Khichdi? Traditionally, seasonal vegetables like peas, carrots, beans, cauliflower, and spinach are used.
- Can I add protein like chicken or mutton to Khichdi? While not traditional, you can definitely add cooked shredded chicken or mutton to make it a more substantial meal!


Neha Deshmukh
Neha holds a B.A. in History with a focus on Indian and world history, including ancient, medieval, and modern periods. At RecipesOfIndia.org — the world’s largest database of Indian recipes — she combines her love for food and history by exploring how India’s past has shaped its culinary traditions.