- Cream room-temperature butter and powdered sugar until fluffy.
- Sift flour and salt into the butter mixture.
- Combine ingredients gently without overmixing to form a soft dough.
- Shape into a log, wrap in plastic wrap, and refrigerate for 1 hour.
- Slice chilled dough into 1/4-inch thick rounds.
- For oven method: Bake at 180°C (350°F) for 10-12 minutes, or until golden brown around the edges.
- For stovetop method: Preheat a salt-filled pot with a stand; cook biscuits on a steel plate for 12-15 minutes.
- Cool completely before storing in an airtight container.
- Calories:180 kcal25%
- Energy:753 kJ22%
- Protein:2 g28%
- Carbohydrates:22 mg40%
- Sugar:4 mg8%
- Salt:150 g25%
- Fat:8 g20%
Last Updated on 2 months by Neha Deshmukh
Easy Wheat Flour Biscuits Recipe – Oven & Stovetop Methods
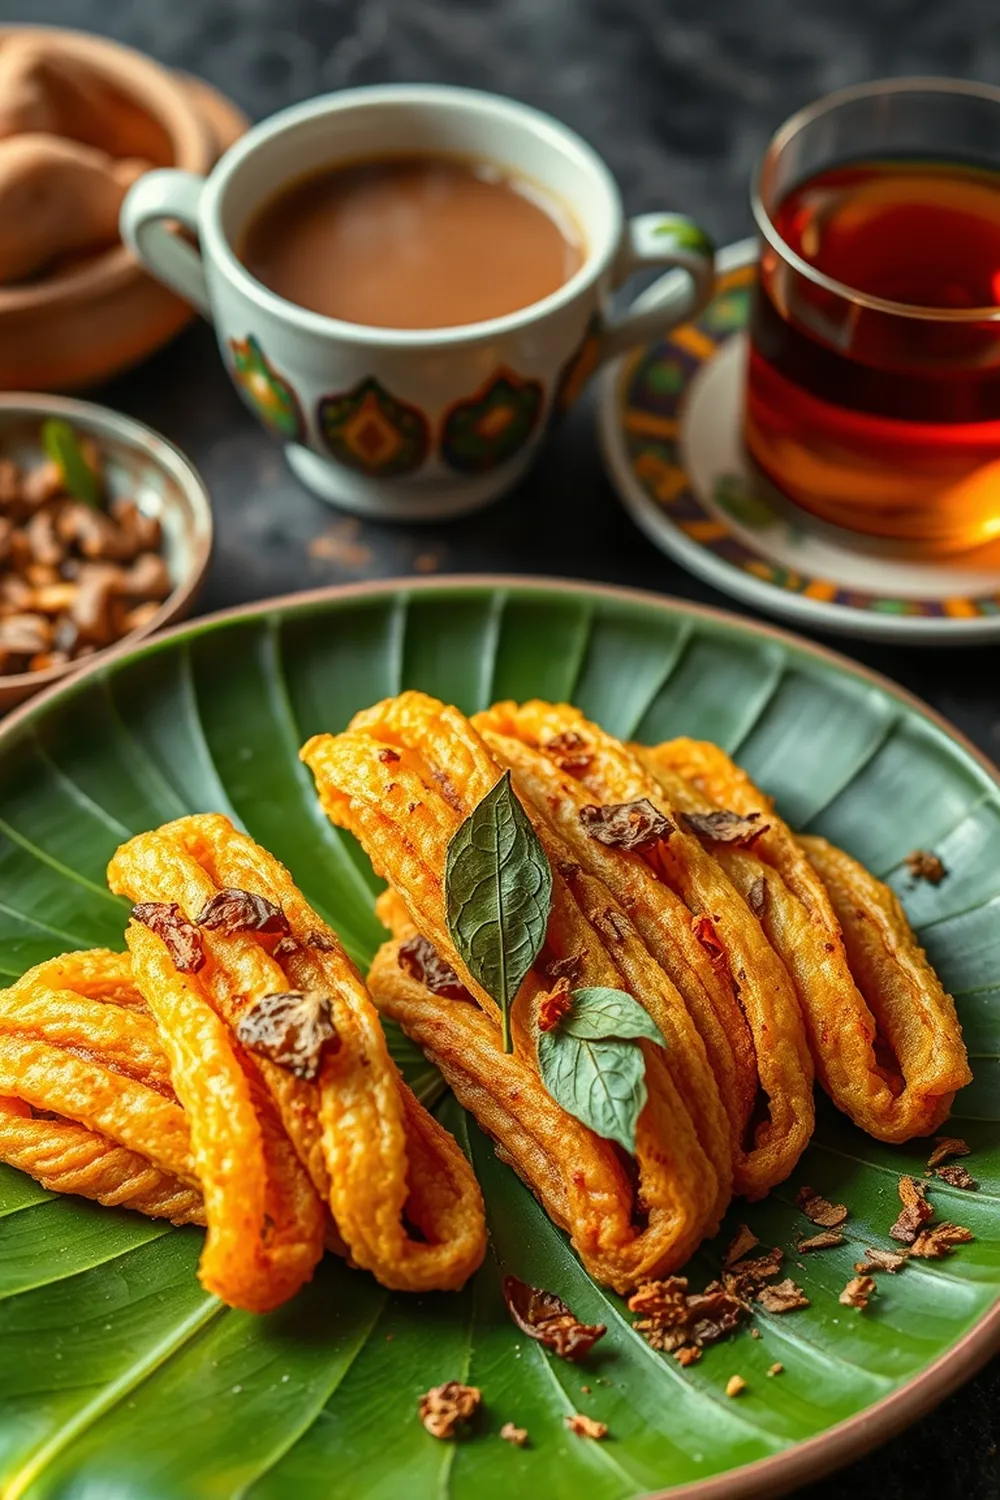
Hey everyone! If you’re anything like me, you love a good biscuit with your evening chai. There’s just something so comforting about a warm, slightly sweet biscuit, isn’t there? I remember the first time I tried making these – it was a rainy afternoon, and I was craving something simple and delicious. This recipe has become a family favourite ever since, and I’m so excited to share it with you. It’s surprisingly easy, and you can make them either in the oven or on the stovetop – perfect for any kitchen!
Why You’ll Love This Recipe
These wheat flour biscuits are the perfect blend of simplicity and flavour. They’re wonderfully crumbly, subtly sweet, and incredibly versatile. Whether you enjoy them plain, with a dollop of jam, or alongside a steaming cup of masala chai, these biscuits are guaranteed to brighten your day. Plus, the option to make them on the stovetop is a lifesaver when you don’t want to heat up the whole kitchen!
Ingredients
Here’s what you’ll need to whip up a batch of these delightful biscuits:
- 1 cup wheat flour (approx. 120g)
- ¼ cup powdered sugar (approx. 30g)
- ½ cup butter, room temperature (approx. 113g)
- ¼ teaspoon salt (approx. 1.5g)
Ingredient Notes
Let’s talk ingredients for a moment. Getting these right makes all the difference!
Wheat Flour Varieties & Their Impact
You can use whole wheat flour (atta) for a slightly nutty flavour and denser biscuit, or refined wheat flour (maida) for a lighter, more tender crumb. I personally prefer a mix of both – about ¾ cup atta and ¼ cup maida. It gives you the best of both worlds!
The Role of Butter Temperature
Seriously, don’t skip the “room temperature” part for the butter! It needs to be soft enough to cream with the sugar, but not melted. Think easily pliable, but still holding its shape. This is key to a tender biscuit.
Understanding Powdered Sugar
Powdered sugar (icing sugar) dissolves more easily than granulated sugar, resulting in a smoother texture. If you only have granulated sugar, you can pulse it in a food processor until finely ground.
Salt – A Key Flavor Enhancer
Don’t be tempted to skip the salt! It balances the sweetness and really brings out the flavour of the biscuits. A little goes a long way.
Step-By-Step Instructions
Alright, let’s get baking (or… stovetop-cooking!).
- First, cream together the room-temperature butter and powdered sugar until it’s light and fluffy. This usually takes about 3-5 minutes with an electric mixer. It should look pale and airy.
- Next, gently sift the wheat flour and salt into the butter mixture.
- Now, combine everything gently. We don’t want to overwork the dough! Just mix until it comes together into a soft dough. Resist the urge to knead it – that will make the biscuits tough.
- Shape the dough into a log, wrap it tightly in cling film, and pop it in the refrigerator for at least an hour. This chilling time is important – it helps the biscuits hold their shape.
- Once chilled, slice the dough into ¼-inch thick rounds.
- Now, you have a choice! Let’s look at both methods:
For oven method: Preheat your oven to 180°C (350°F). Place the biscuit rounds on a baking sheet lined with parchment paper and bake for 10-12 minutes, or until the edges are golden brown.
For stovetop method: Preheat a heavy-bottomed pot with a stand inside (a metal plate or steaming rack works great). Lightly grease the stand. Place the biscuit rounds on the stand and cook, covered, for 12-15 minutes.
- Finally, let the biscuits cool completely on a wire rack before storing them in an airtight container.
Expert Tips
- Don’t overmix the dough! Seriously, this is the biggest mistake people make. Gentle is key.
- Chill the dough thoroughly. This prevents the biscuits from spreading too much during baking.
- Use parchment paper for easy cleanup. Especially if you’re baking in the oven.
- For extra flavour, brush the biscuits with a little melted butter or milk before baking.
Achieving the Perfect Biscuit Texture
The secret to a perfect biscuit texture is all about balance. You want them to be tender and crumbly, not hard and dense. Using room-temperature butter, not overmixing the dough, and chilling it properly are all crucial steps.
Troubleshooting Common Issues
- Biscuits are too hard: You likely overmixed the dough.
- Biscuits are too flat: The butter was probably too soft, or the dough wasn’t chilled enough.
- Biscuits are tough: You definitely overmixed the dough!
Mastering Both Oven & Stovetop Techniques
The stovetop method is a fantastic alternative when you want to avoid heating up the oven. It creates a slightly different texture – a bit more chewy and slightly less golden – but it’s still incredibly delicious. Make sure your pot has a tight-fitting lid to trap the steam.
Variations
Let’s get creative!
Vegan Wheat Biscuits
Substitute the butter with a vegan butter alternative. Make sure it’s also at room temperature.
Gluten-Free Wheat Biscuits (Using Alternative Flours)
Replace the wheat flour with a gluten-free flour blend. You might need to add a little extra liquid to achieve the right consistency.
Spice Level Variations (Adding Flavor Extracts)
A dash of vanilla extract, cardamom powder, or even a pinch of nutmeg can add a lovely warmth to these biscuits. My grandmother always added a tiny bit of rose water – it was divine!
Festival Adaptations (Sweet vs. Savory Biscuits for Different Occasions)
During Diwali, I love adding a sprinkle of chopped nuts and saffron to the dough. For a savoury twist, add some grated cheese and herbs.
Serving Suggestions
These biscuits are amazing on their own, but they’re even better with:
- A cup of hot chai
- Your favourite jam or preserves
- A dollop of whipped cream
- A sprinkle of icing sugar
Storage Instructions
Store leftover biscuits in an airtight container at room temperature for up to 3 days.
FAQs
What type of wheat flour is best for biscuits?
You can use atta (whole wheat flour), maida (refined wheat flour), or a combination of both.
Can I make the dough ahead of time?
Yes! You can make the dough up to 2 days in advance and store it in the refrigerator.
How do I prevent my biscuits from being too hard?
Don’t overmix the dough, and make sure the butter is at room temperature.
What is the best way to store leftover biscuits?
Store them in an airtight container at room temperature.
Can I freeze these biscuits after baking?
Yes, you can! Freeze them in an airtight container for up to 2 months.
Is it possible to make smaller or larger biscuits with this recipe?
Absolutely! Just adjust the slicing thickness accordingly.
I hope you enjoy making these biscuits as much as I do! Let me know in the comments how they turn out for you. Happy baking (or stovetop-cooking)!


Neha Deshmukh
Neha holds a B.A. in History with a focus on Indian and world history, including ancient, medieval, and modern periods. At RecipesOfIndia.org — the world’s largest database of Indian recipes — she combines her love for food and history by exploring how India’s past has shaped its culinary traditions.