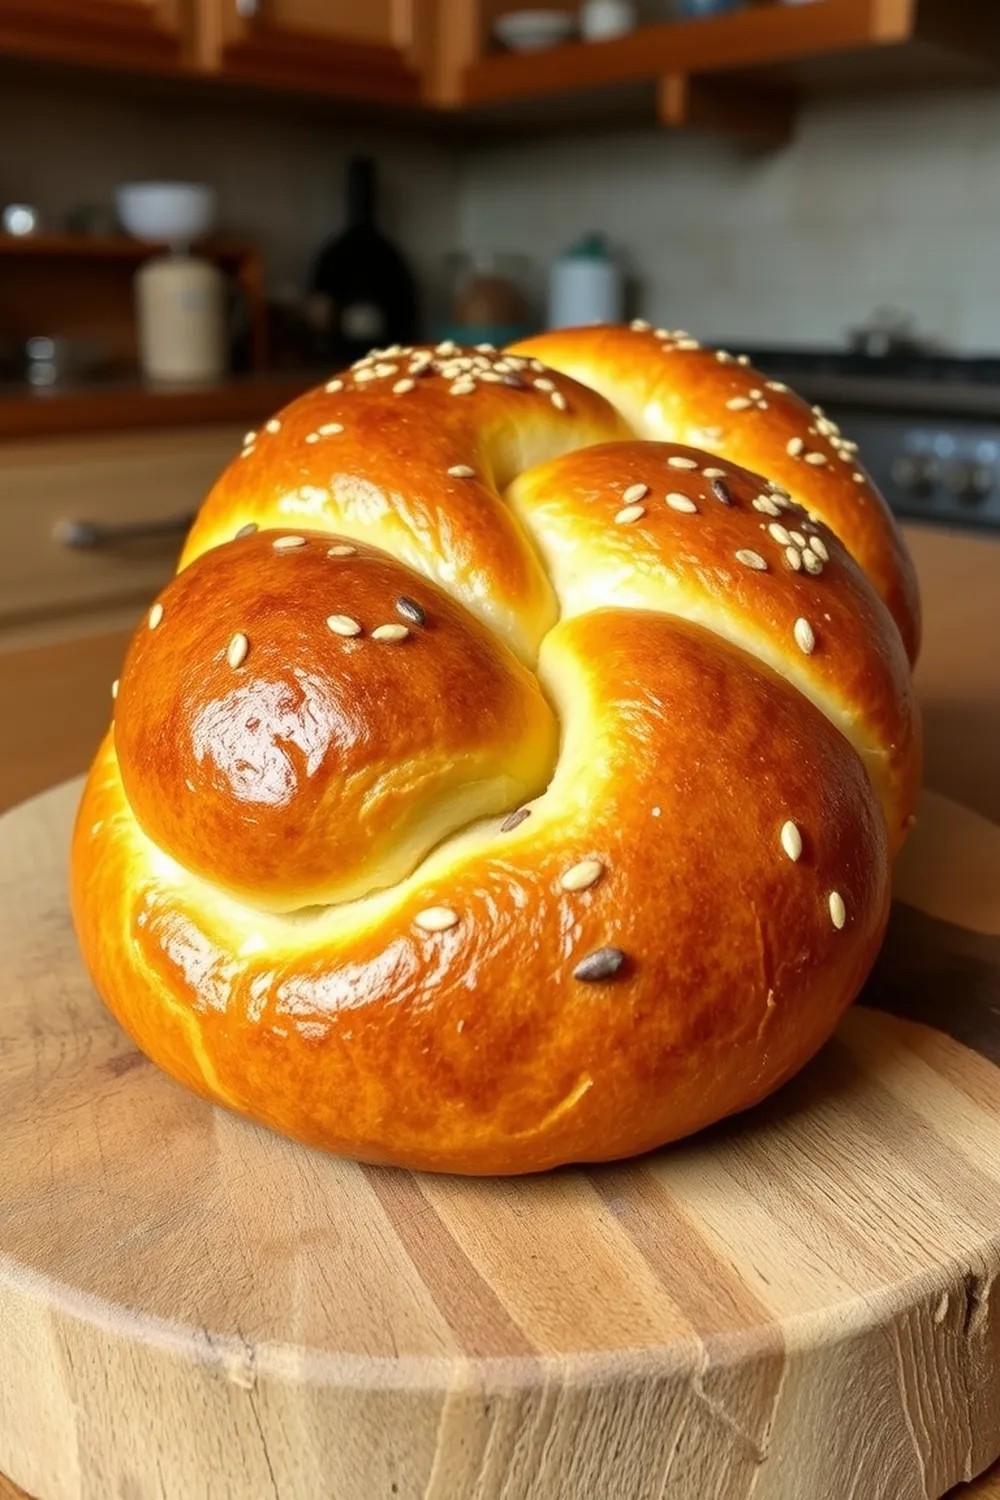
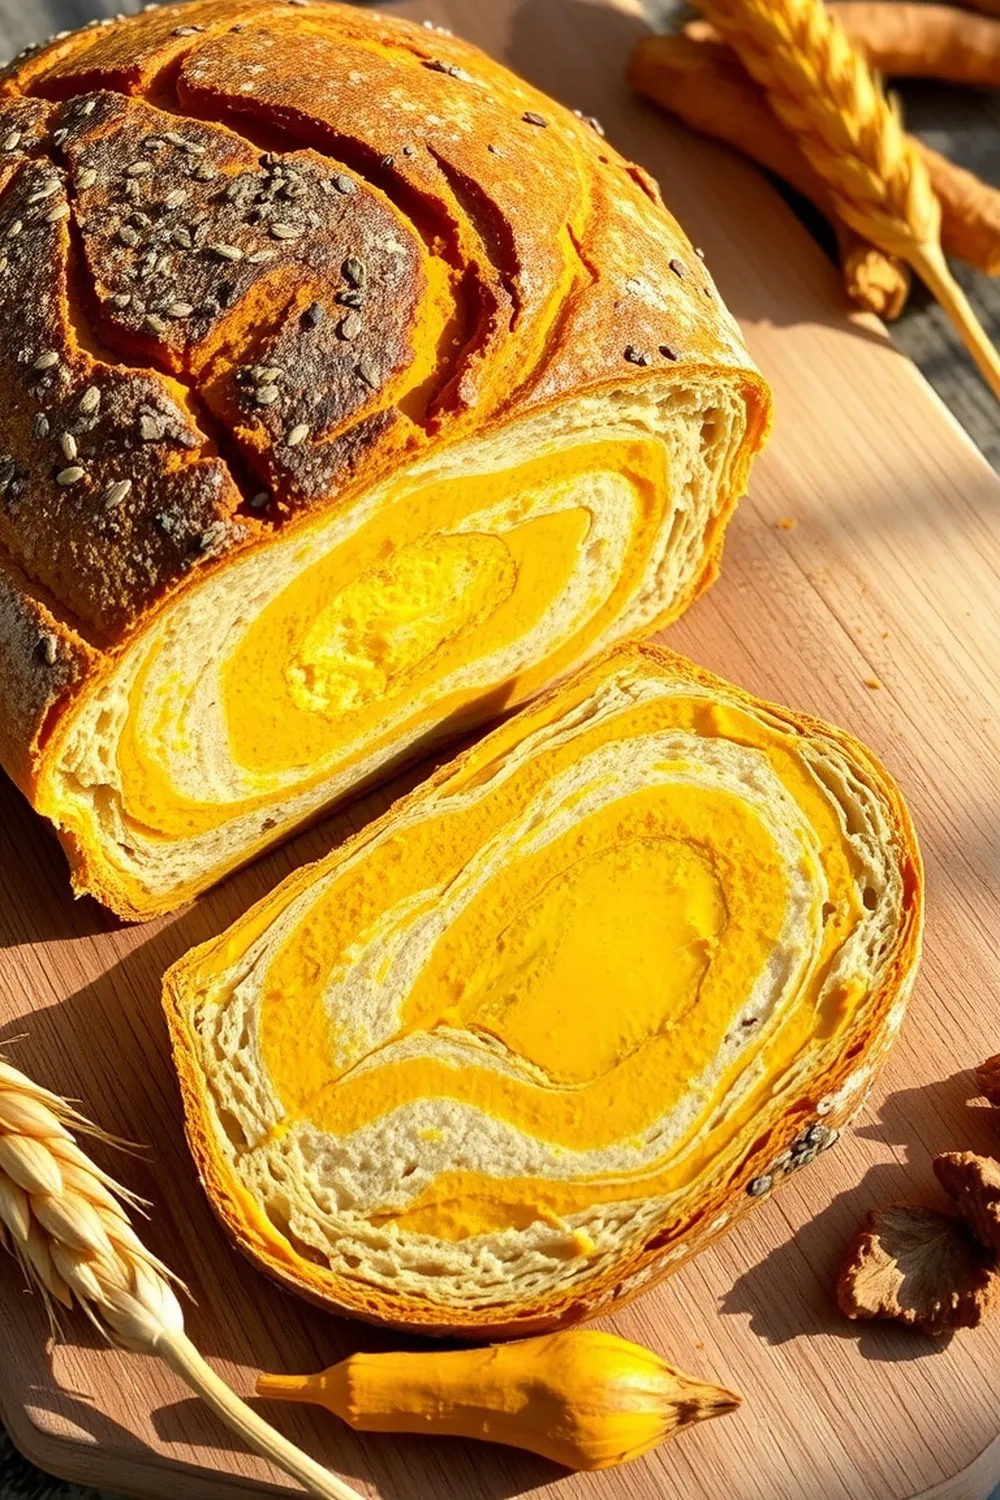
- Combine milk, water, butter, sugar, and salt in the bread pan.
- Add flour to the pan and insert it into the bread machine. Place yeast in the dedicated dispenser.
- Select Menu 3 (White Bread) on the Panasonic SD-P104. Choose your preferred crust color (light/medium) and start the machine.
- Optionally, use the timer function for delayed baking. Complete setup before bedtime for fresh morning bread.
- Remove the baked loaf immediately after completion. Cool on a wire rack, then slice with a serrated bread knife.
- Calories:120 kcal25%
- Energy:502 kJ22%
- Protein:3 g28%
- Carbohydrates:22 mg40%
- Sugar:2 mg8%
- Salt:150 g25%
- Fat:2 g20%
Last Updated on 4 months by Neha Deshmukh
Easy White Bread Recipe – Bread Machine & Step-By-Step Guide
Hey everyone! There’s just something so comforting about the smell of freshly baked bread, isn’t there? I remember when I first got my bread machine – I was a little intimidated, honestly! But this easy white bread recipe quickly changed all that. It’s become a staple in my kitchen, and I’m so excited to share it with you. Get ready for warm, fluffy slices perfect for toast, sandwiches, or just enjoying with a dollop of butter.
Why You’ll Love This Recipe
This recipe is a total game-changer if you’re looking for a simple way to enjoy homemade bread. It’s incredibly easy, even if you’ve never used a bread machine before. Plus, it consistently turns out perfectly – soft, fluffy, and delicious. Honestly, once you try bread machine bread, you might never go back to store-bought! It’s also a fantastic way to fill your home with that cozy, inviting aroma.
Ingredients
Here’s what you’ll need to whip up a loaf of this amazing bread:
- 2 cups (250g) All-purpose flour
- 1 teaspoon (3g) Instant yeast
- 1 teaspoon (6g) Salt
- 2 tablespoons (25g) Sugar
- 1 tablespoon (14g) Butter
- 100 ml Milk
- 100 ml Water
Ingredient Notes
Let’s talk ingredients for a sec – a few little things can make all the difference!
- Flour Types: All-purpose flour works beautifully here, giving you a lovely soft crumb. You can experiment with bread flour for a chewier texture, but all-purpose is super reliable.
- Yeast Varieties: I use instant yeast because it’s so convenient – no proofing needed! If you only have active dry yeast, you’ll need to proof it in warm water with a little sugar for about 5-10 minutes before adding it to the bread machine.
- Butter vs. Oil: Butter adds a richer flavor, which I love. But you can substitute with oil (about 2 tablespoons) if you prefer.
- Milk Variations: Feel free to use any kind of milk you like – whole milk, 2%, or even plant-based milk like almond or soy milk will work just fine. I’ve even used leftover milk from making chai!
Step-By-Step Instructions
Alright, let’s get baking! It’s seriously easier than you think.
- First, combine the milk, water, butter, sugar, and salt right in the bread pan.
- Next, add the flour on top of the wet ingredients. Then, make a little well in the flour and pour in the instant yeast. This keeps the yeast from activating prematurely.
- Now, pop the bread pan into your bread machine. Select Menu 3 (White Bread) on my Panasonic SD-P104 – it’s usually the default setting on most machines.
- Choose your preferred crust color (I like medium!). Then, just press start and let the machine do its magic.
- The best part? You can even use the timer function! I often set it up before bed so I wake up to the smell of fresh bread in the morning.
- Once the bread machine beeps, immediately remove the baked loaf. Let it cool on a wire rack for at least 30 minutes before slicing with a serrated bread knife. Trust me, waiting is hard, but it’s worth it!
Expert Tips
Here are a few things I’ve learned along the way:
- Liquid First: Always add the liquids to the bread pan before the flour. This helps prevent the flour from clumping.
- Don’t Overfill: Be careful not to overfill the bread machine pan – it needs room to knead and rise.
- Listen to Your Machine: Every bread machine is a little different. Refer to your machine’s manual for specific instructions and settings.
Variations
Want to switch things up? Here are a few ideas:
- Whole Wheat Adaptation: Substitute 1 cup of all-purpose flour with 1 cup of whole wheat flour for a nuttier, healthier loaf. My family loves this one!
- Dairy-Free/Vegan Option: Use plant-based milk and vegan butter or oil.
- Herb Infused Bread: Add 1-2 tablespoons of chopped fresh herbs (rosemary, thyme, or oregano) to the bread pan.
- Sweetened Bread for French Toast: Increase the sugar to 1/4 cup and add a teaspoon of vanilla extract. Perfect for a weekend brunch!
- Adjusting for Different Bread Machines: If your bread machine has different menu options, experiment! Start with the “Basic” or “White Bread” setting and adjust the kneading and baking times as needed.
Serving Suggestions
This bread is amazing on its own, but here are a few ideas:
- Classic Toast: With butter, jam, or honey.
- Sandwiches: For lunch or a quick dinner.
- Grilled Cheese: A childhood favorite!
- French Toast: Using the sweetened variation, of course.
- Alongside a bowl of Dal: Perfect for soaking up all the delicious flavors.
Storage Instructions
To keep your bread fresh:
- Room Temperature: Store in an airtight container at room temperature for up to 3 days.
- Freezing: Slice the bread and freeze it in a freezer-safe bag for up to 2 months.
FAQs
Got questions? I’ve got answers!
- What type of flour is best for bread machines? All-purpose flour is a great starting point. Bread flour will give you a chewier texture.
- Can I use active dry yeast instead of instant yeast? Yes, but you’ll need to proof it first in warm water with a little sugar.
- How do I adjust the recipe for a different size bread machine? Reduce or increase the ingredient quantities proportionally to match your machine’s capacity.
- What crust color settings mean? Light crusts are paler and softer, while dark crusts are more golden brown and crispy.
- How can I tell if my bread is fully baked? The bread should sound hollow when tapped on the bottom. You can also use a food thermometer – the internal temperature should be around 200-210°F (93-99°C).
Enjoy! I hope this recipe brings as much joy to your kitchen as it does to mine. Let me know how it turns out in the comments below!


